5 Backend Development
1. Install idea and e-code
Weaver suggest idea as the development IDE, please check www.jetbrains.com for more details.
Install idea follow the official installation guideline
Install latest e-code on e-cology environment
2. Create Project
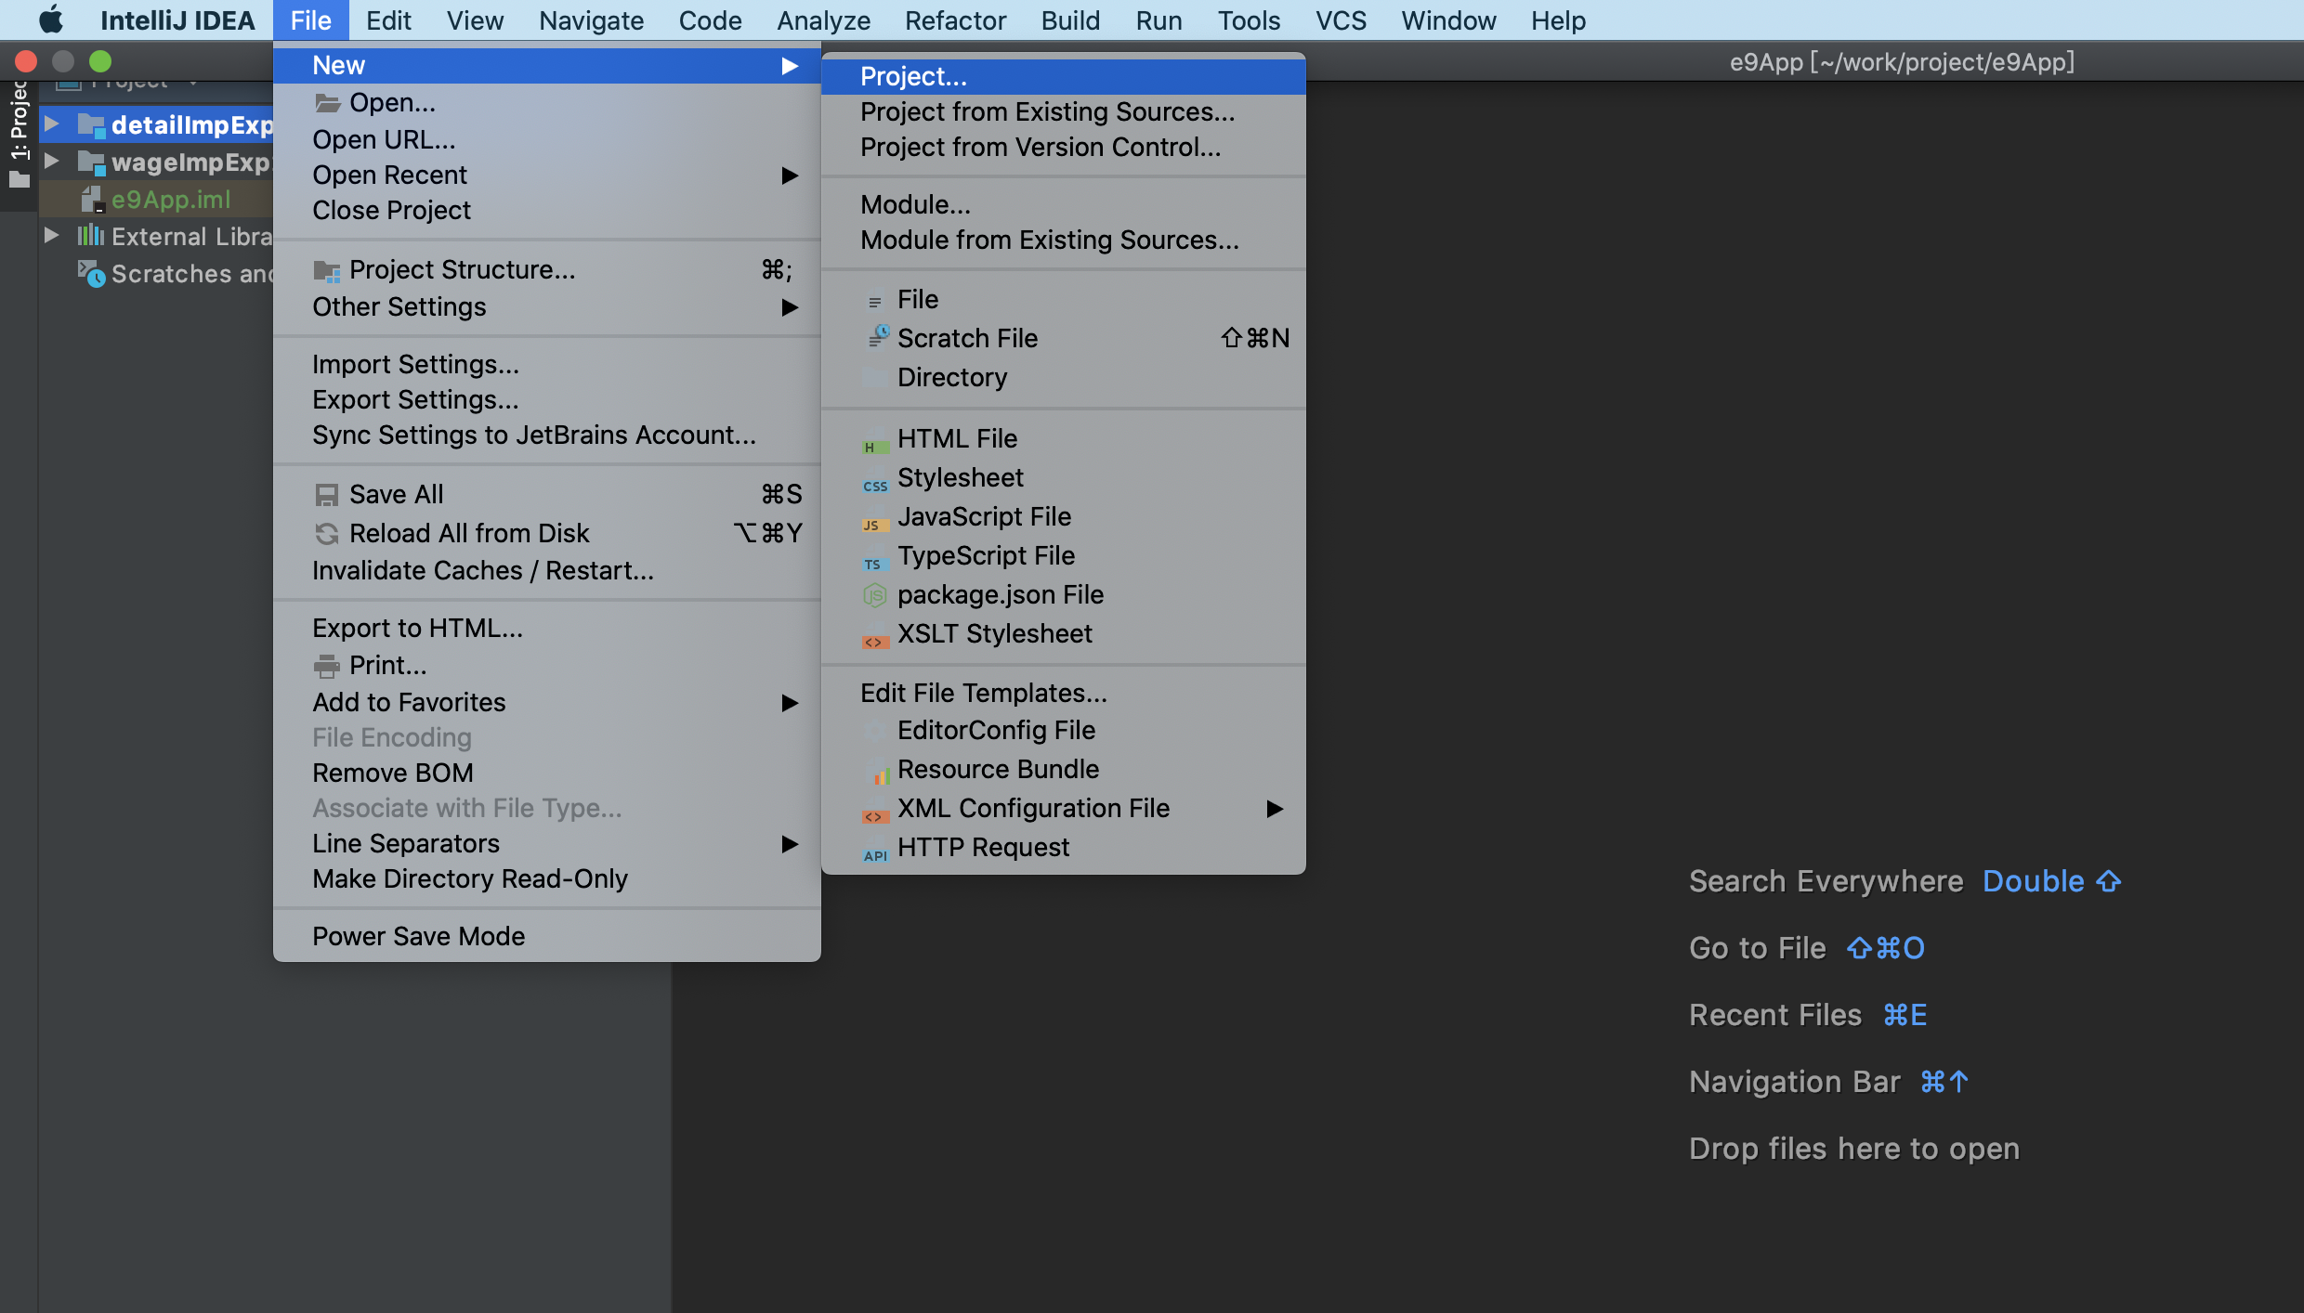
Create a new project: File->New->Project
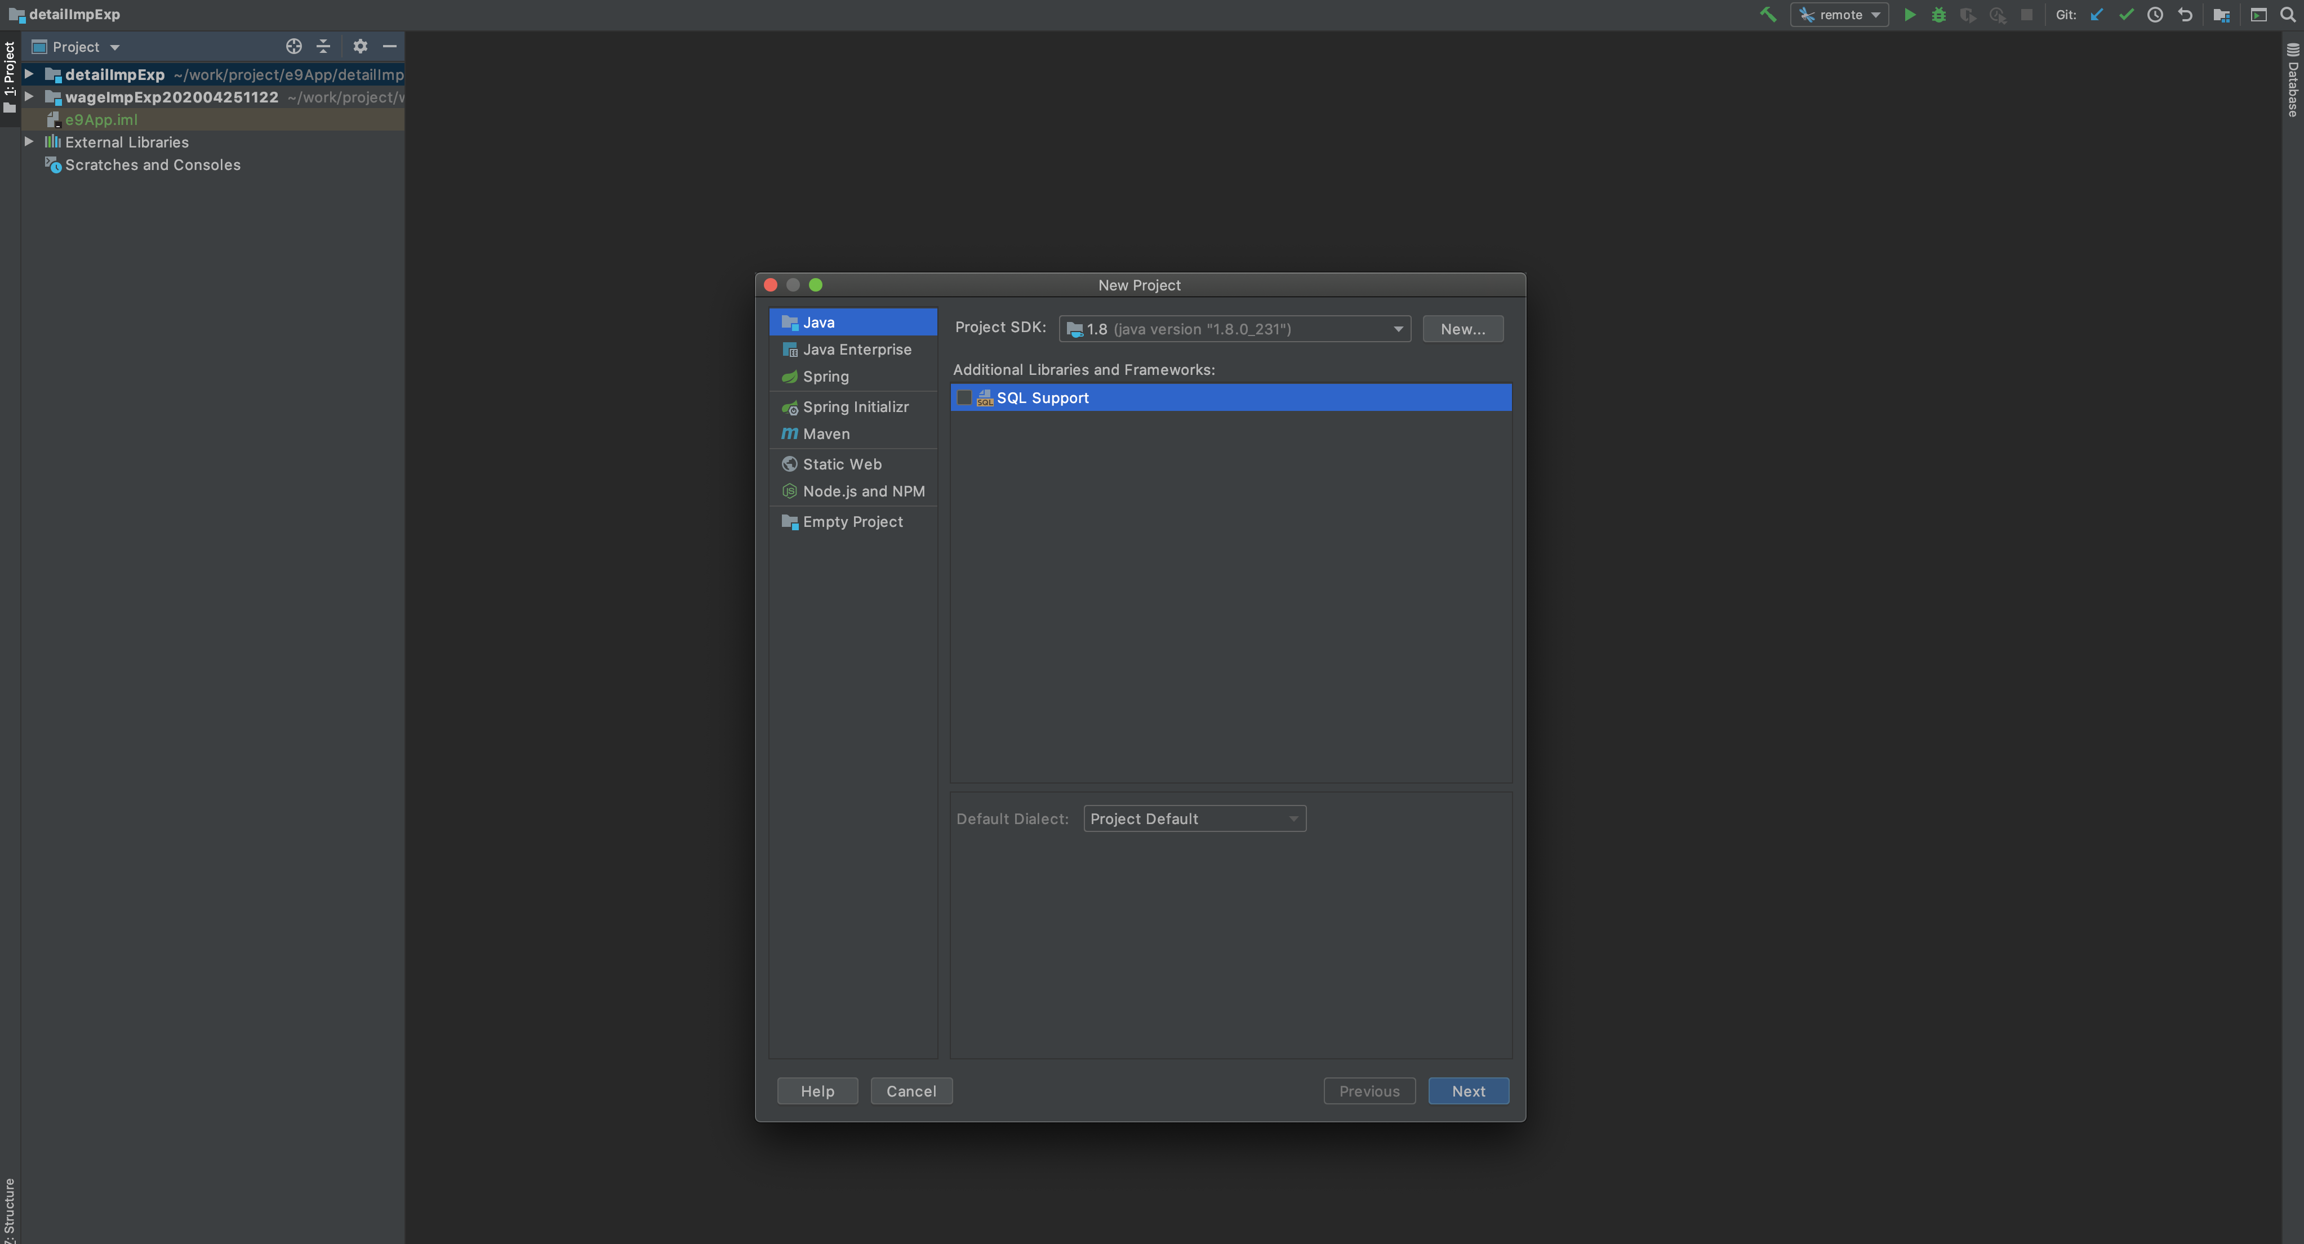
select java project
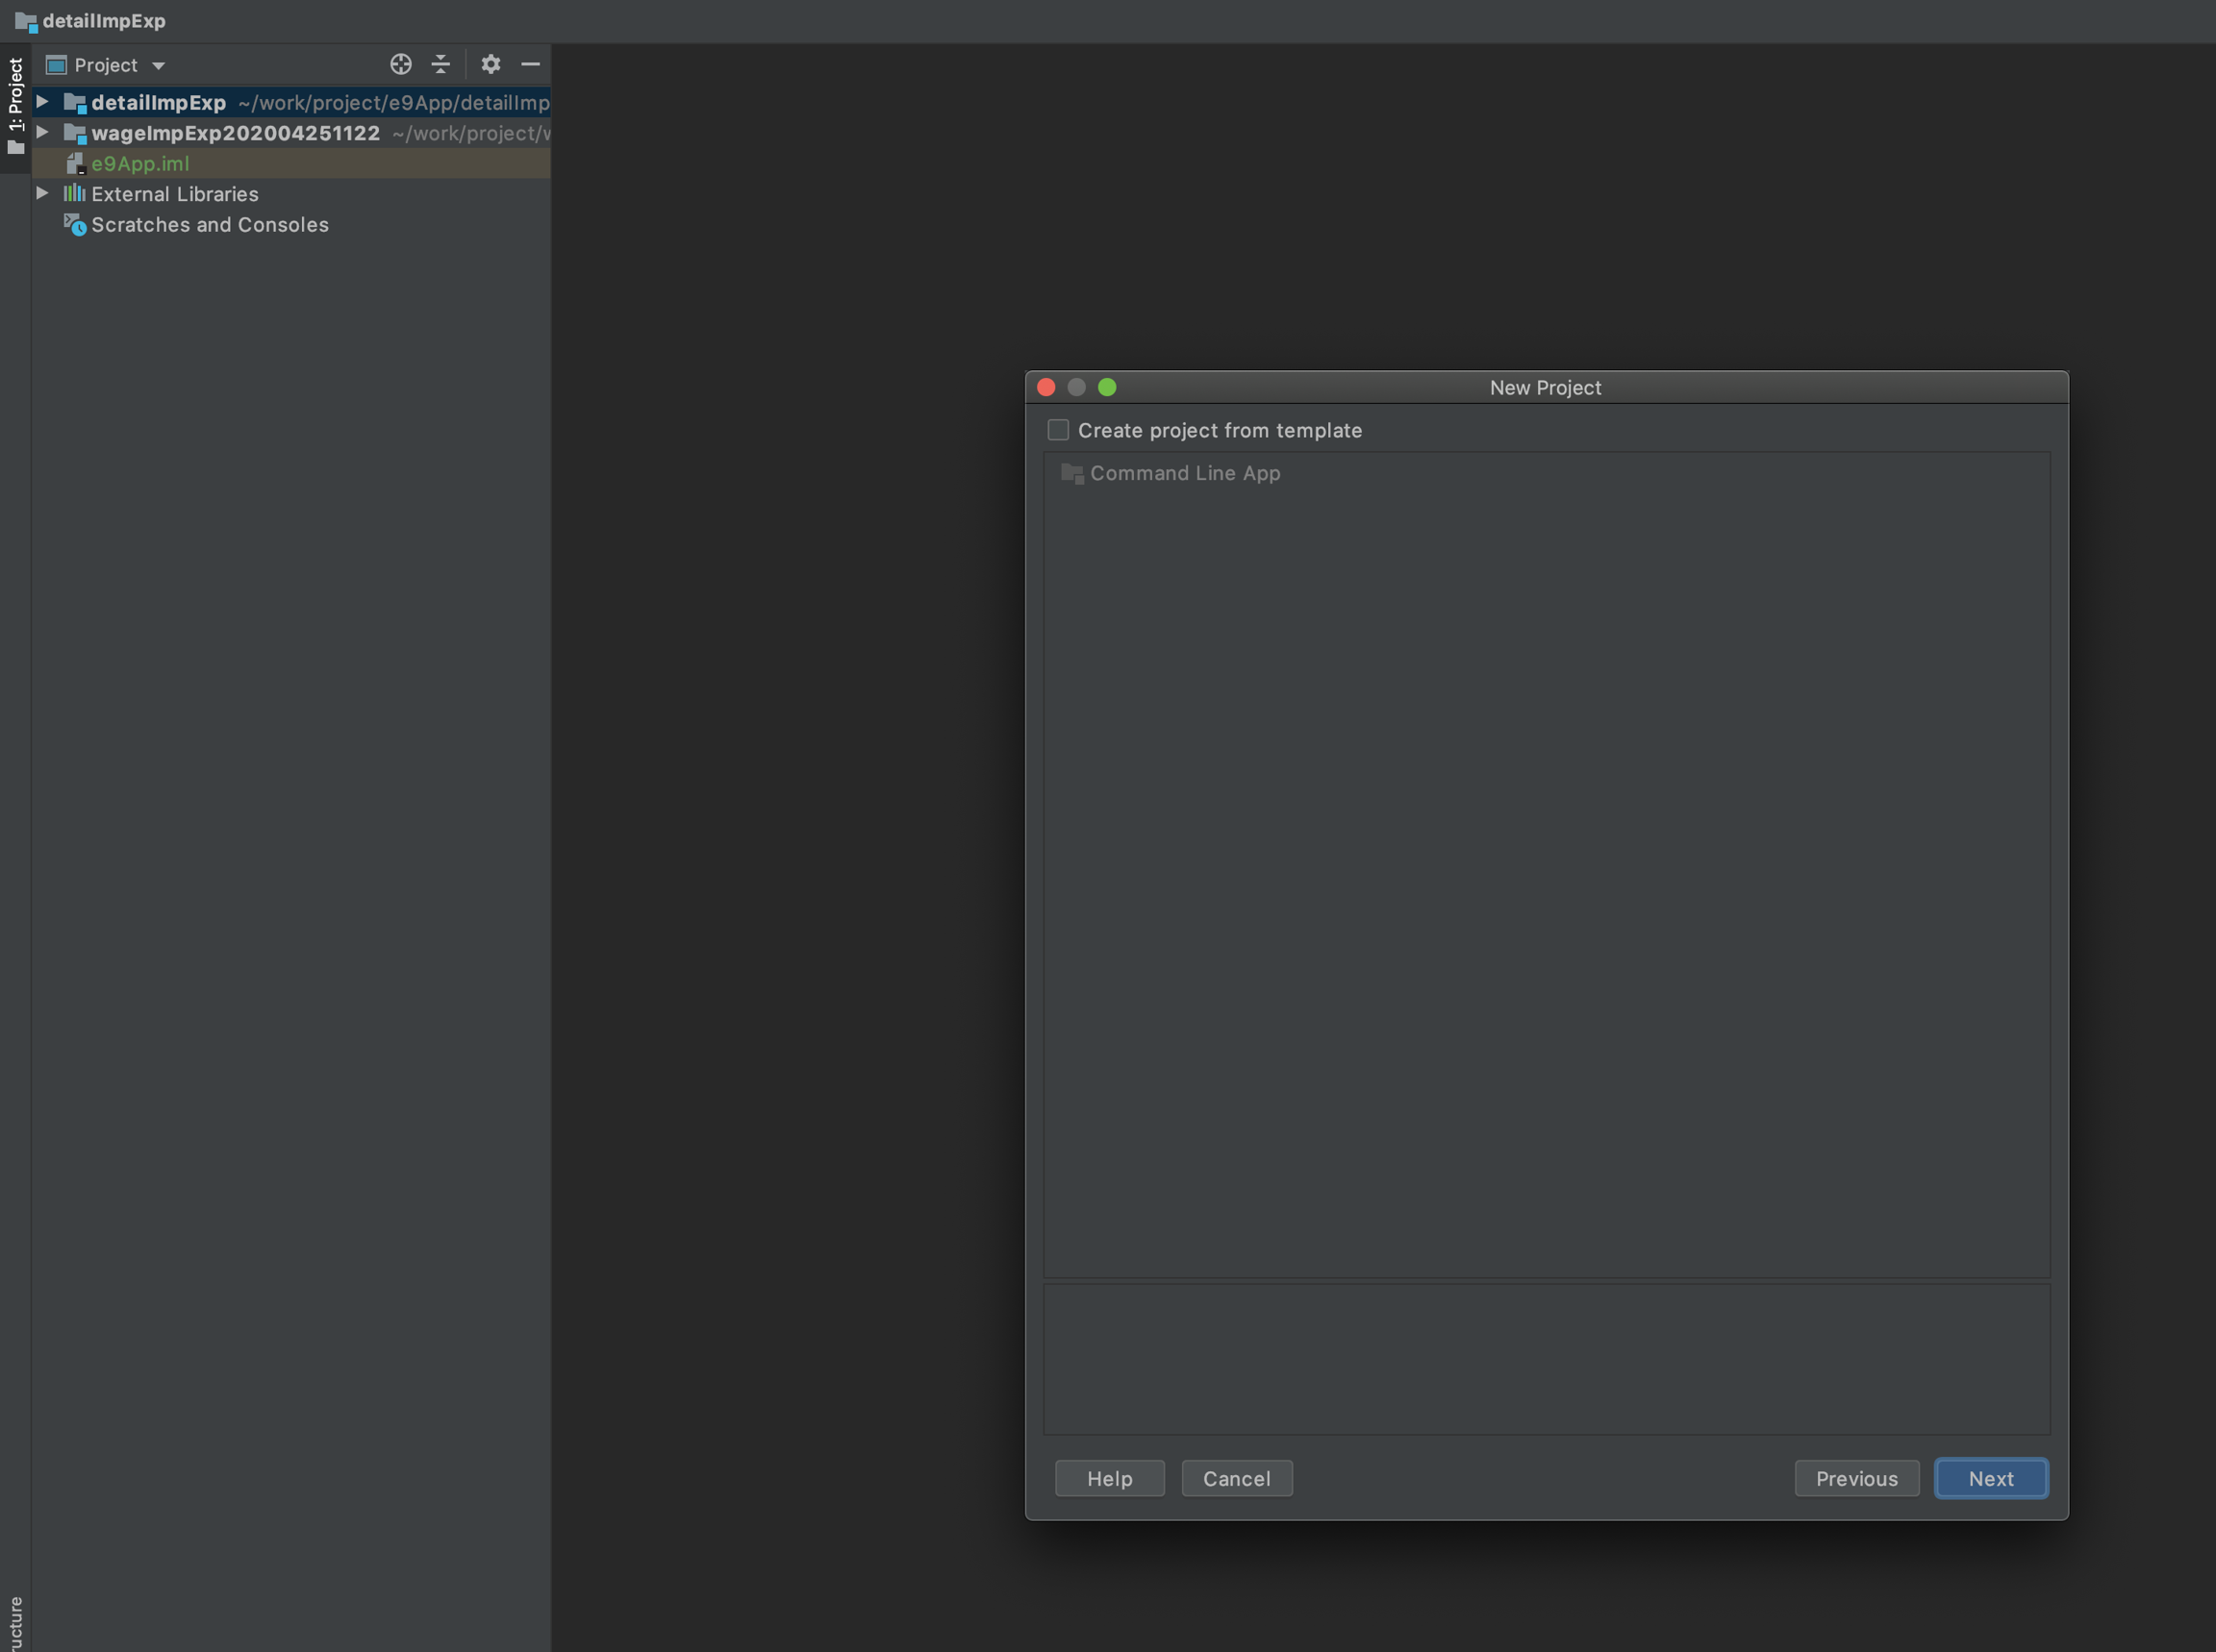
Click Next
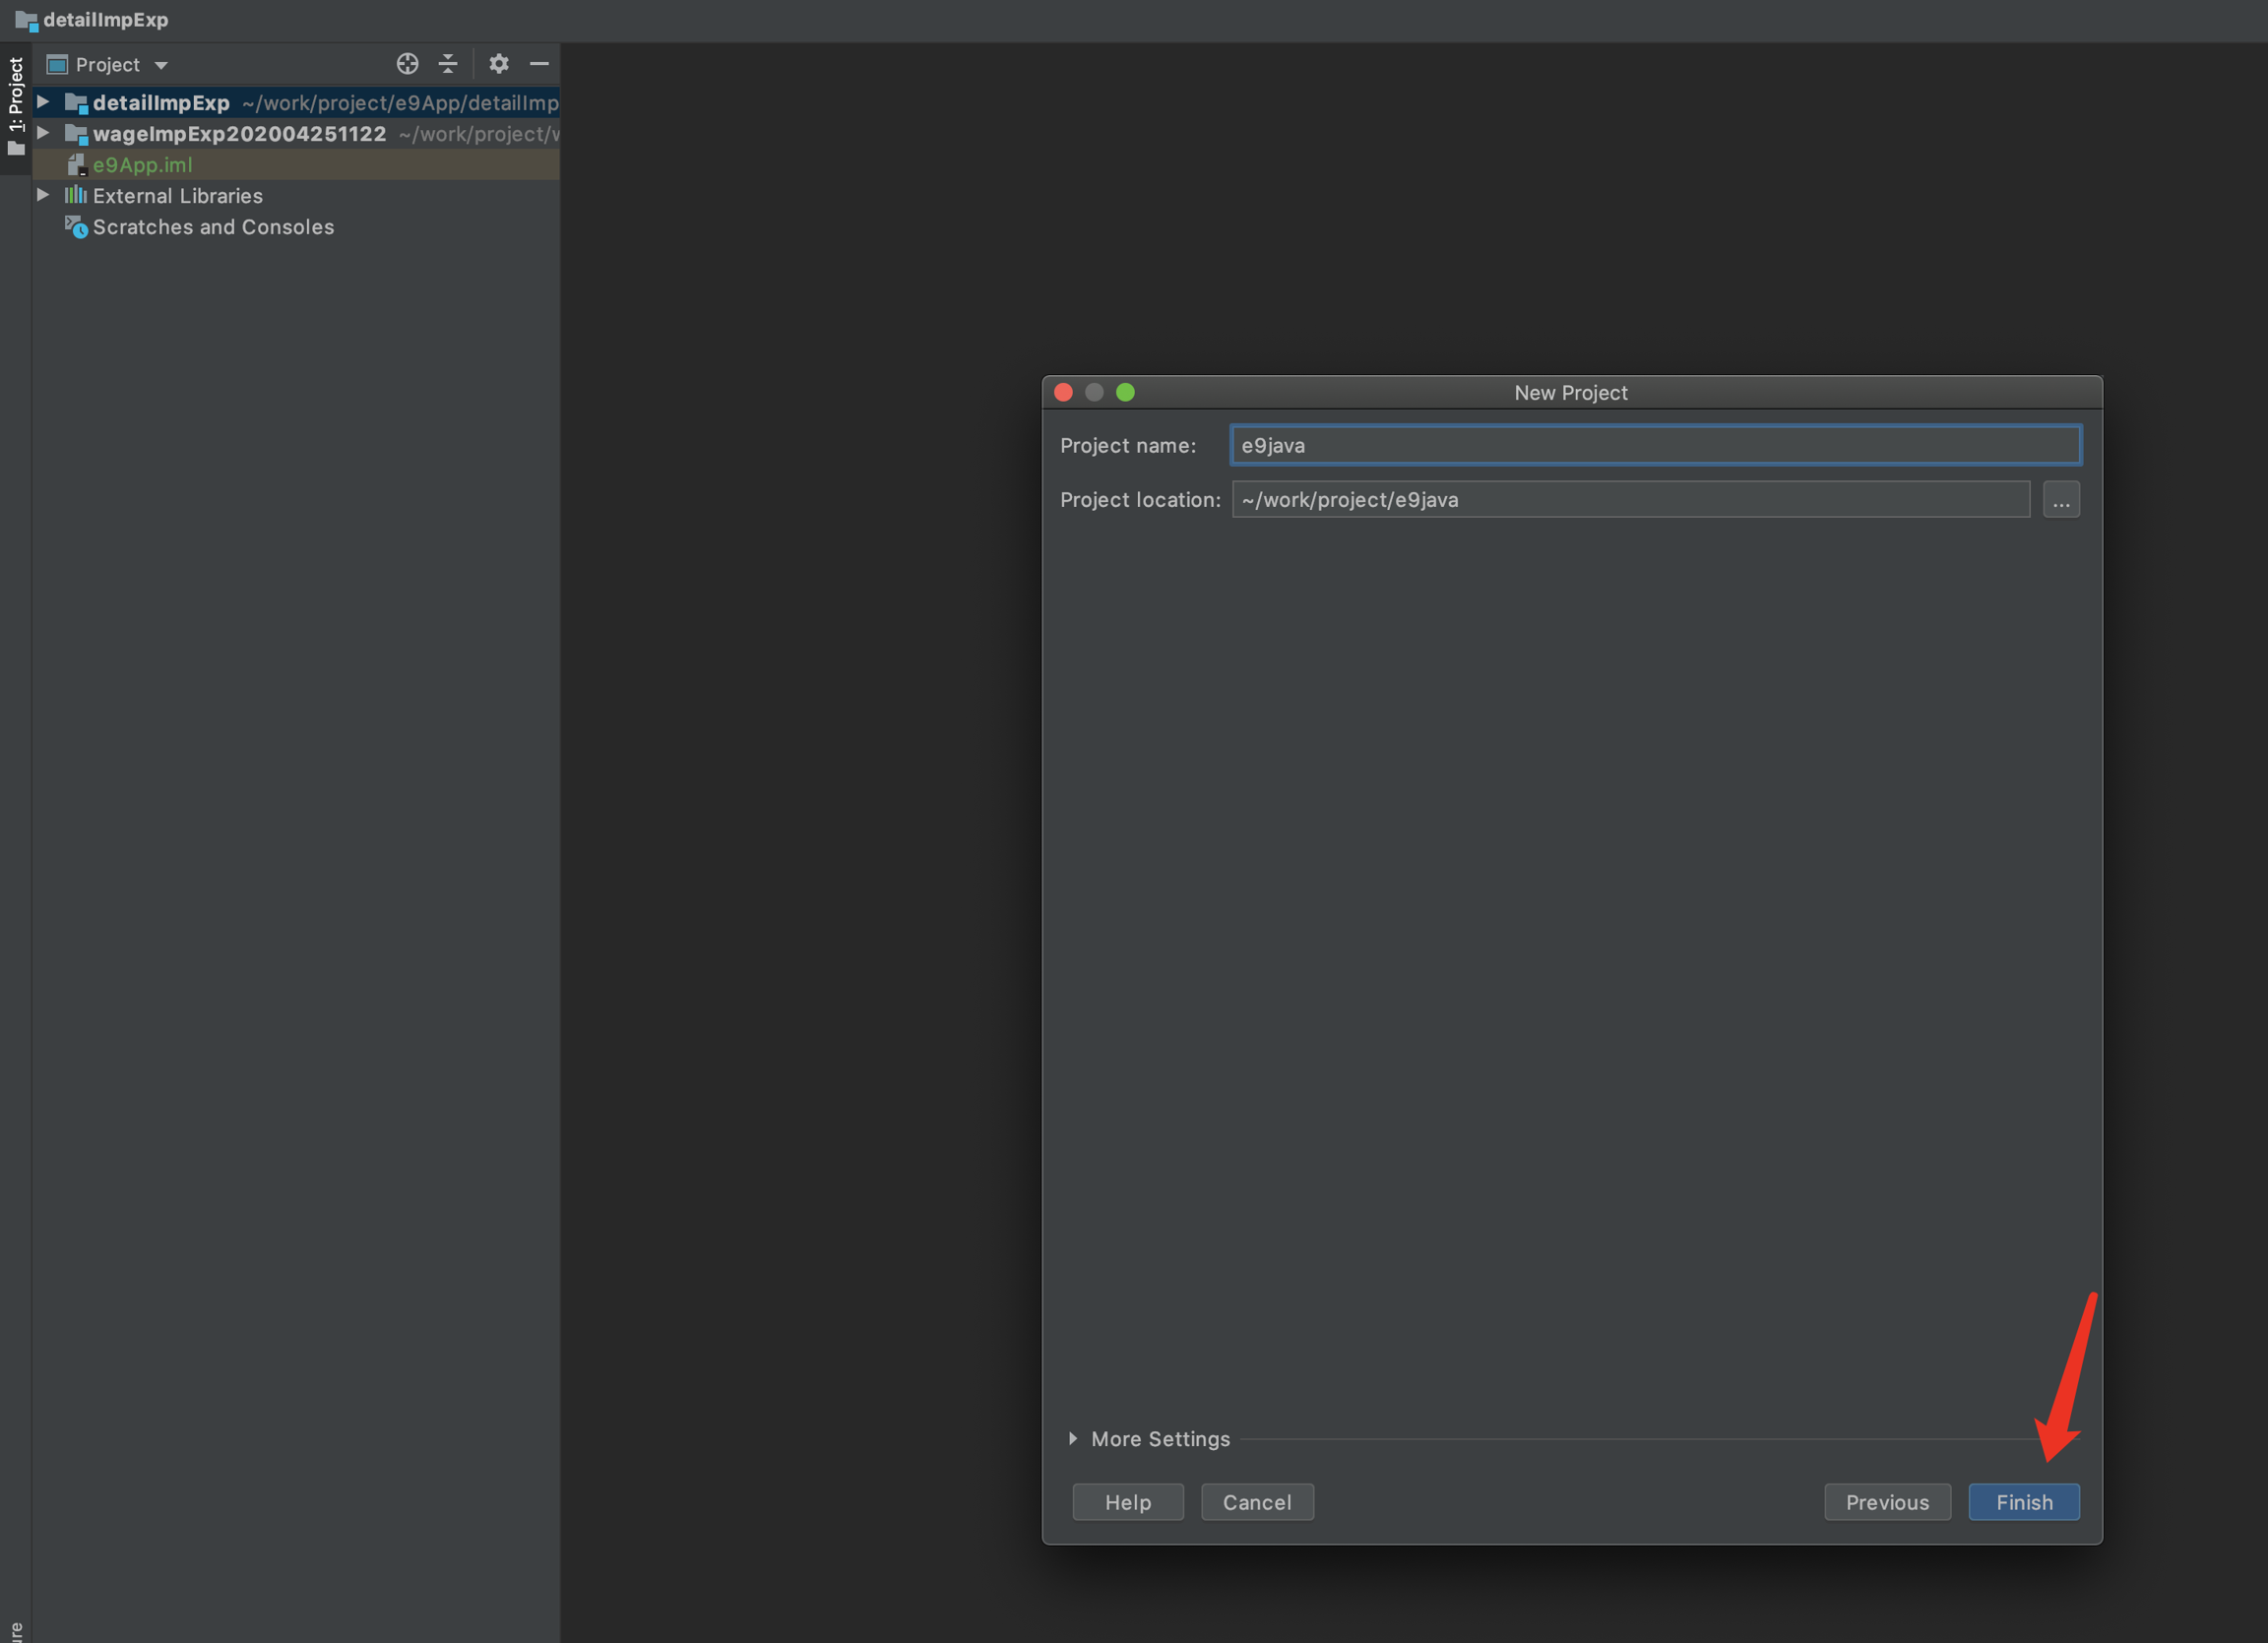
Click Next, enter project name, and click finish
3. Configure the SDK
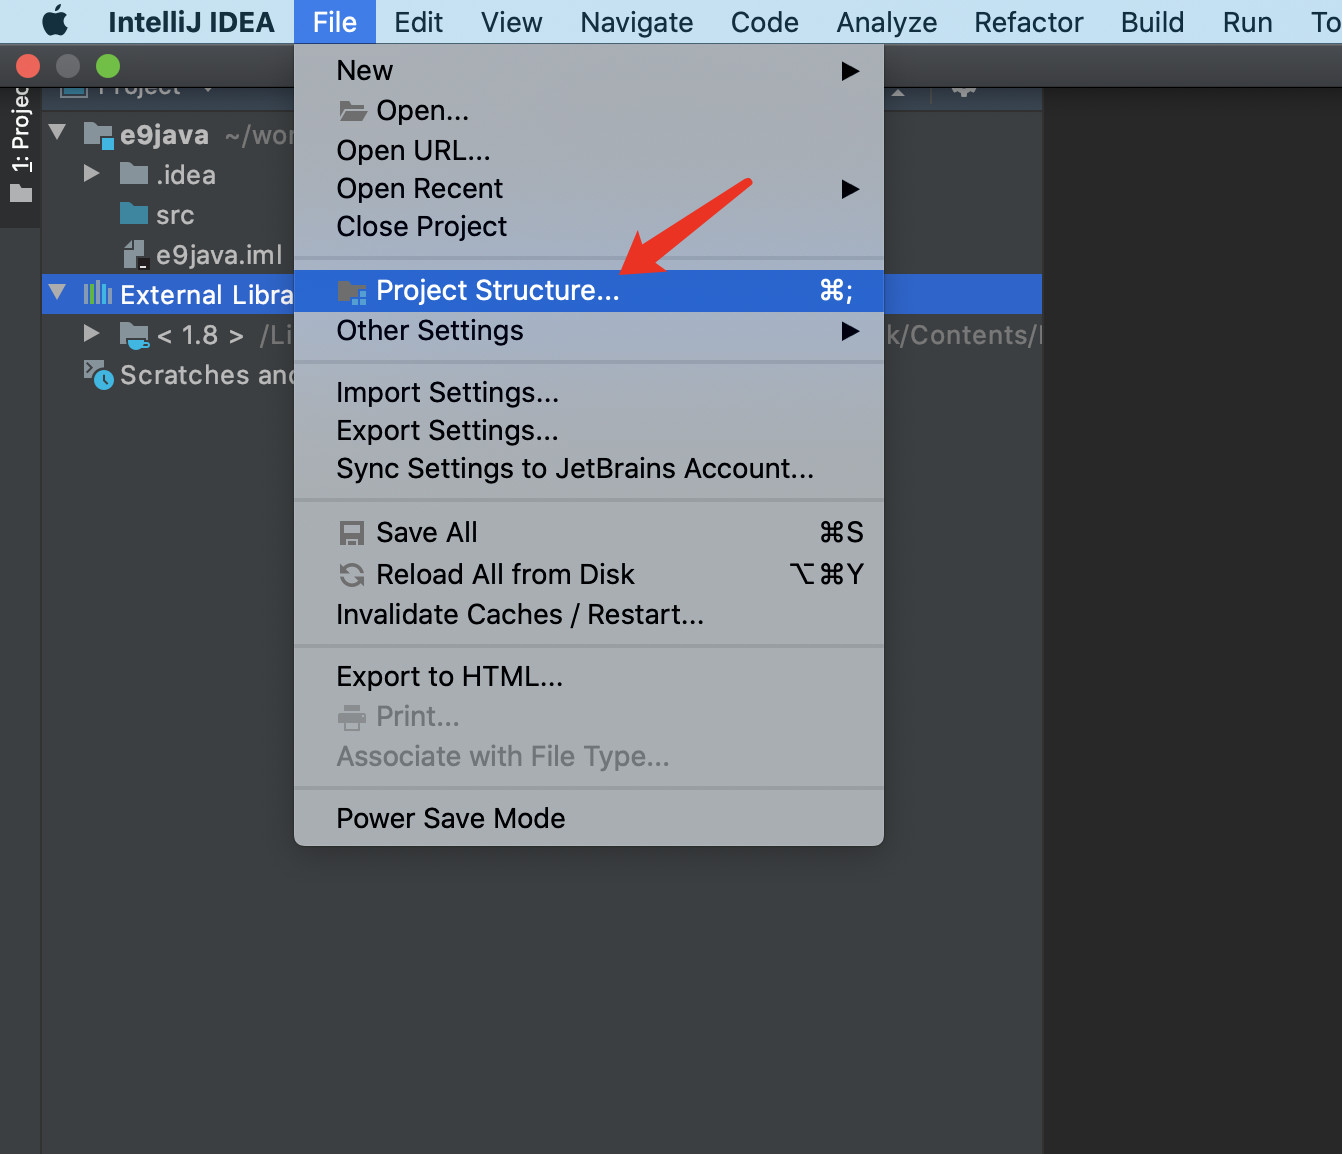
Go to project setting, File->Project Structure
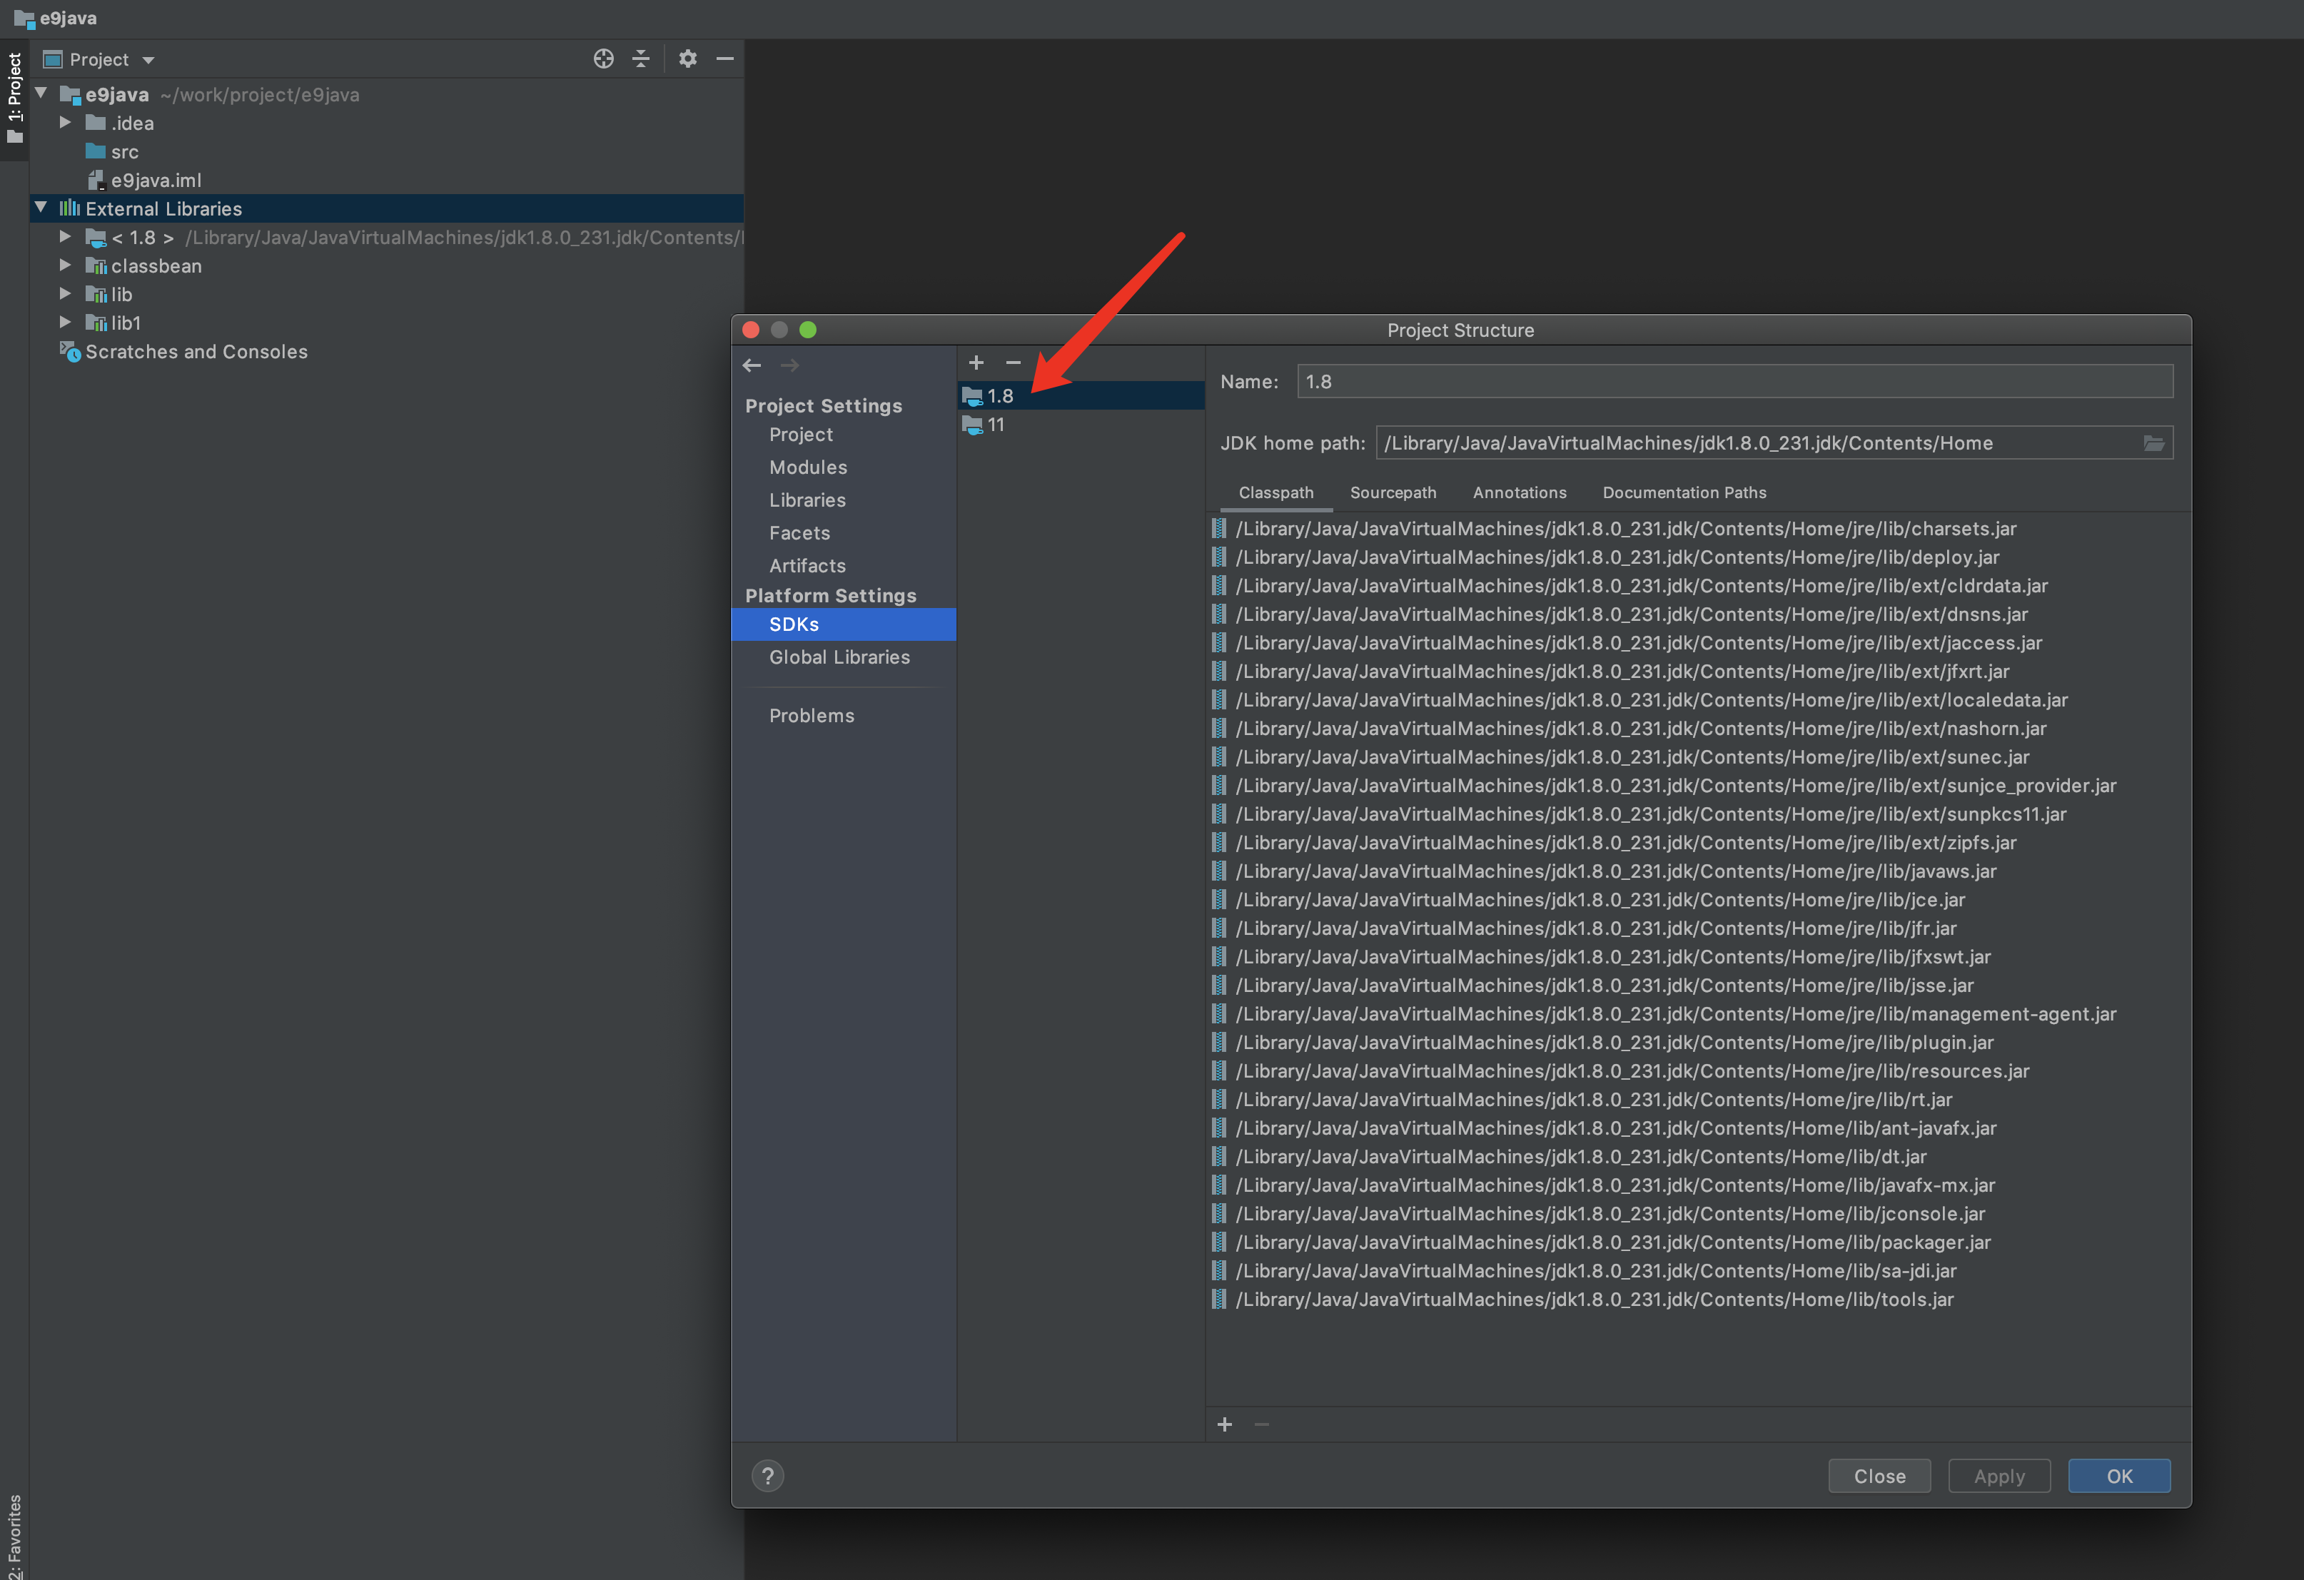
Click SDK->+, to add JDK1.8 into project
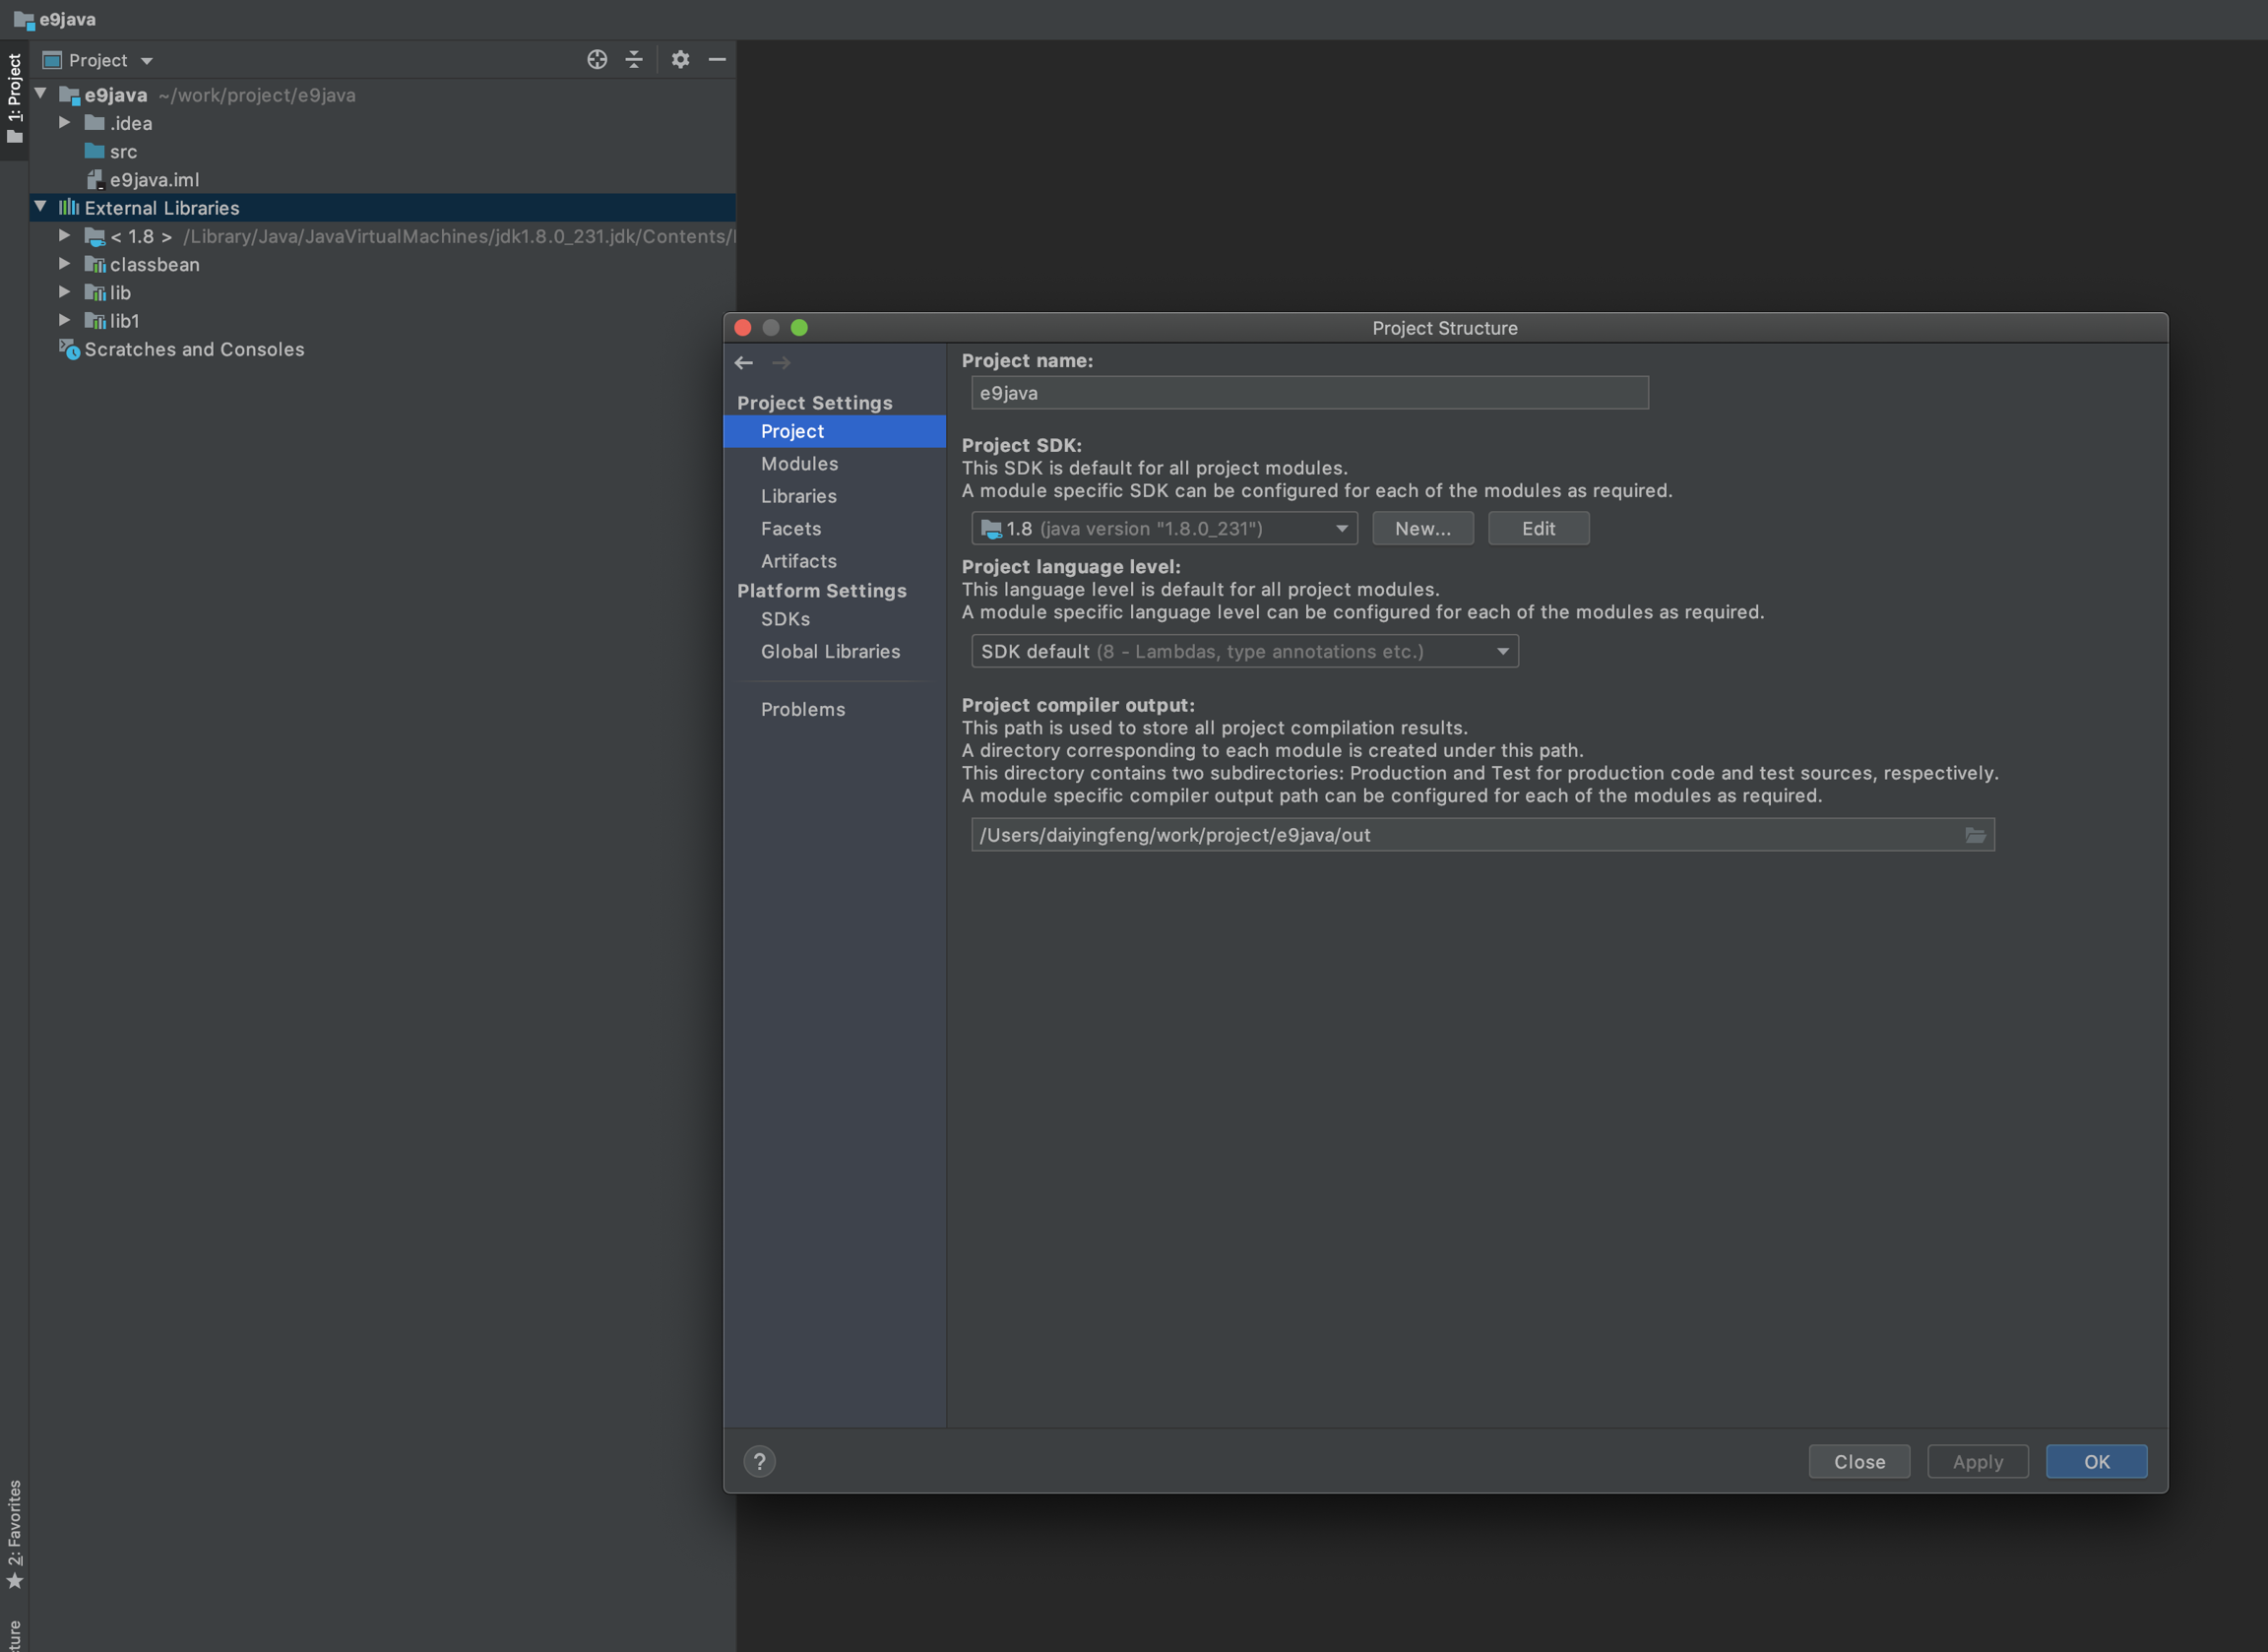
Click prject,set Project SDK as 1.8 and Project language level as SDK default 8
4. Configure project dependencies
Go to project setting:File->Project Structure

Add dependency library: Libaries->+->java
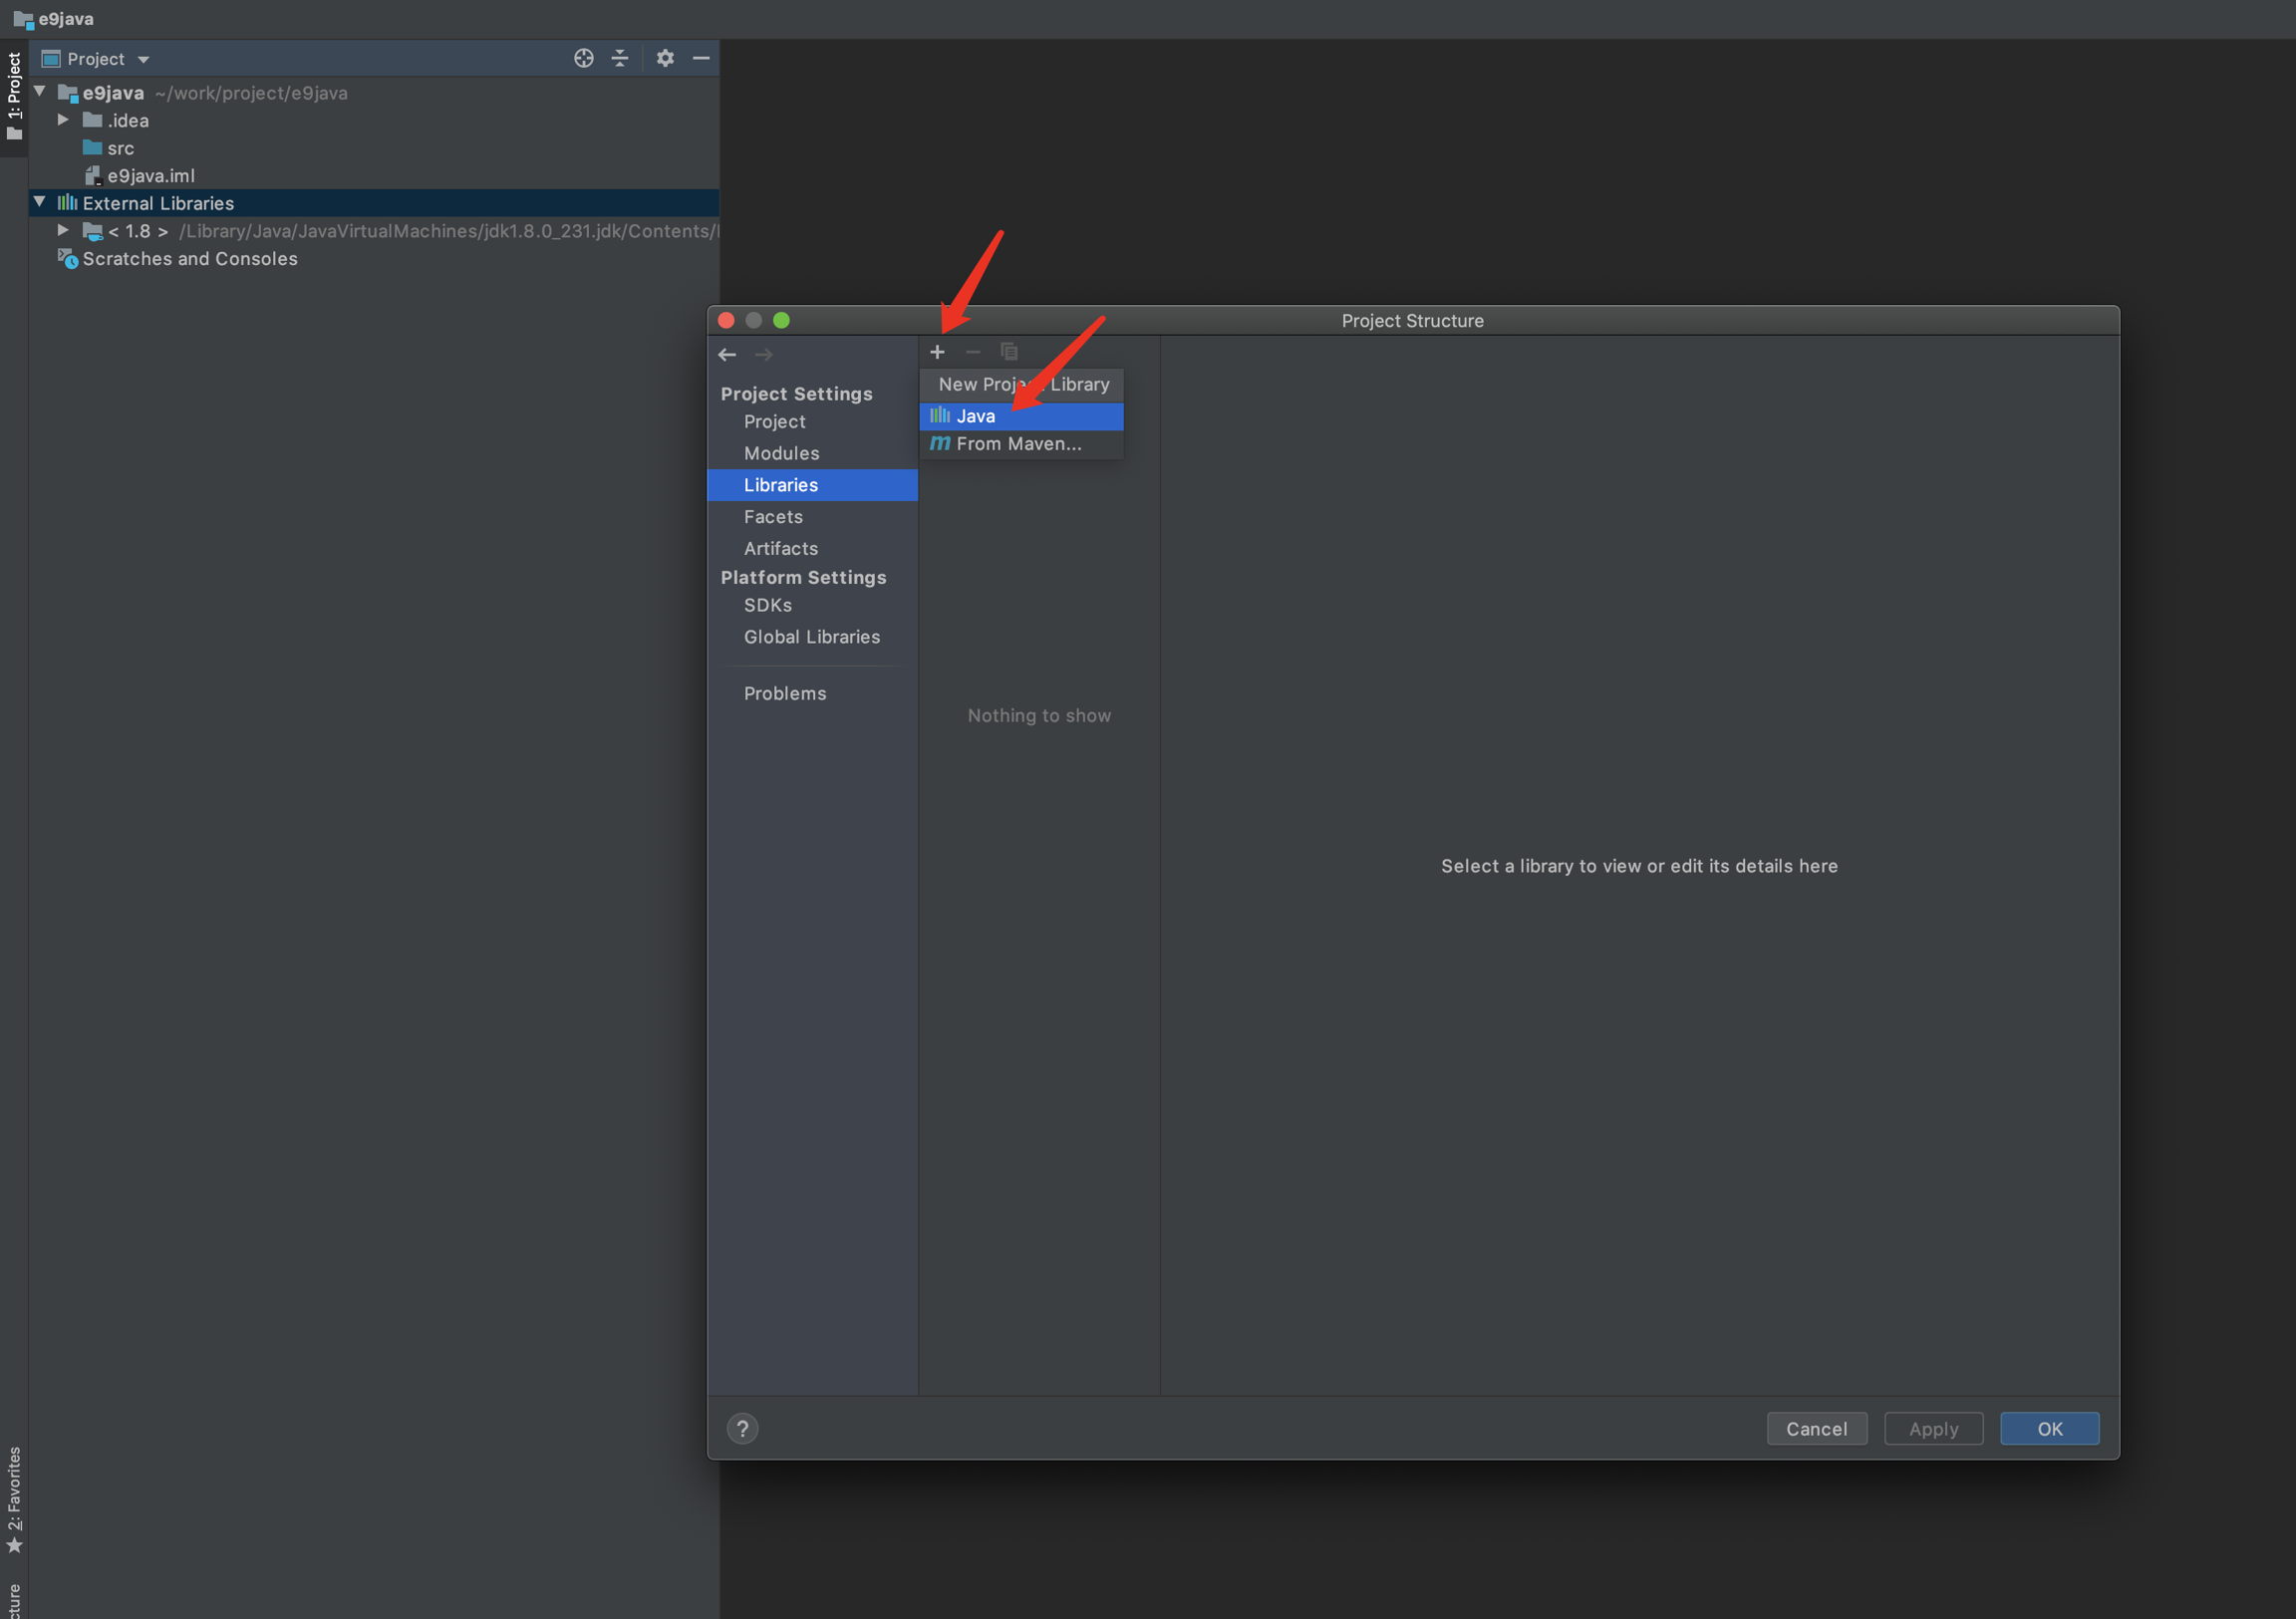
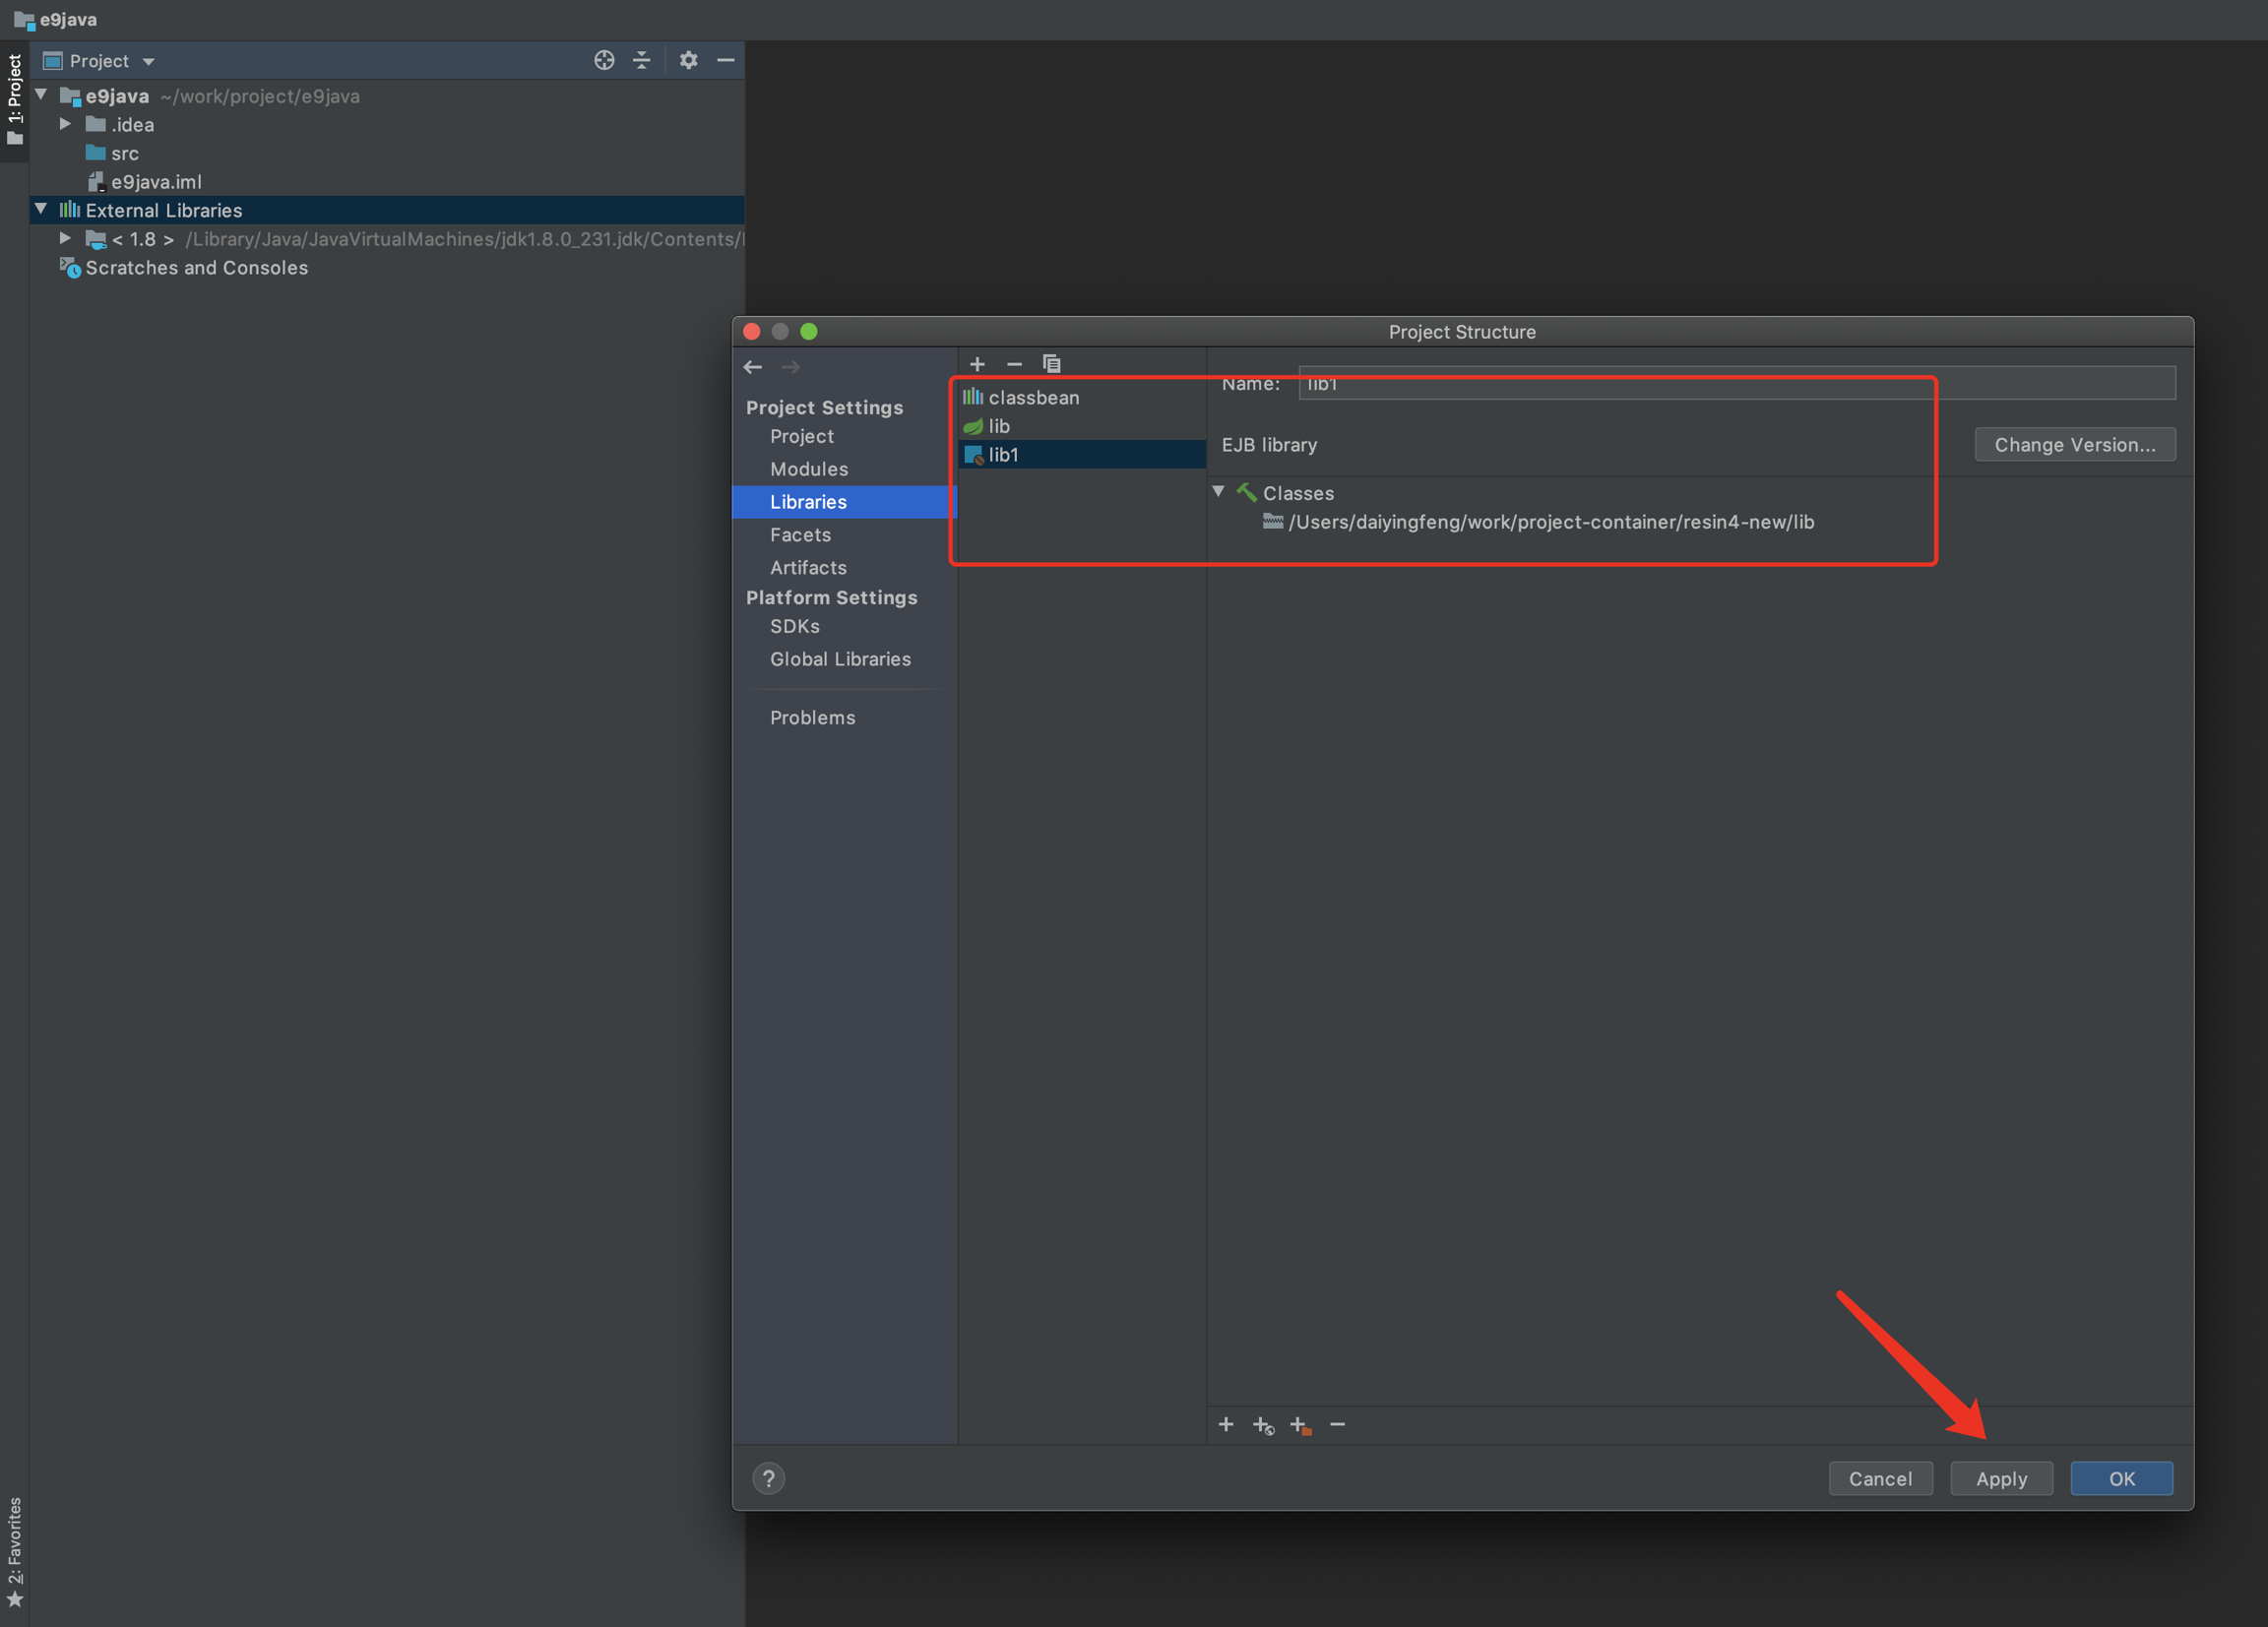
Get your demo/testing e-cology environment, and import below file/folder path
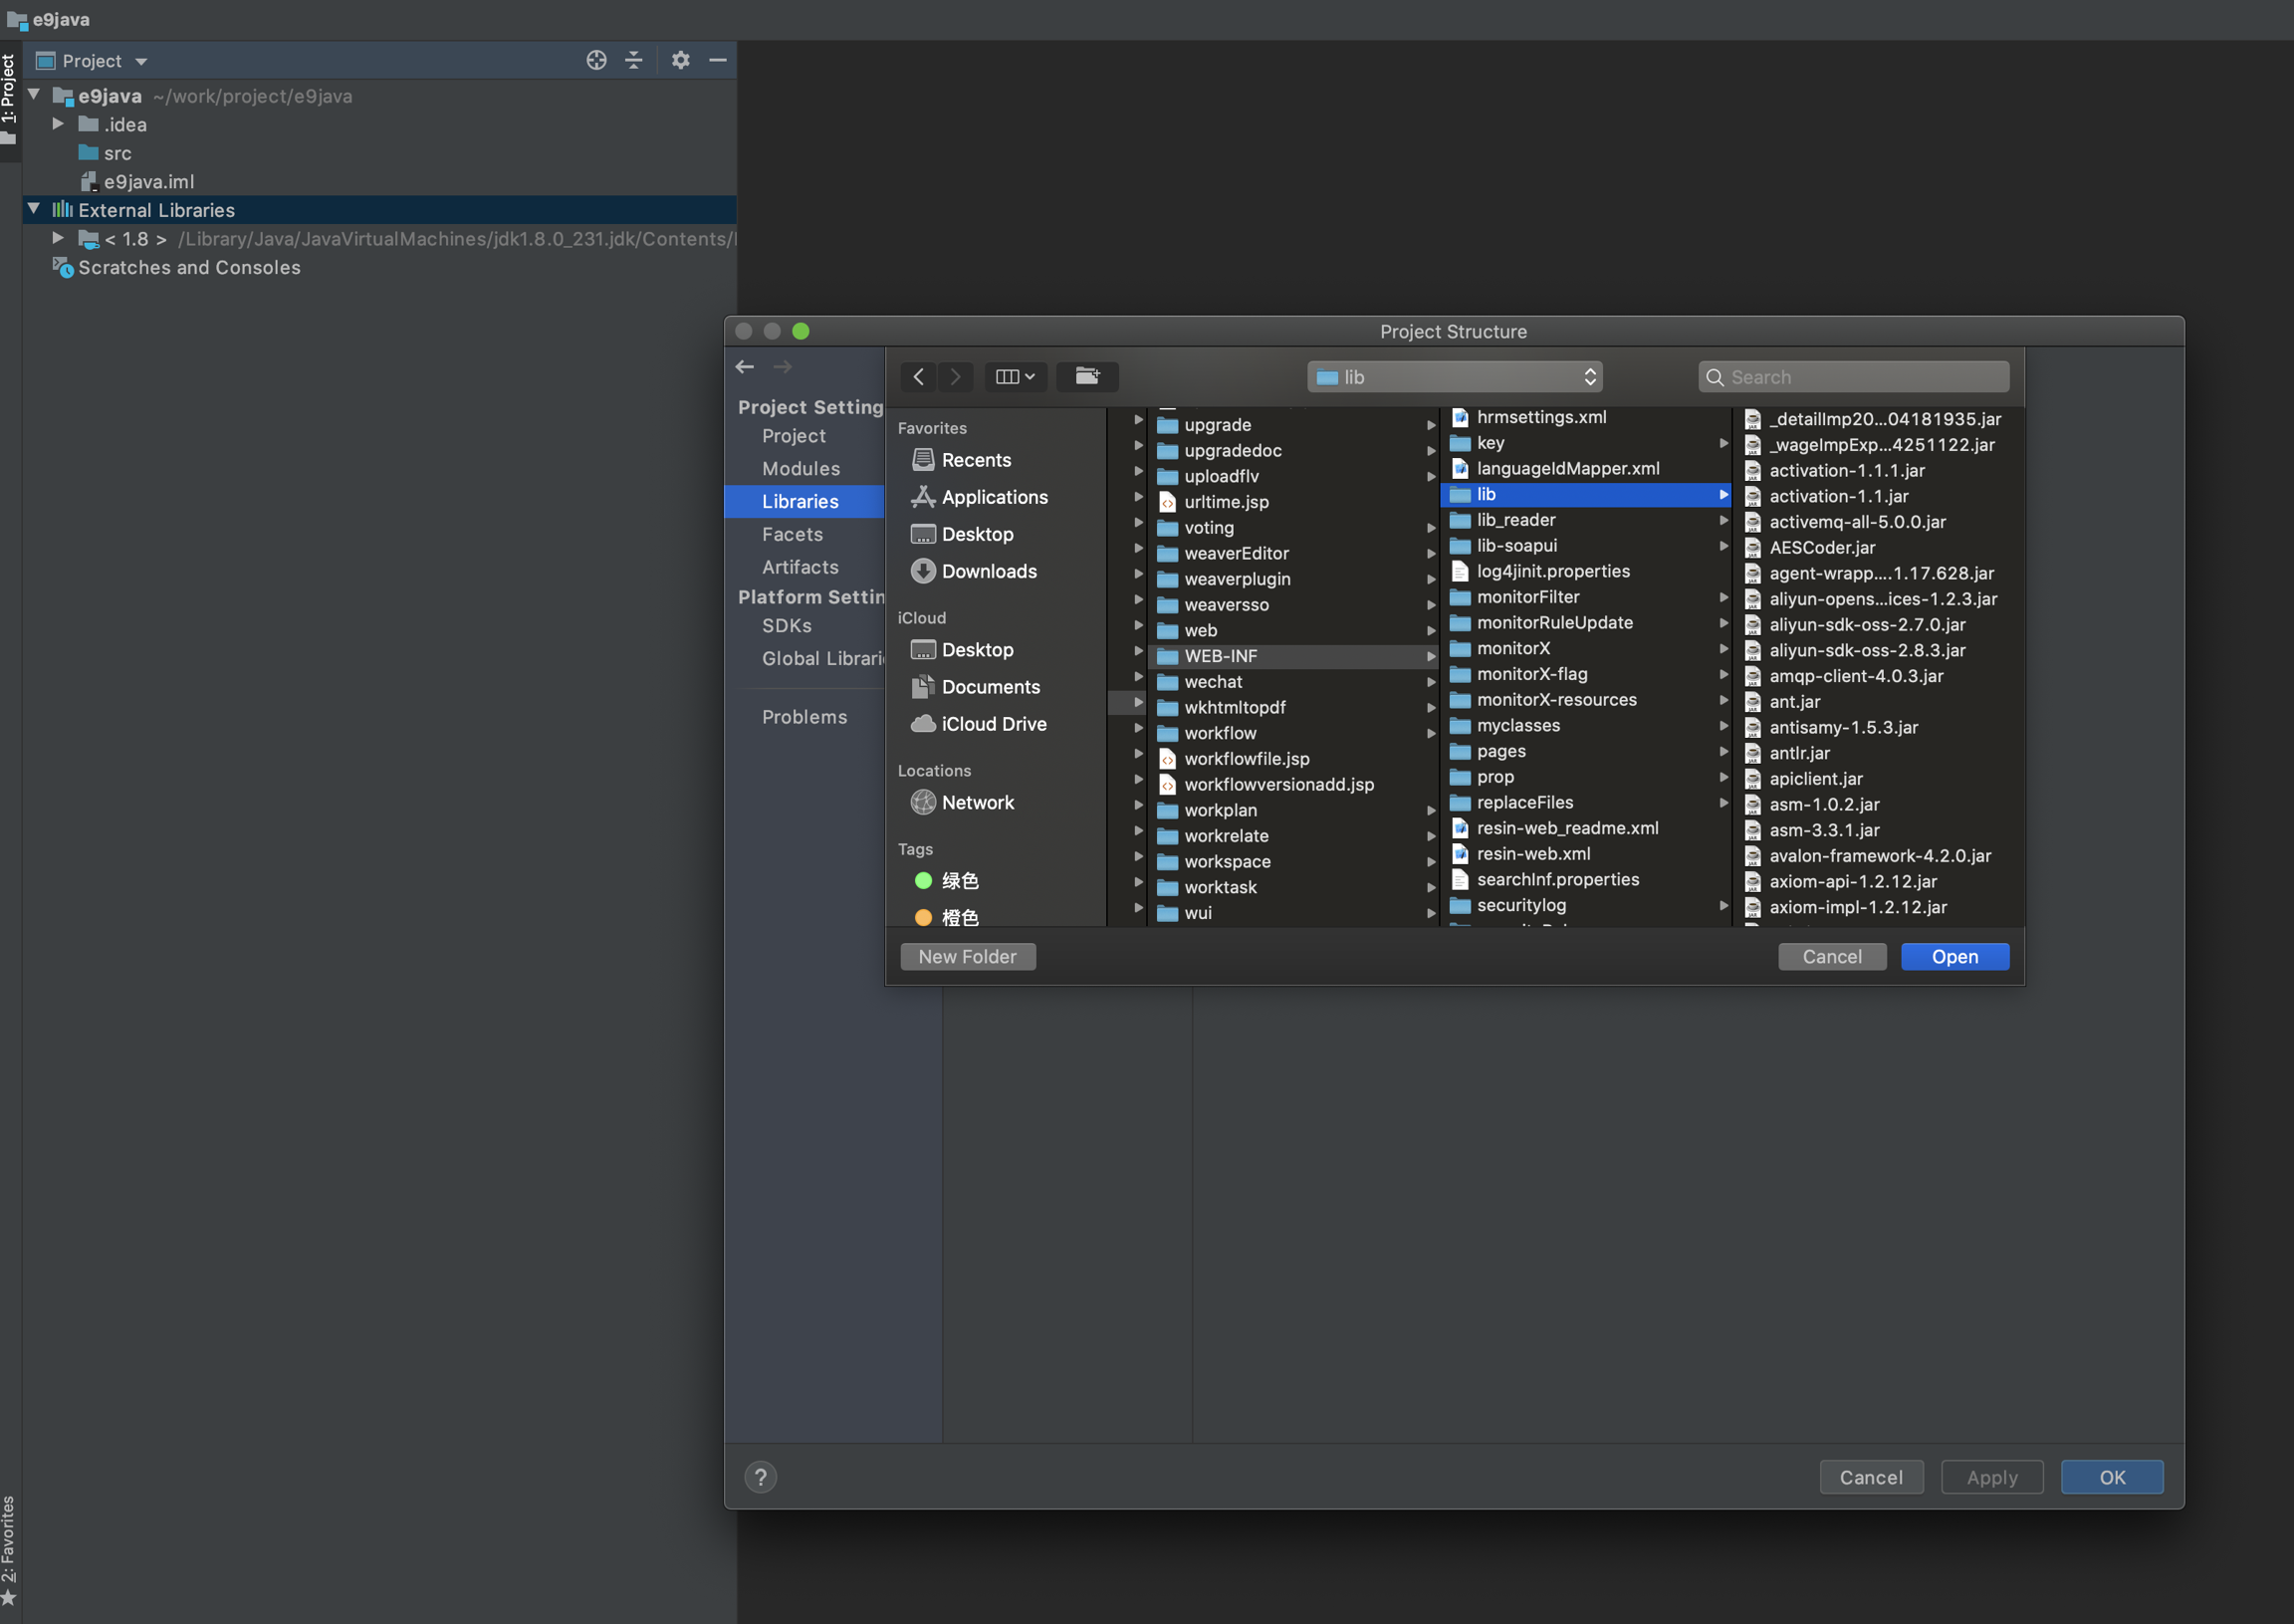
After add all library and e-cology path, click apply.
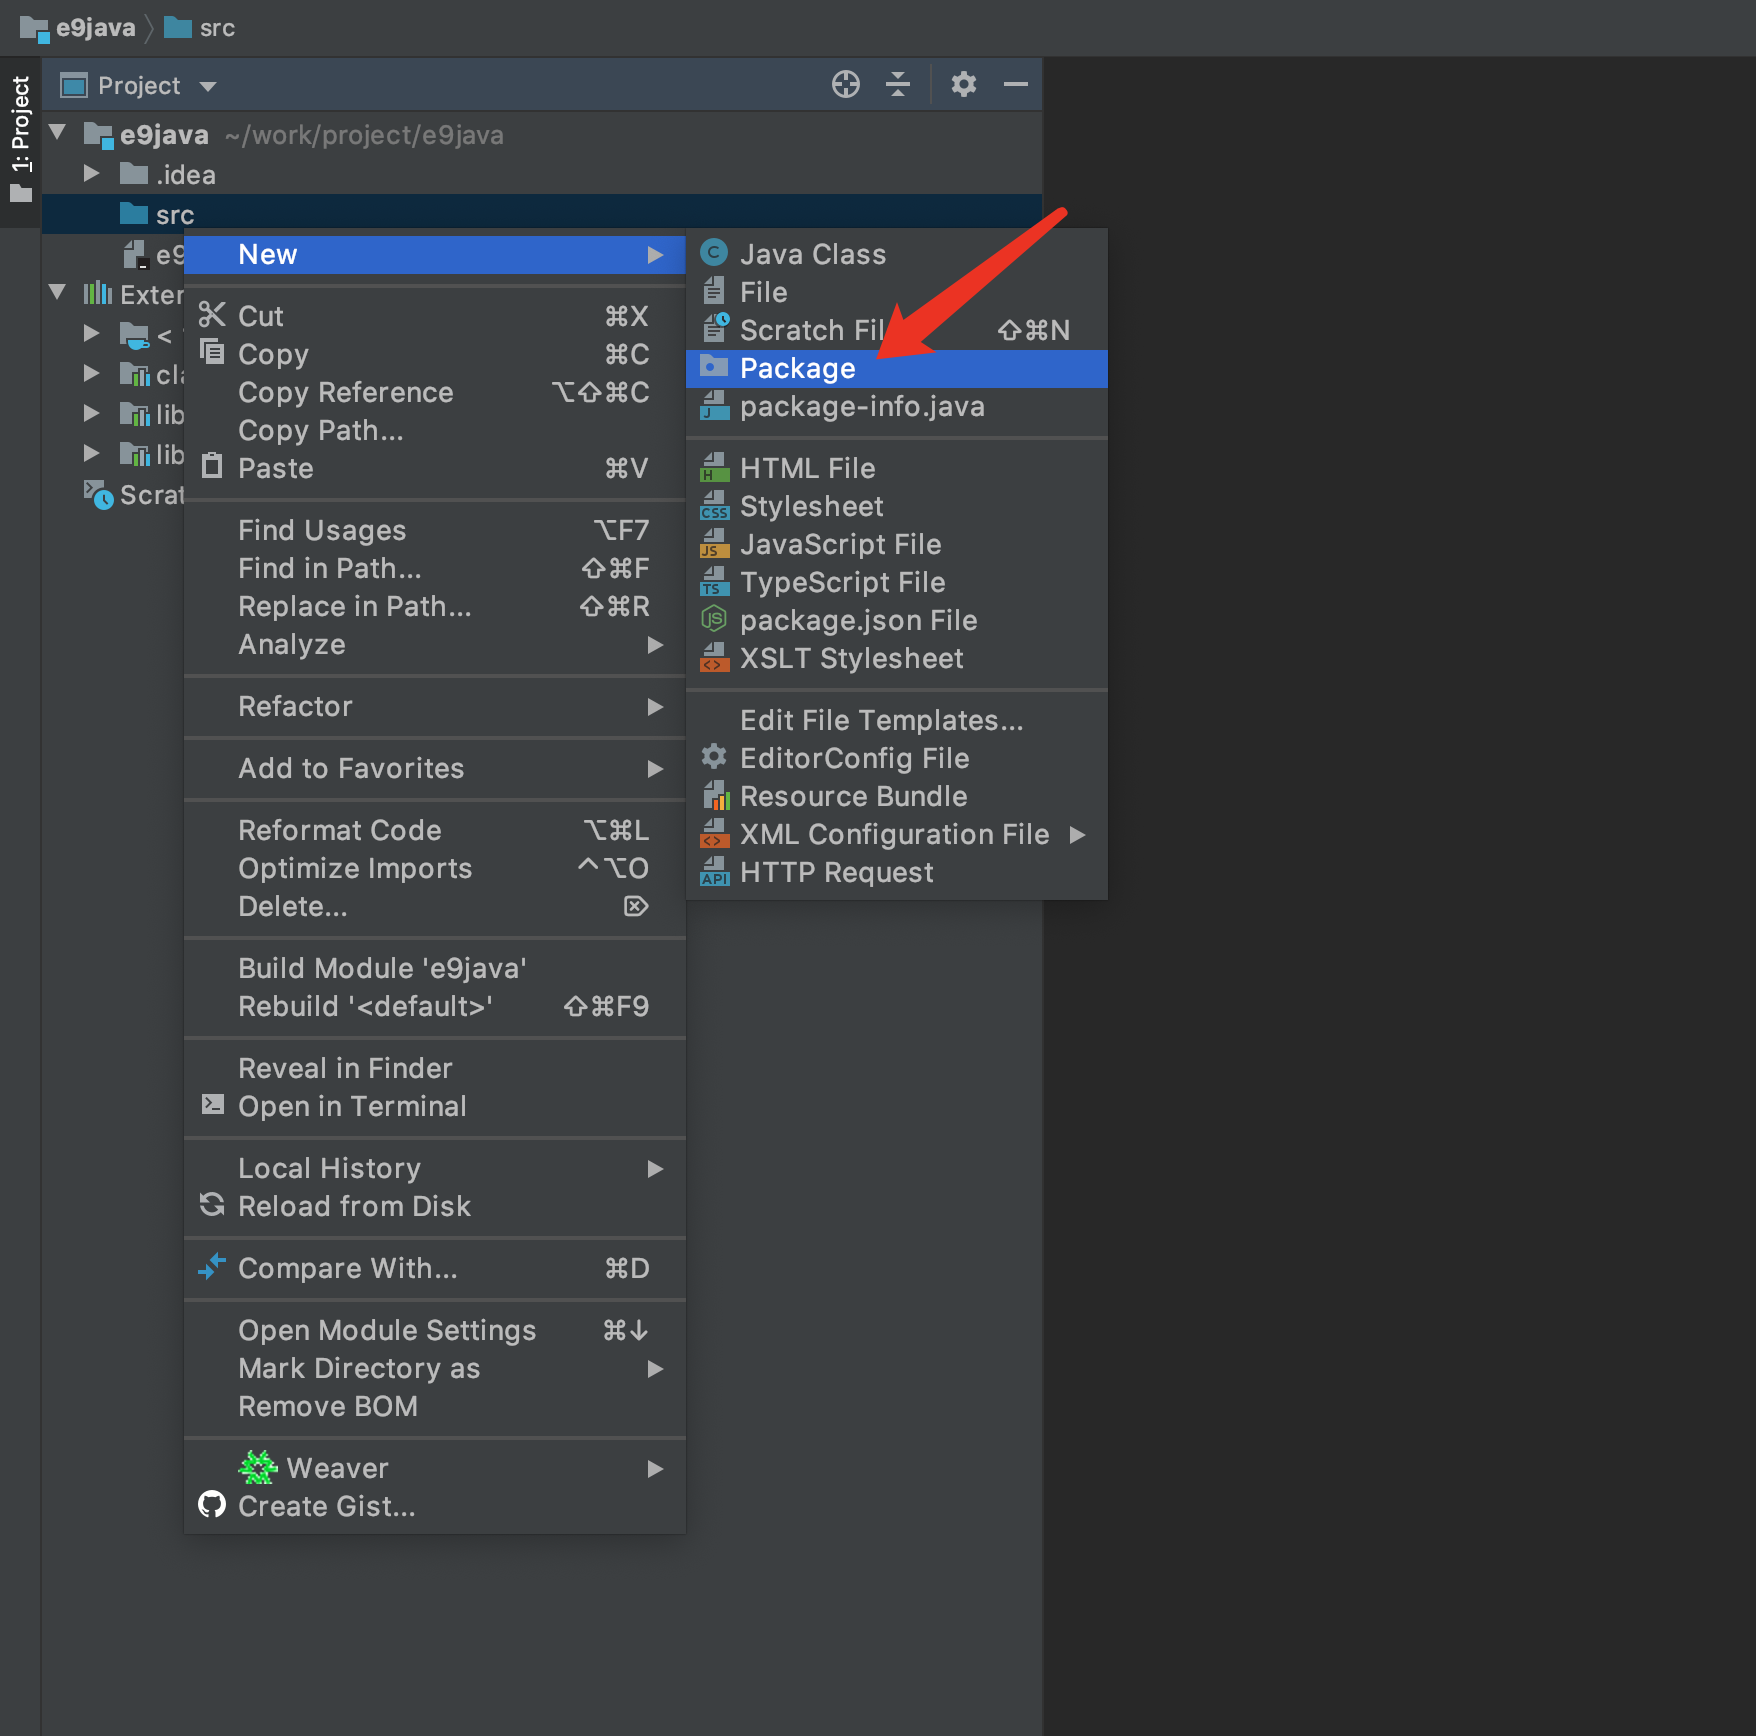
5. Write your testing code now
Right click SRC->New->Package
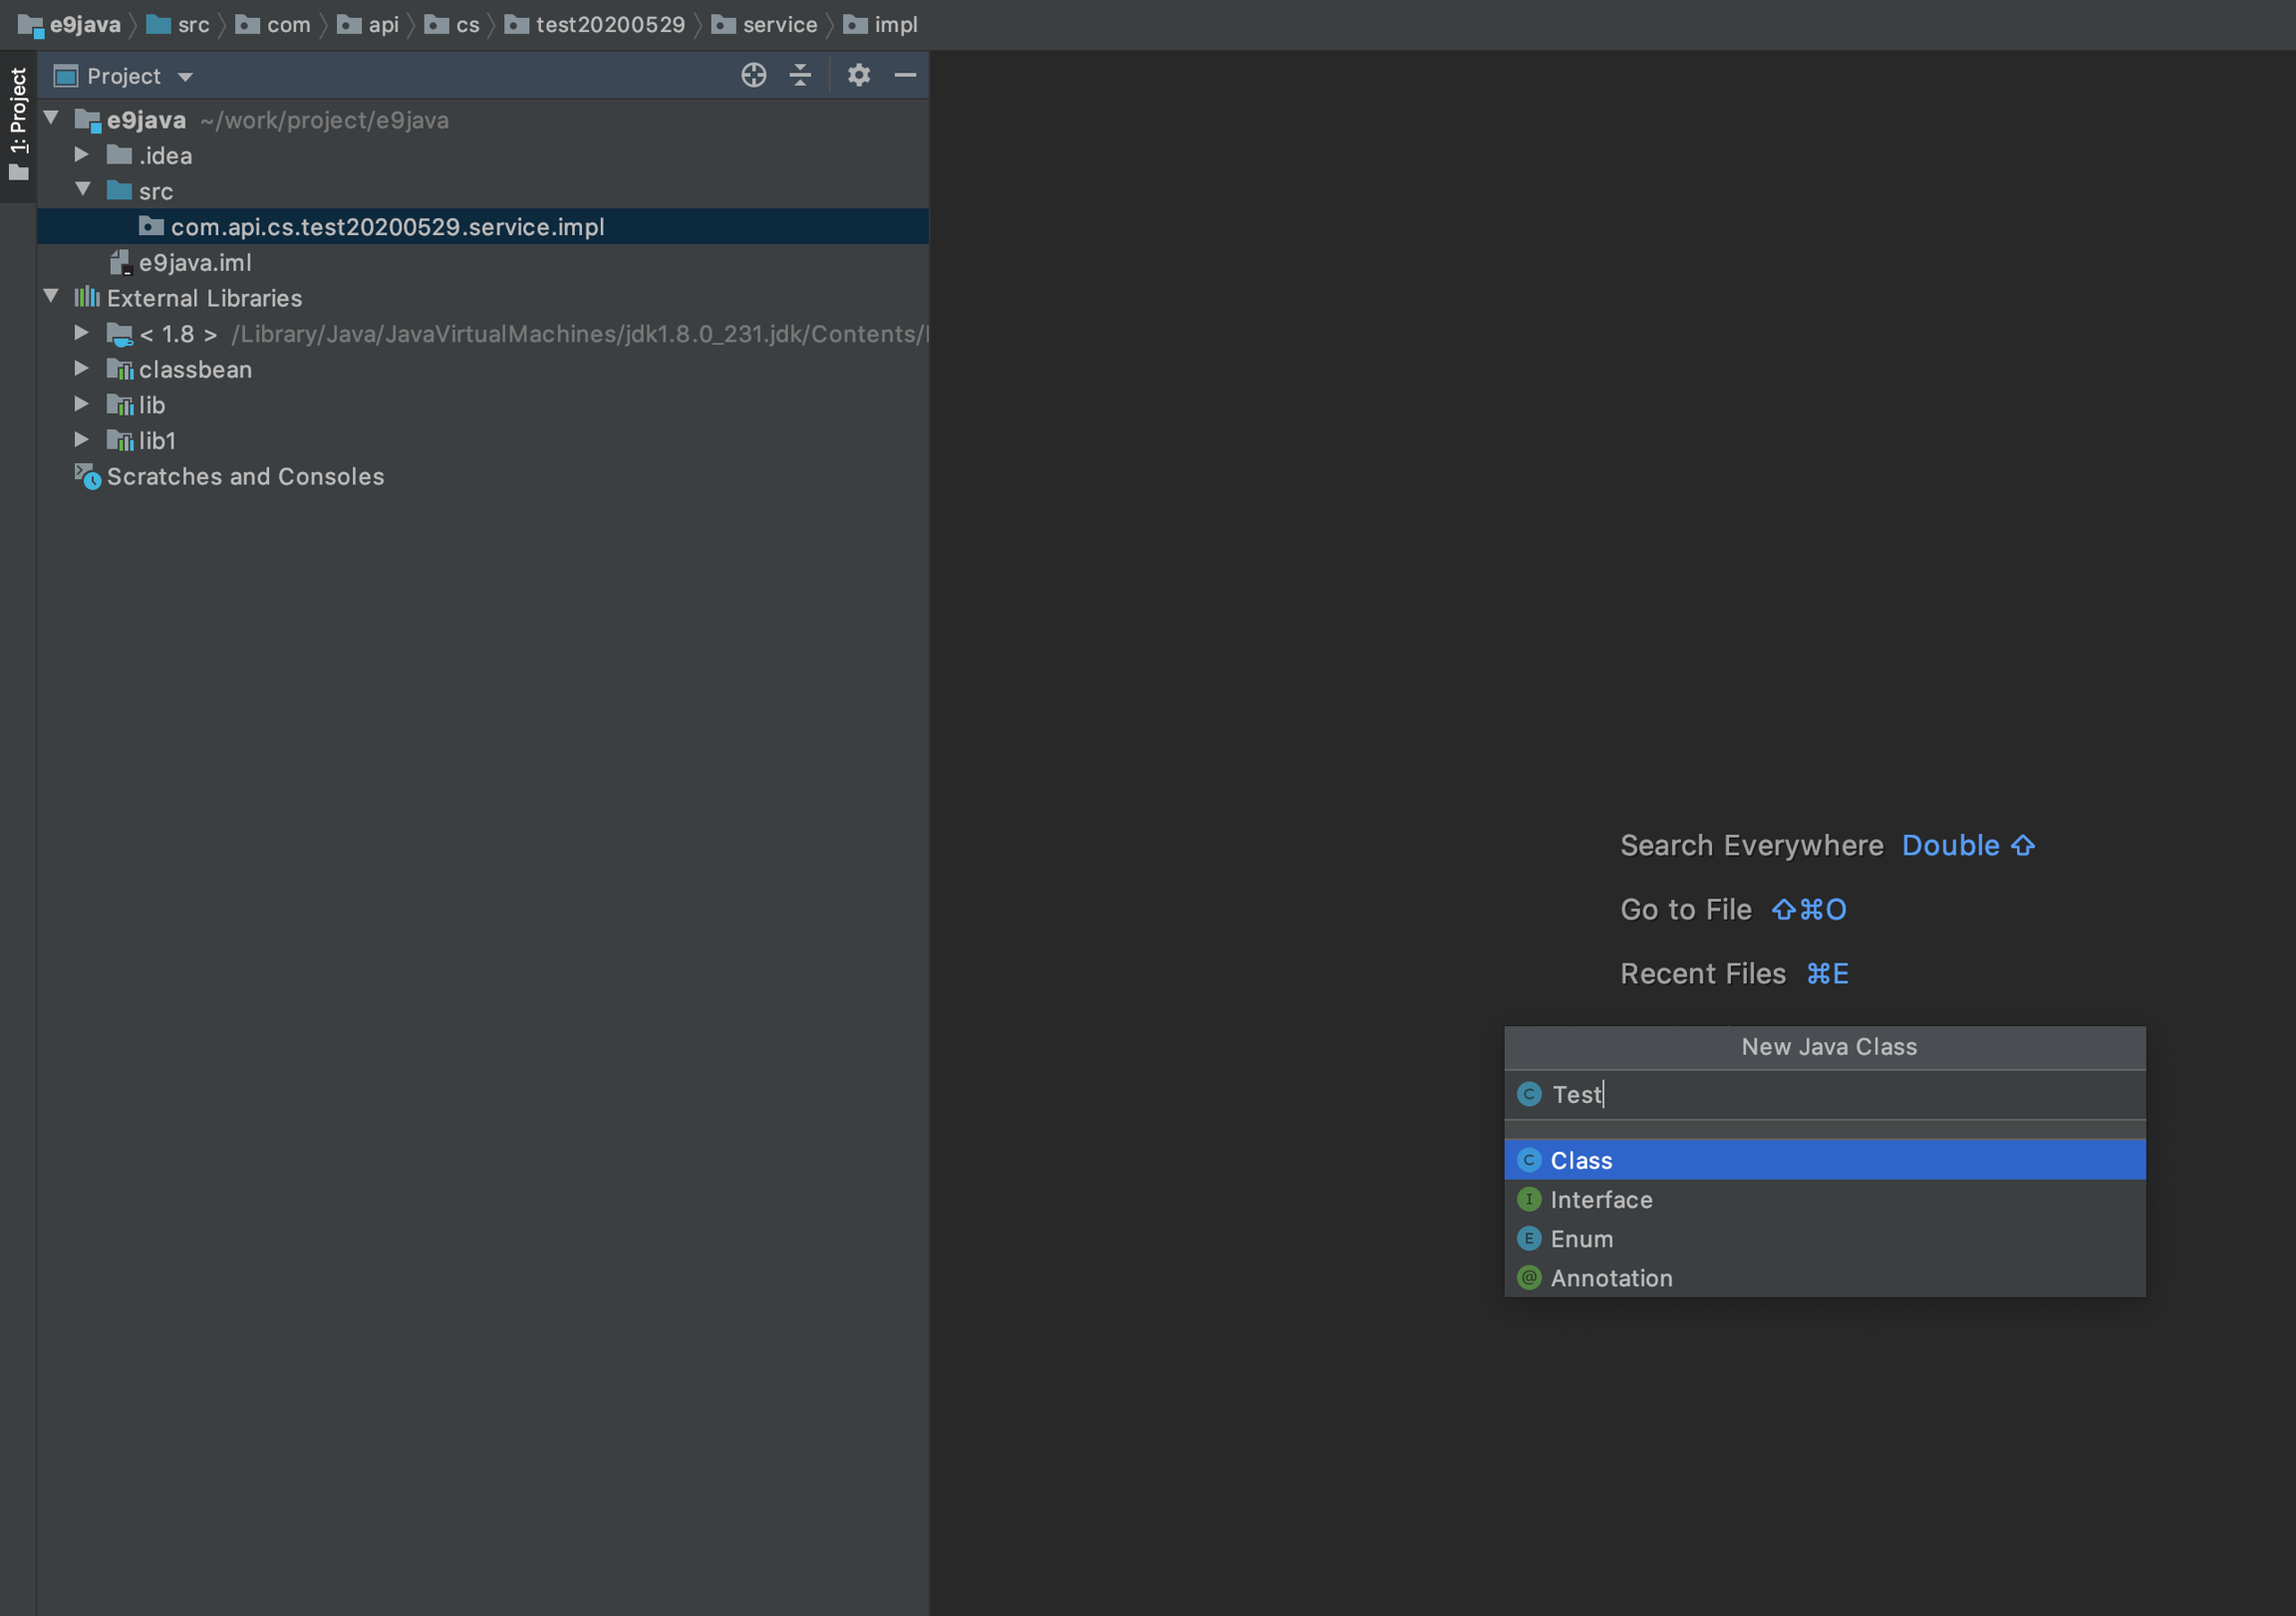
Right click package->new->Java, please note the package should include impl, then can support non-intrusive development
Testing Code
6. Configuration compilation
Go to project setting: File->Project Structure

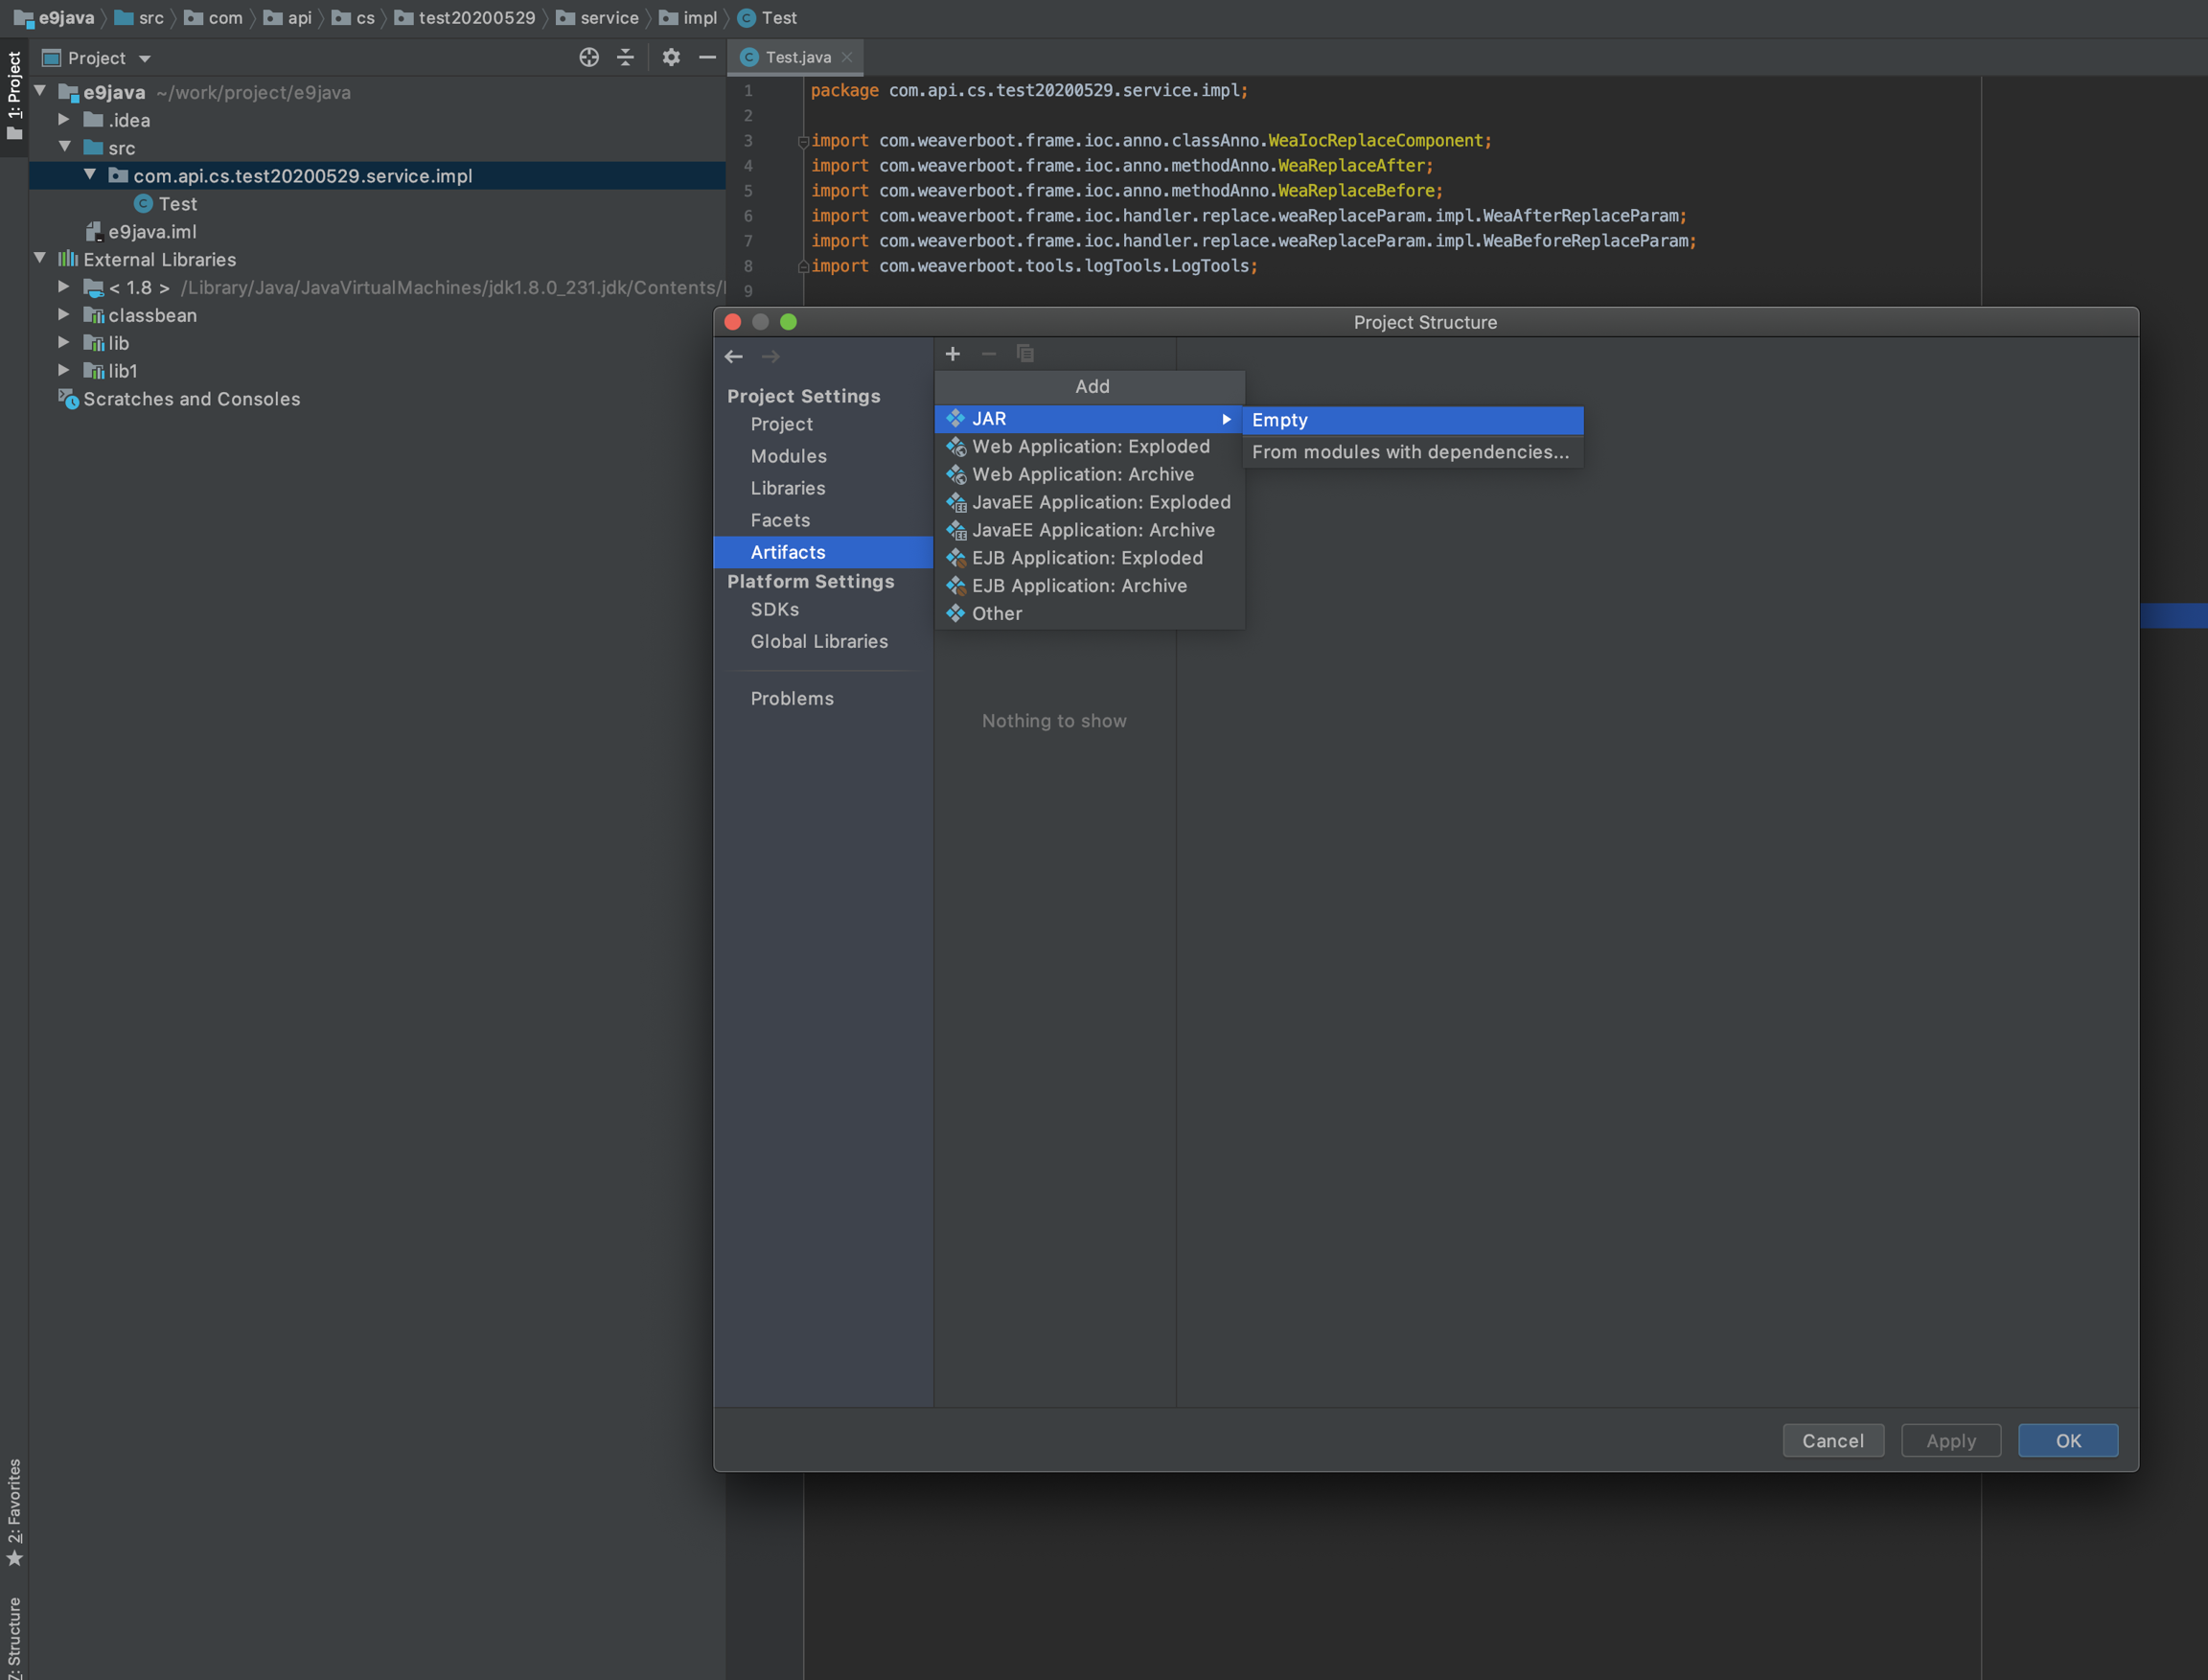
Go to Artifacts->+->JAR->Empty
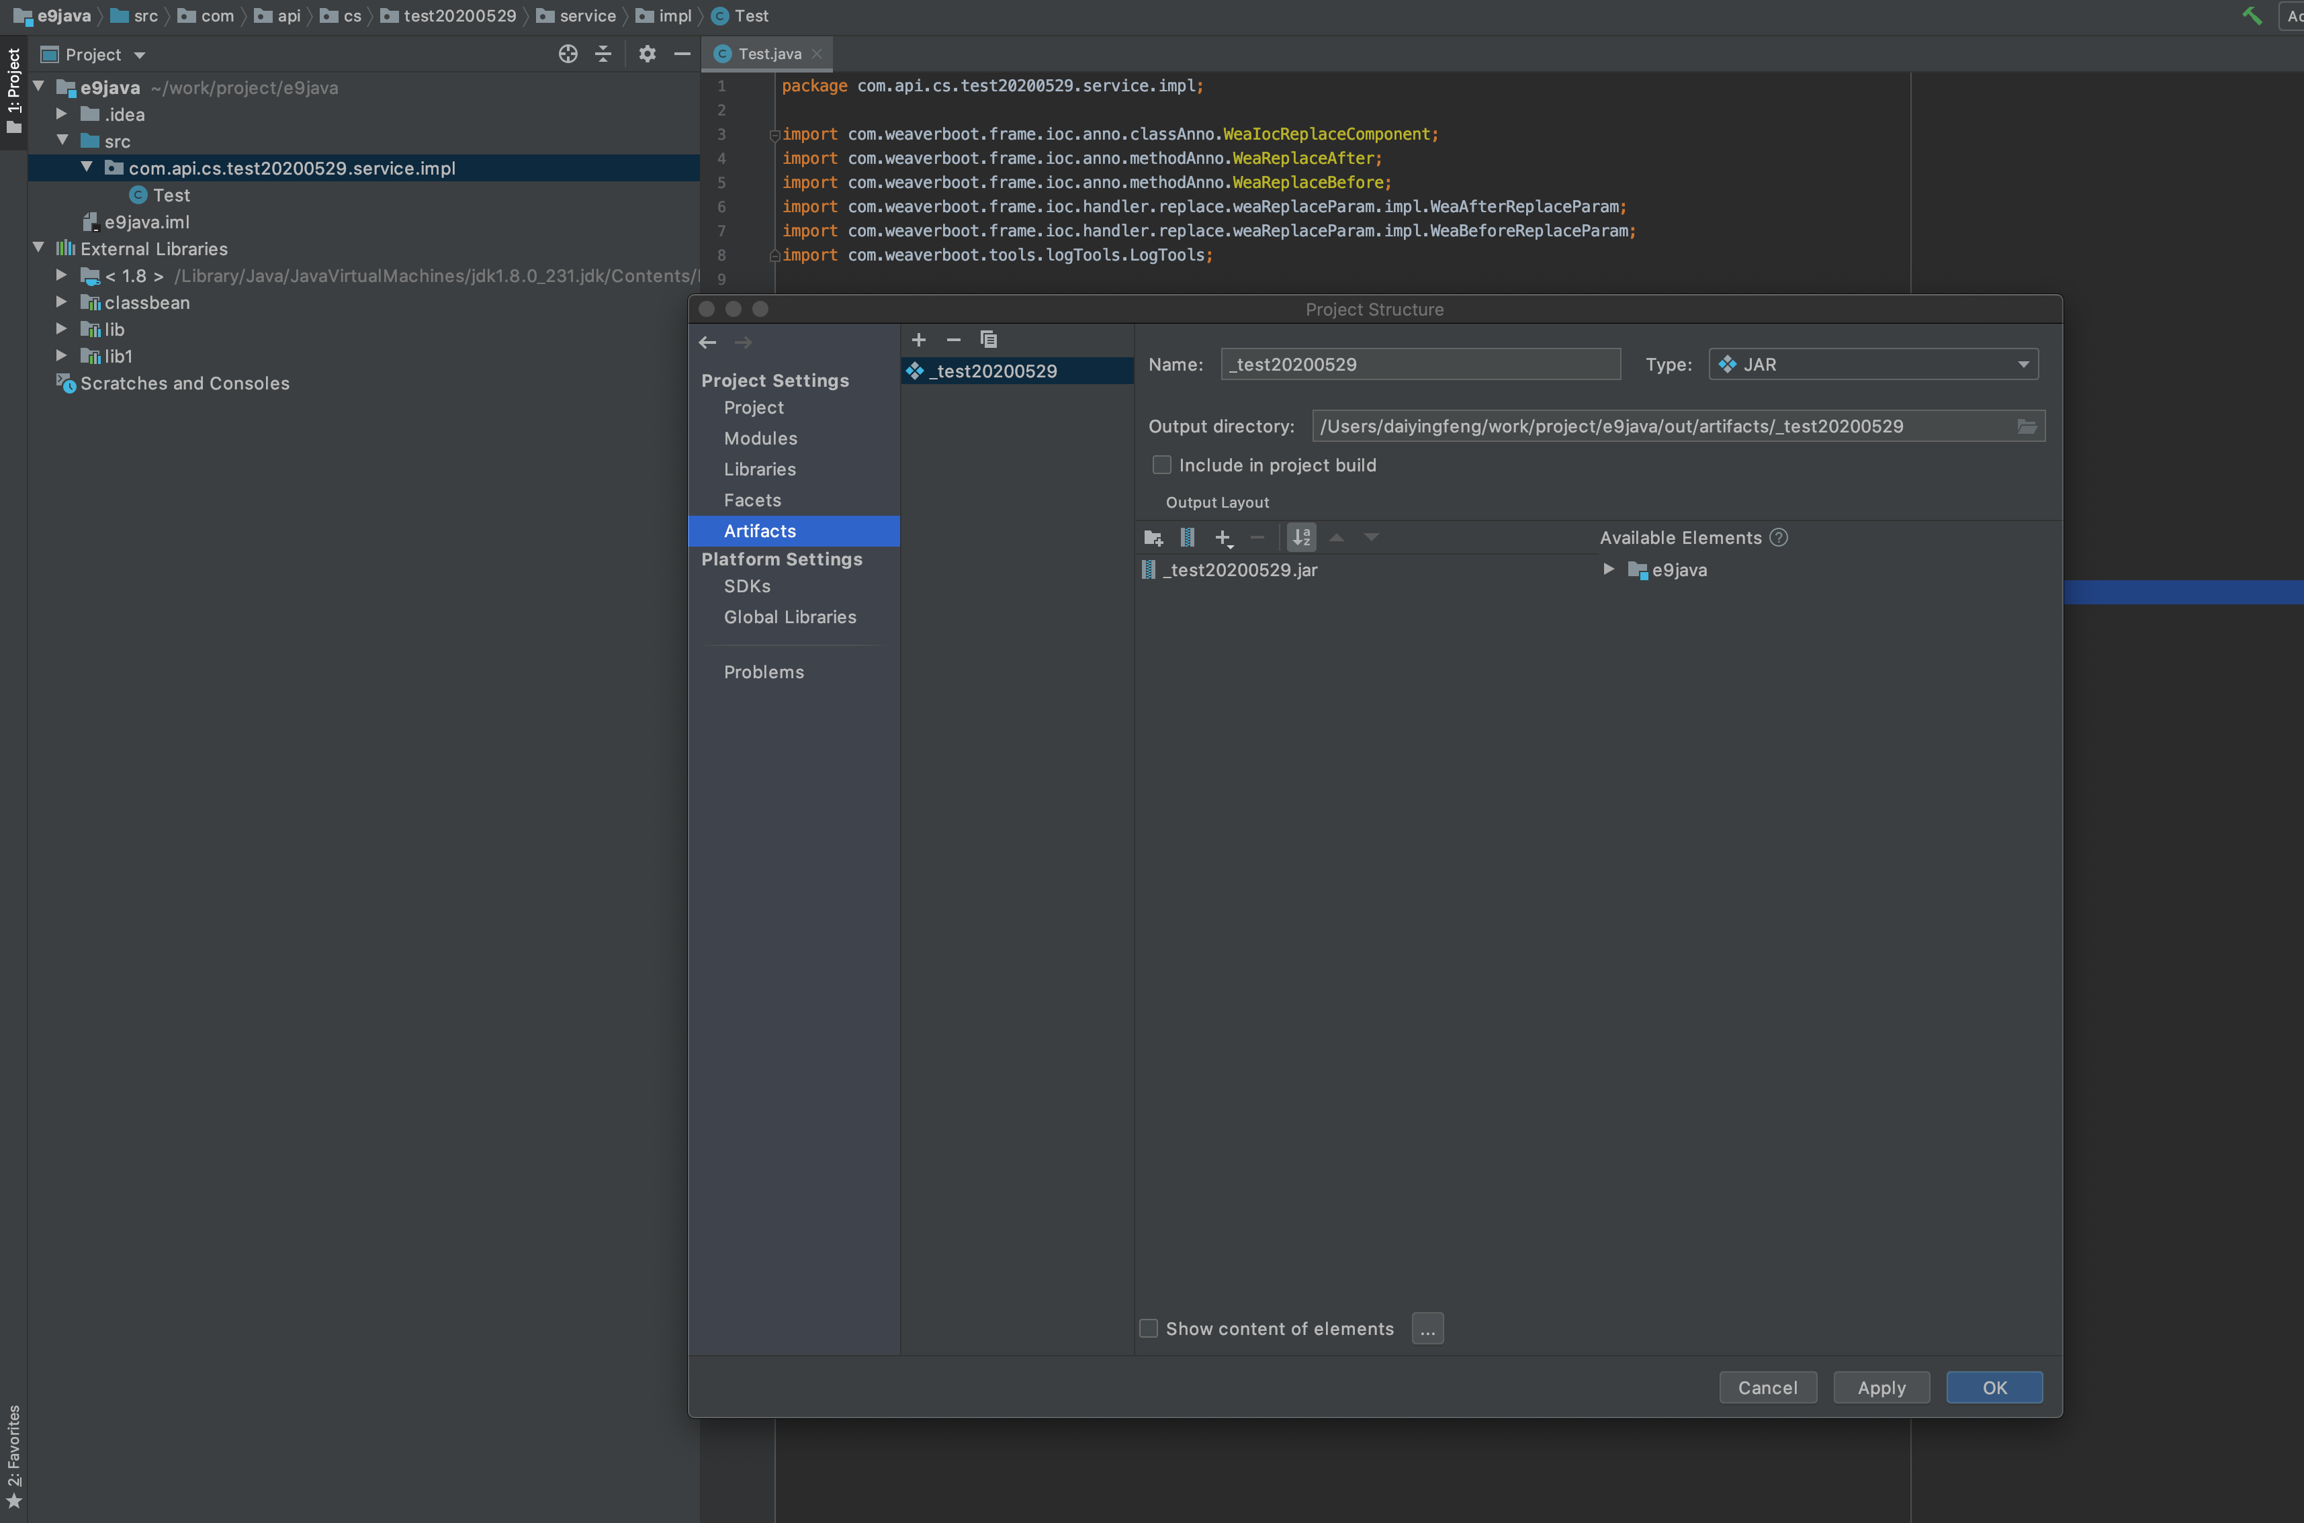
Edit Name, please note if the code need to support non-intrusive development, jar package name must contain an underscore prefix, similar to the example writing
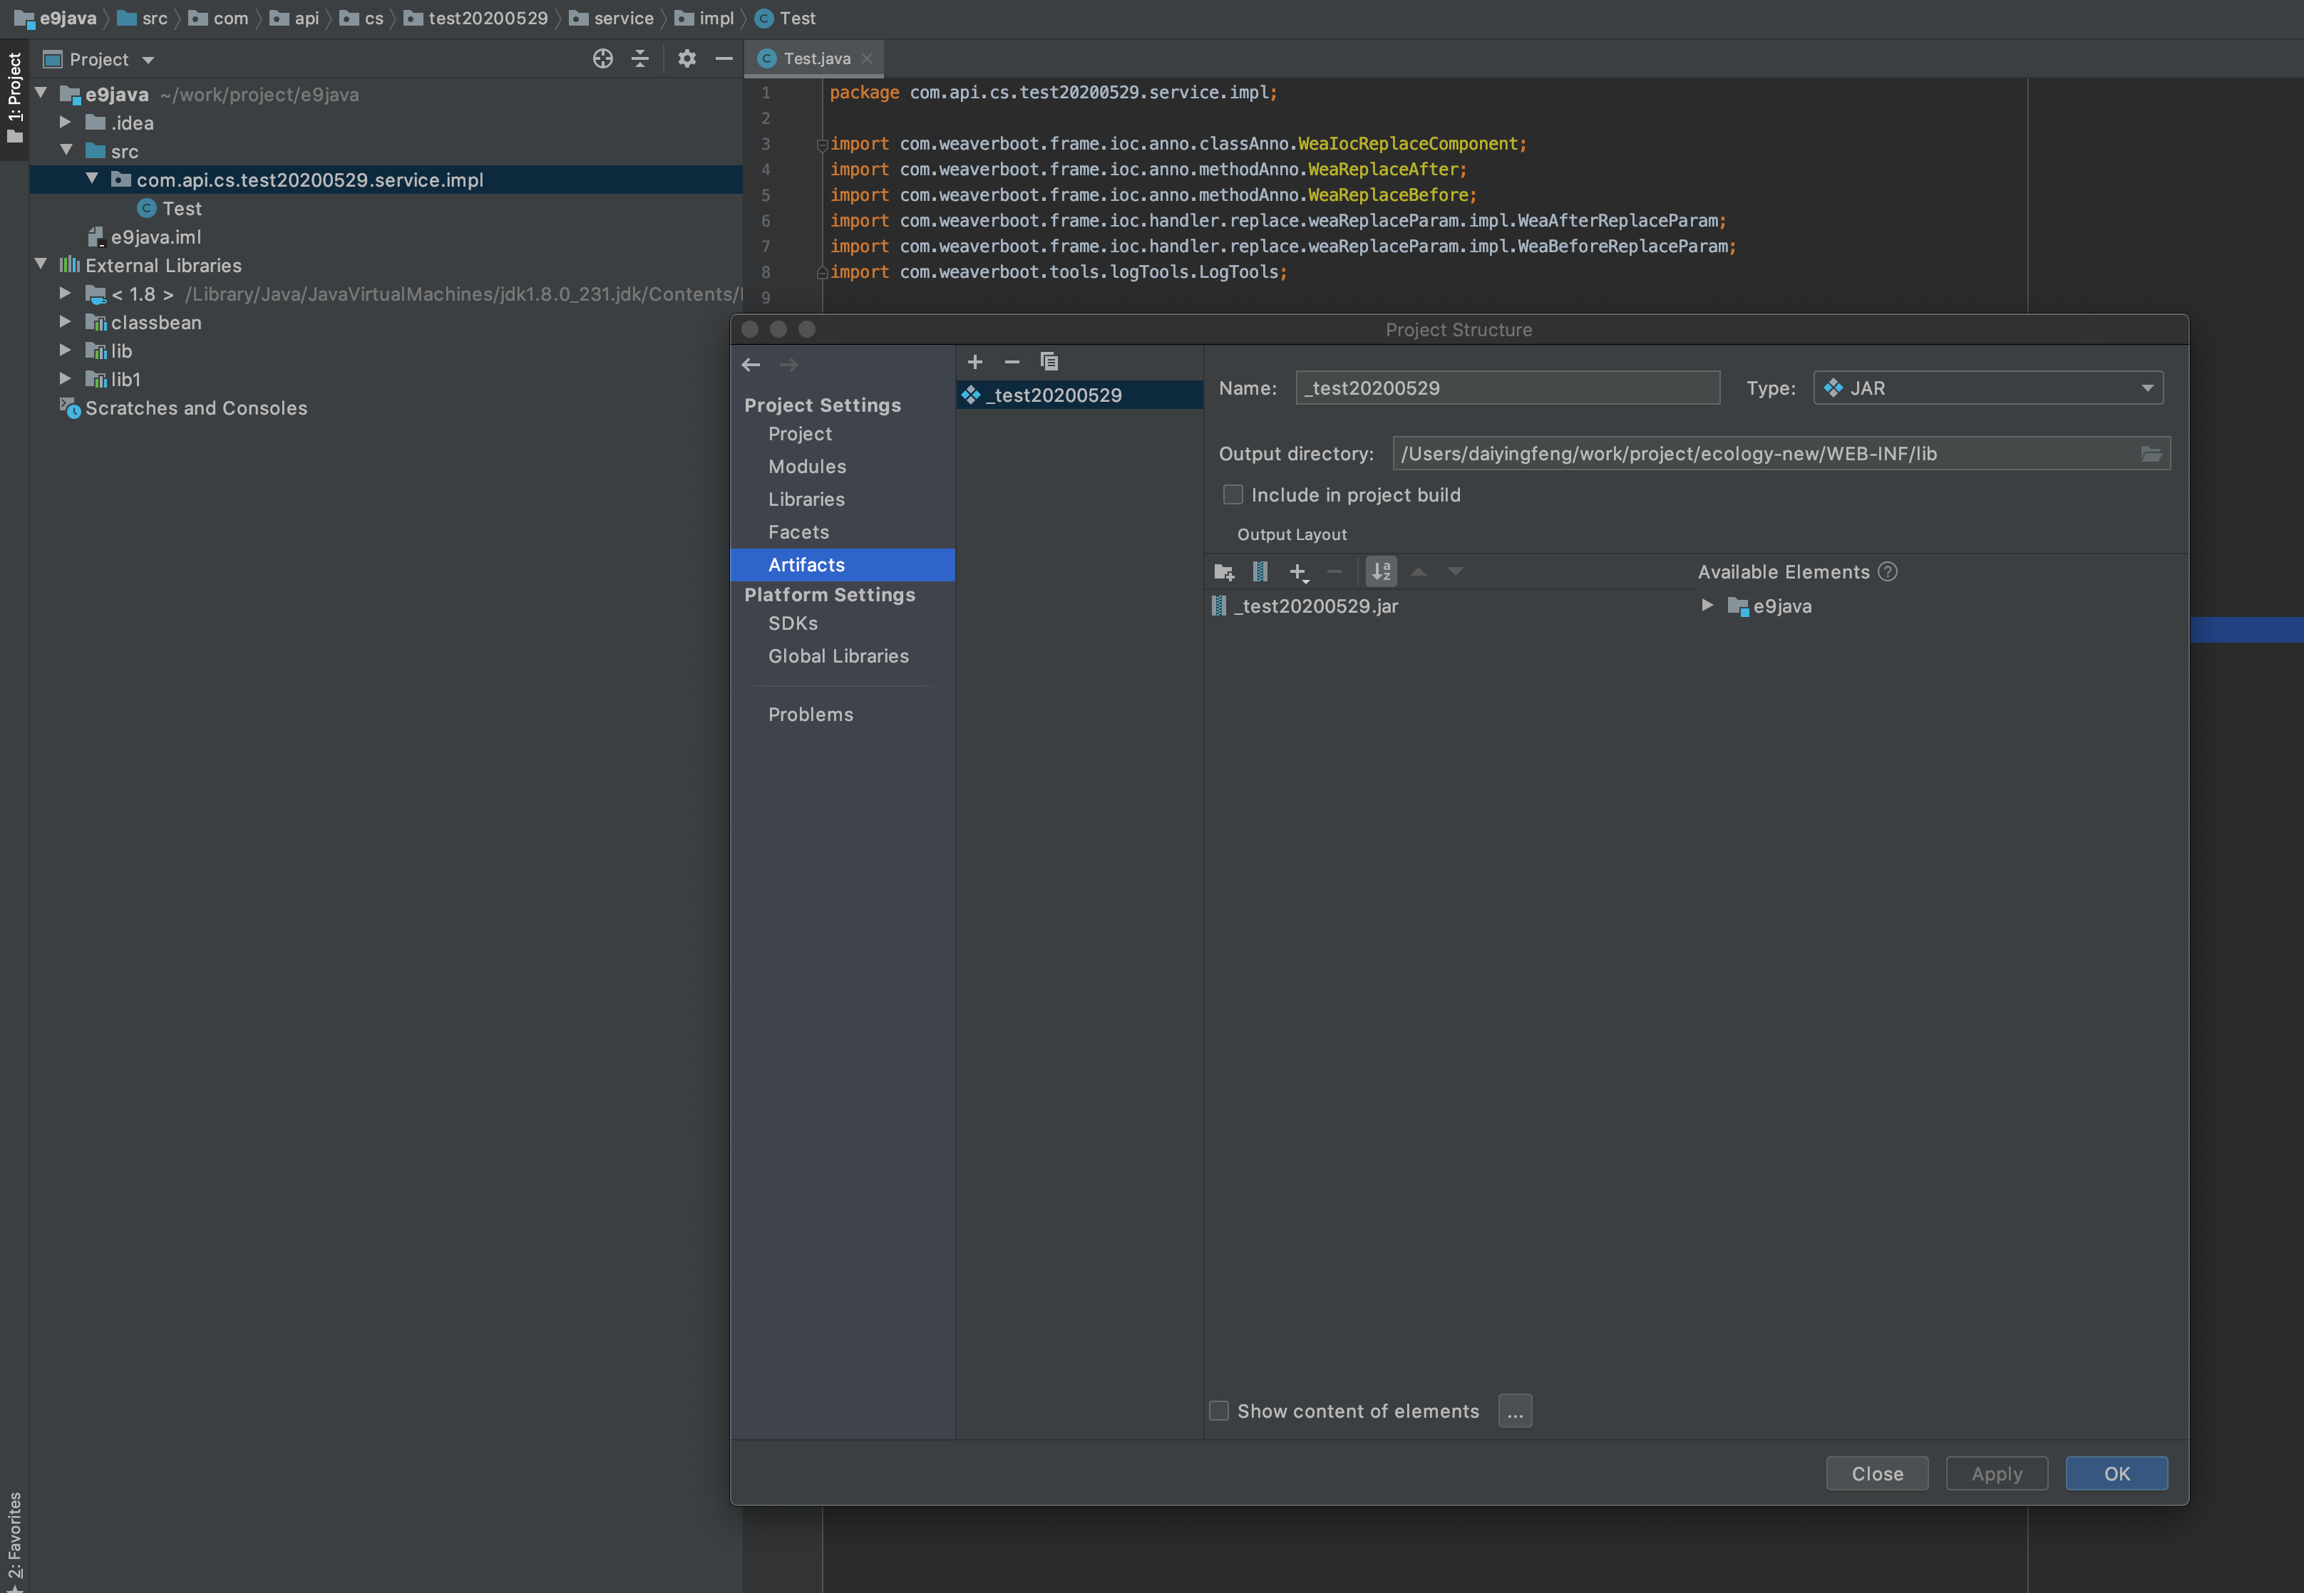
Modify jar output directory as ecology/web-inf/lib
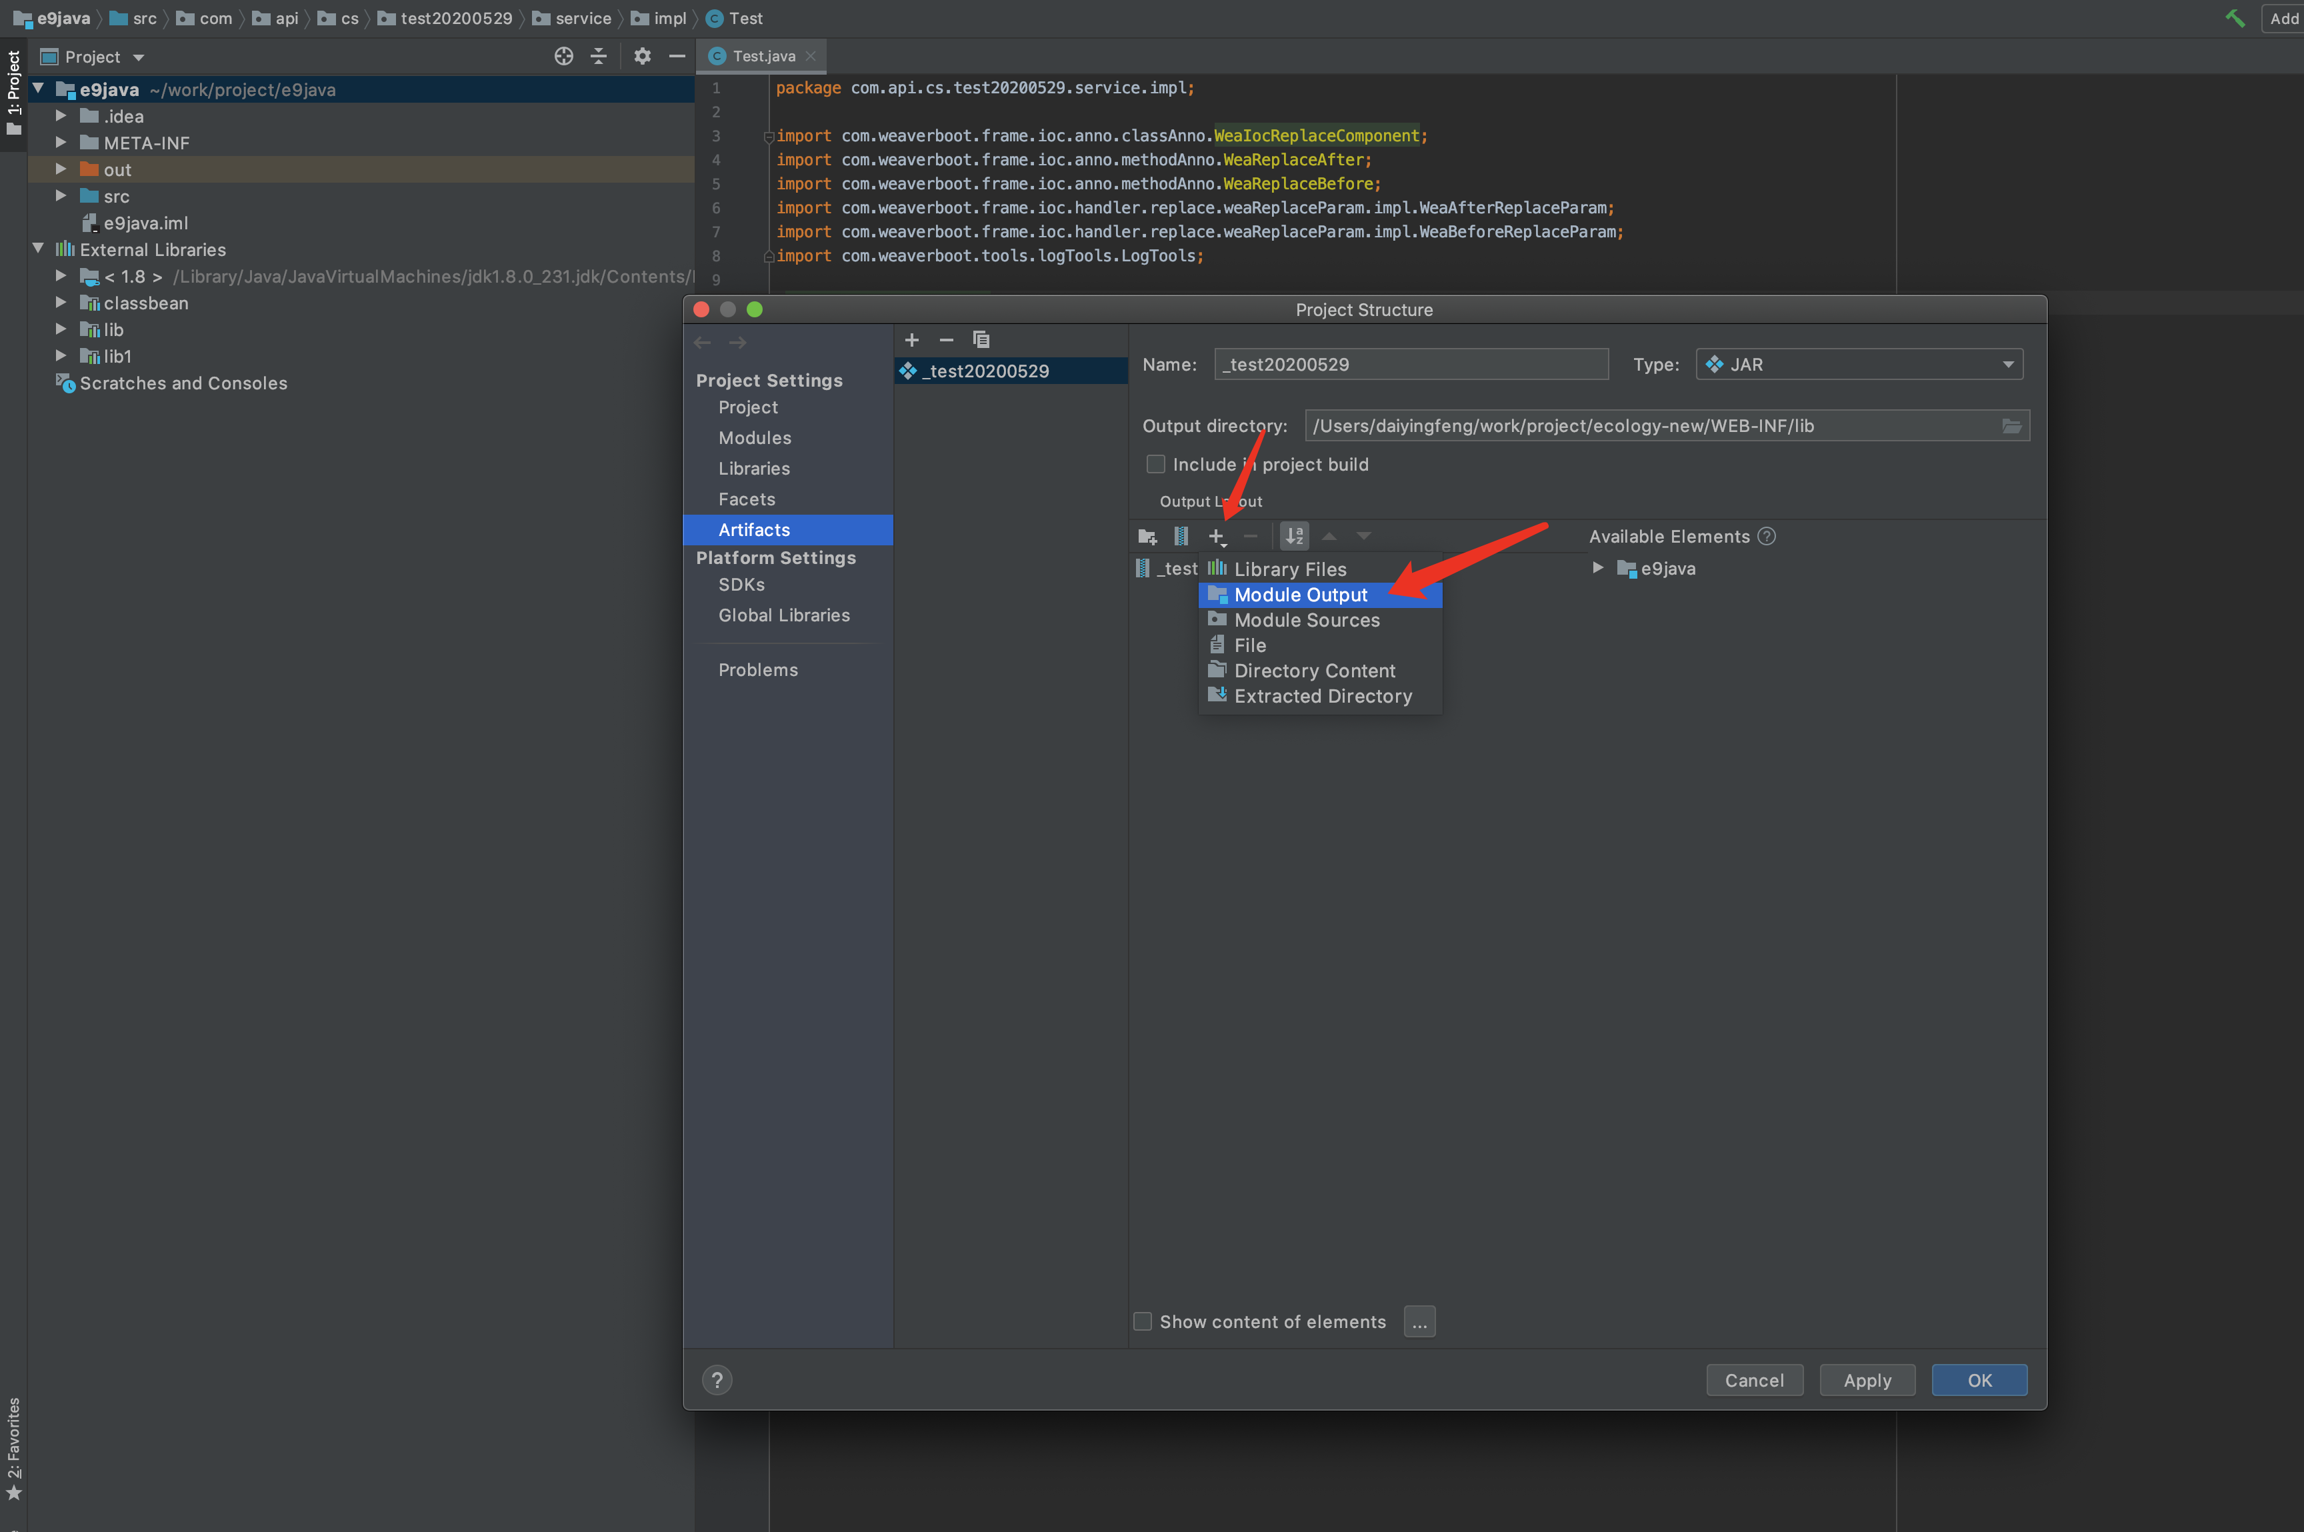
add src output to jar package and then click Apply
Select build->Build Artifacts
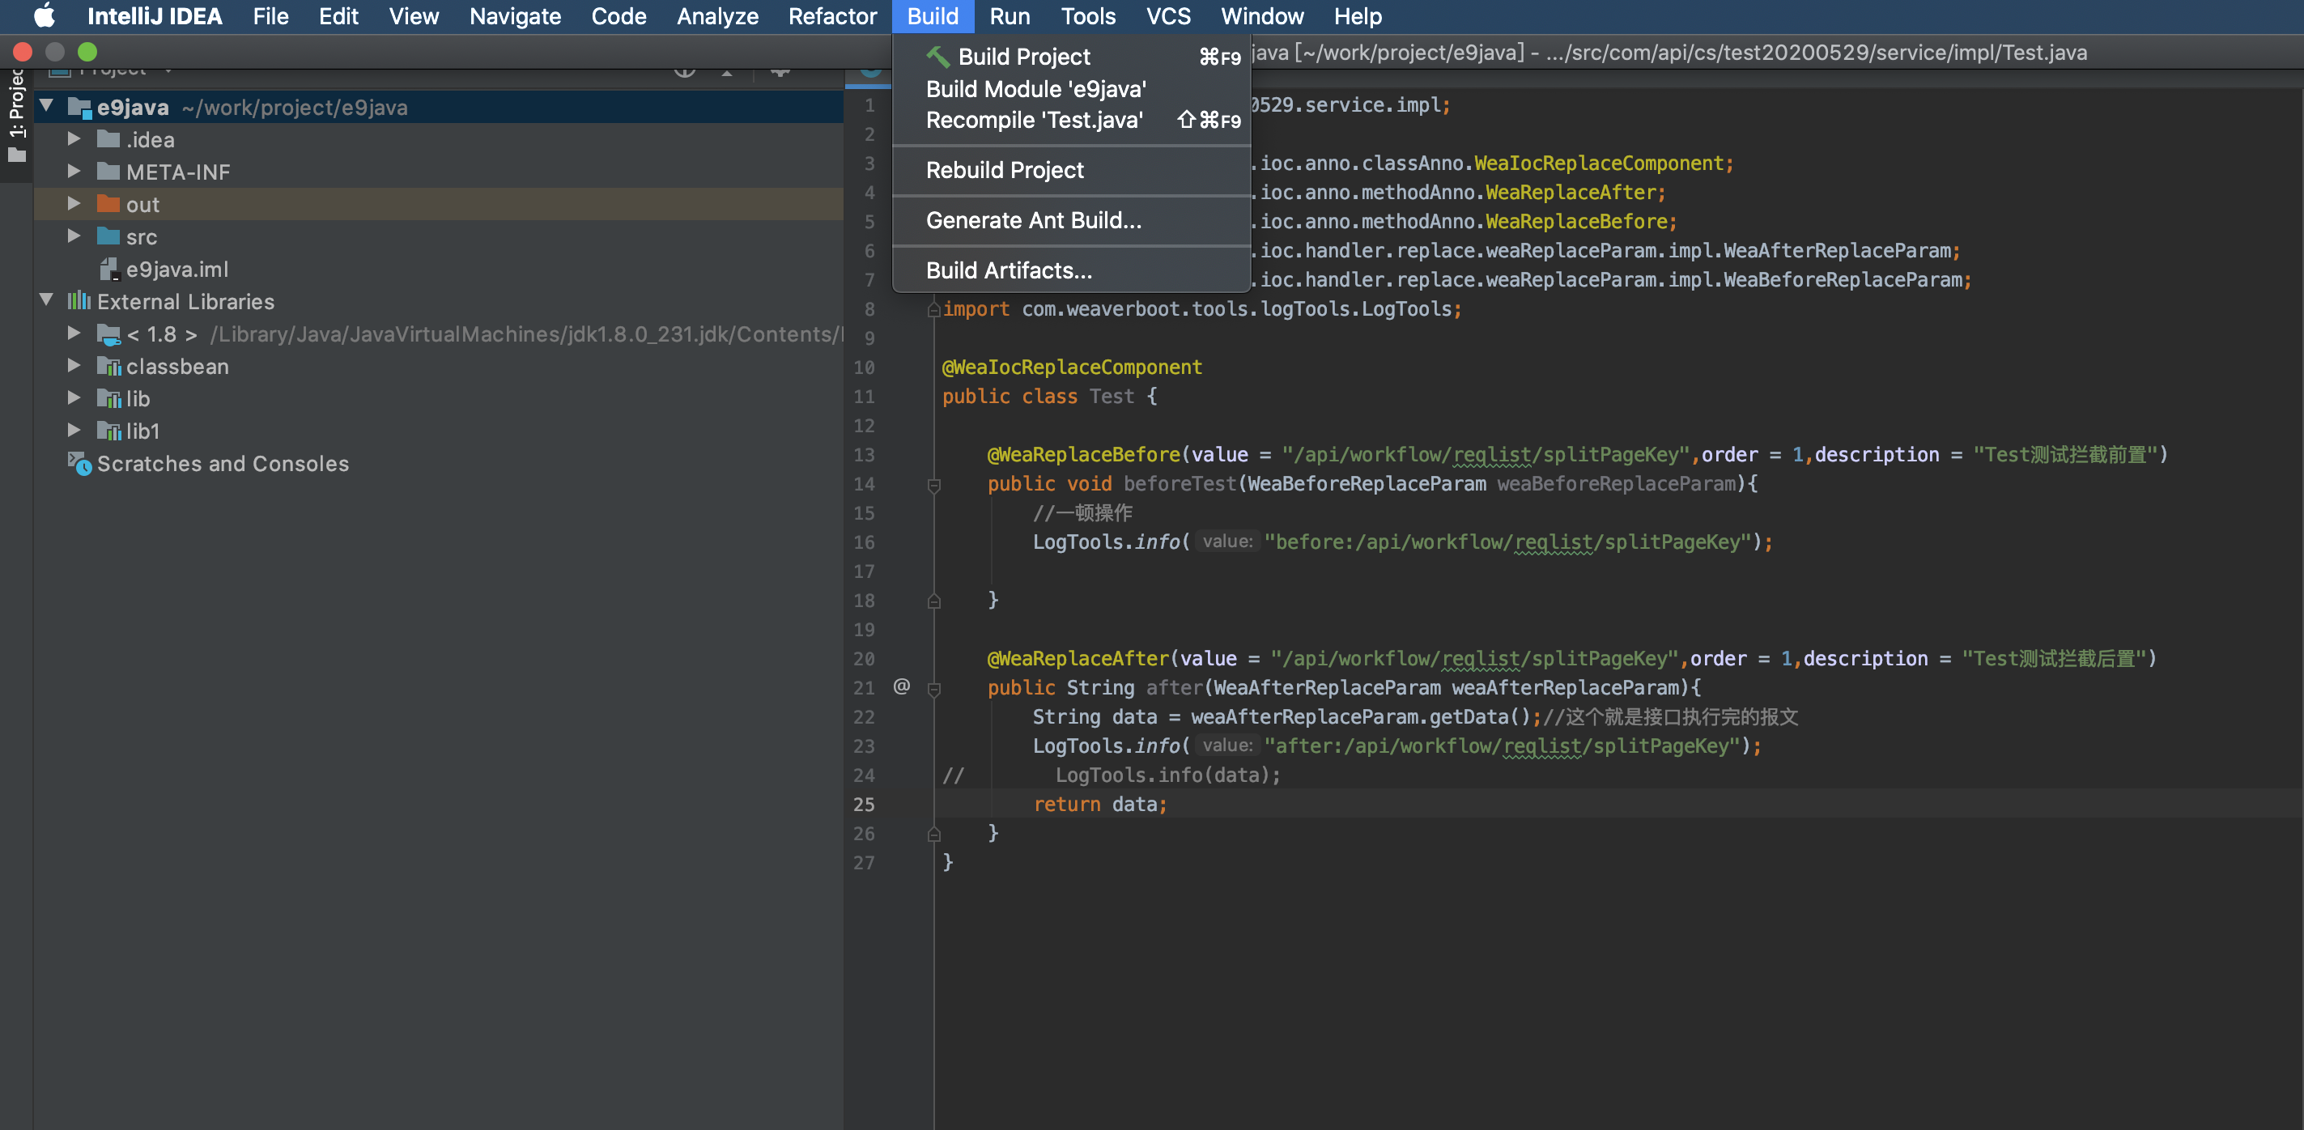
Click build, you could complete your build process
Check build result in e-cology system
7. resin remote debug configuration
go to resin configuration file:resin4/config/resin.properties to edit jvm_args
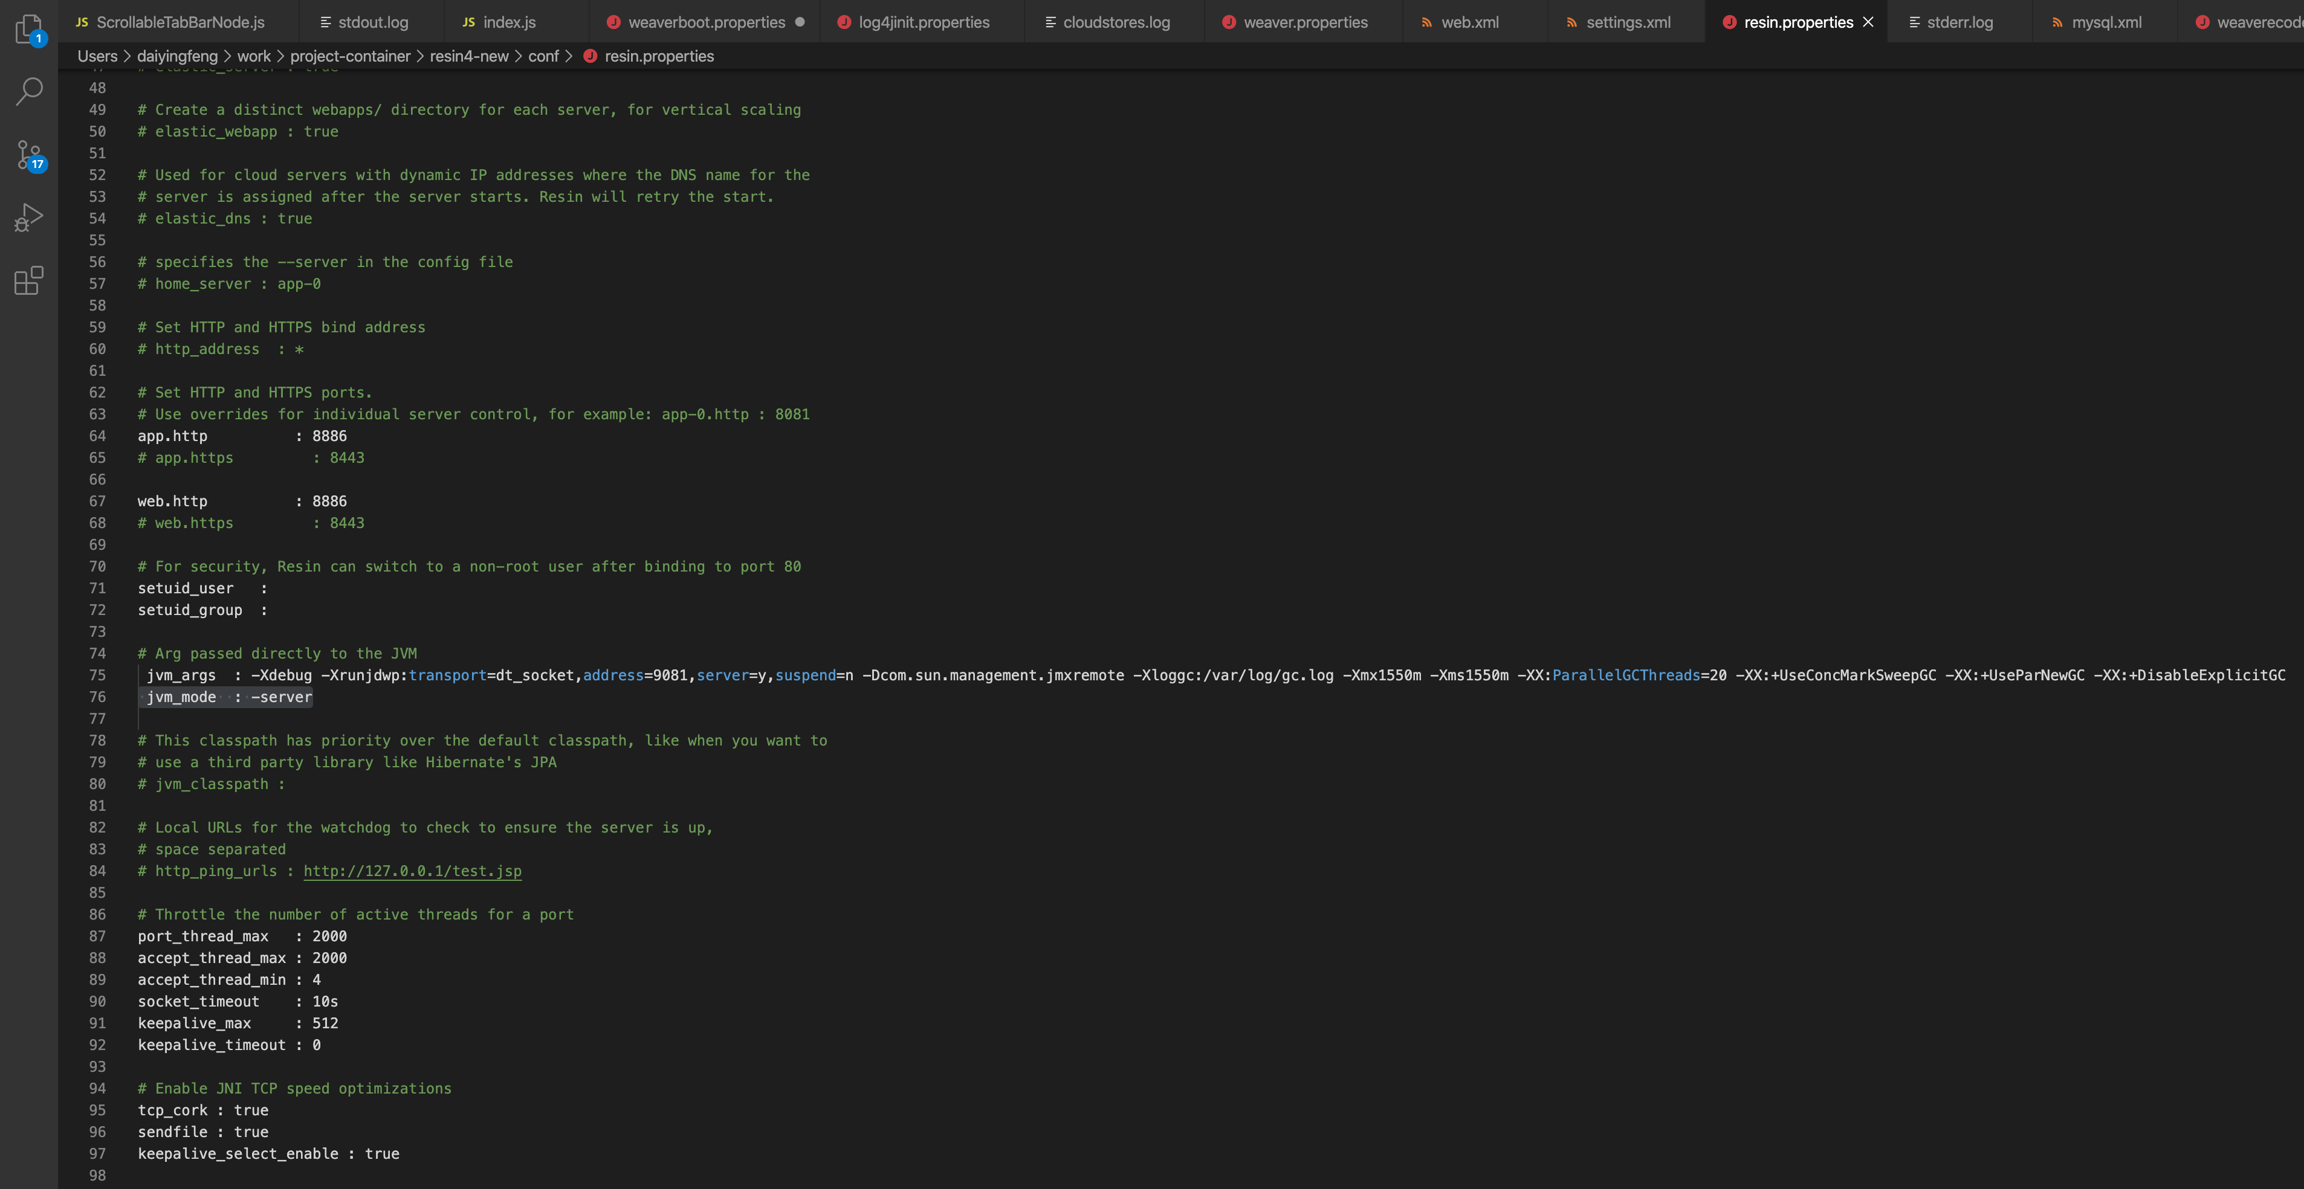
Add middleware connection
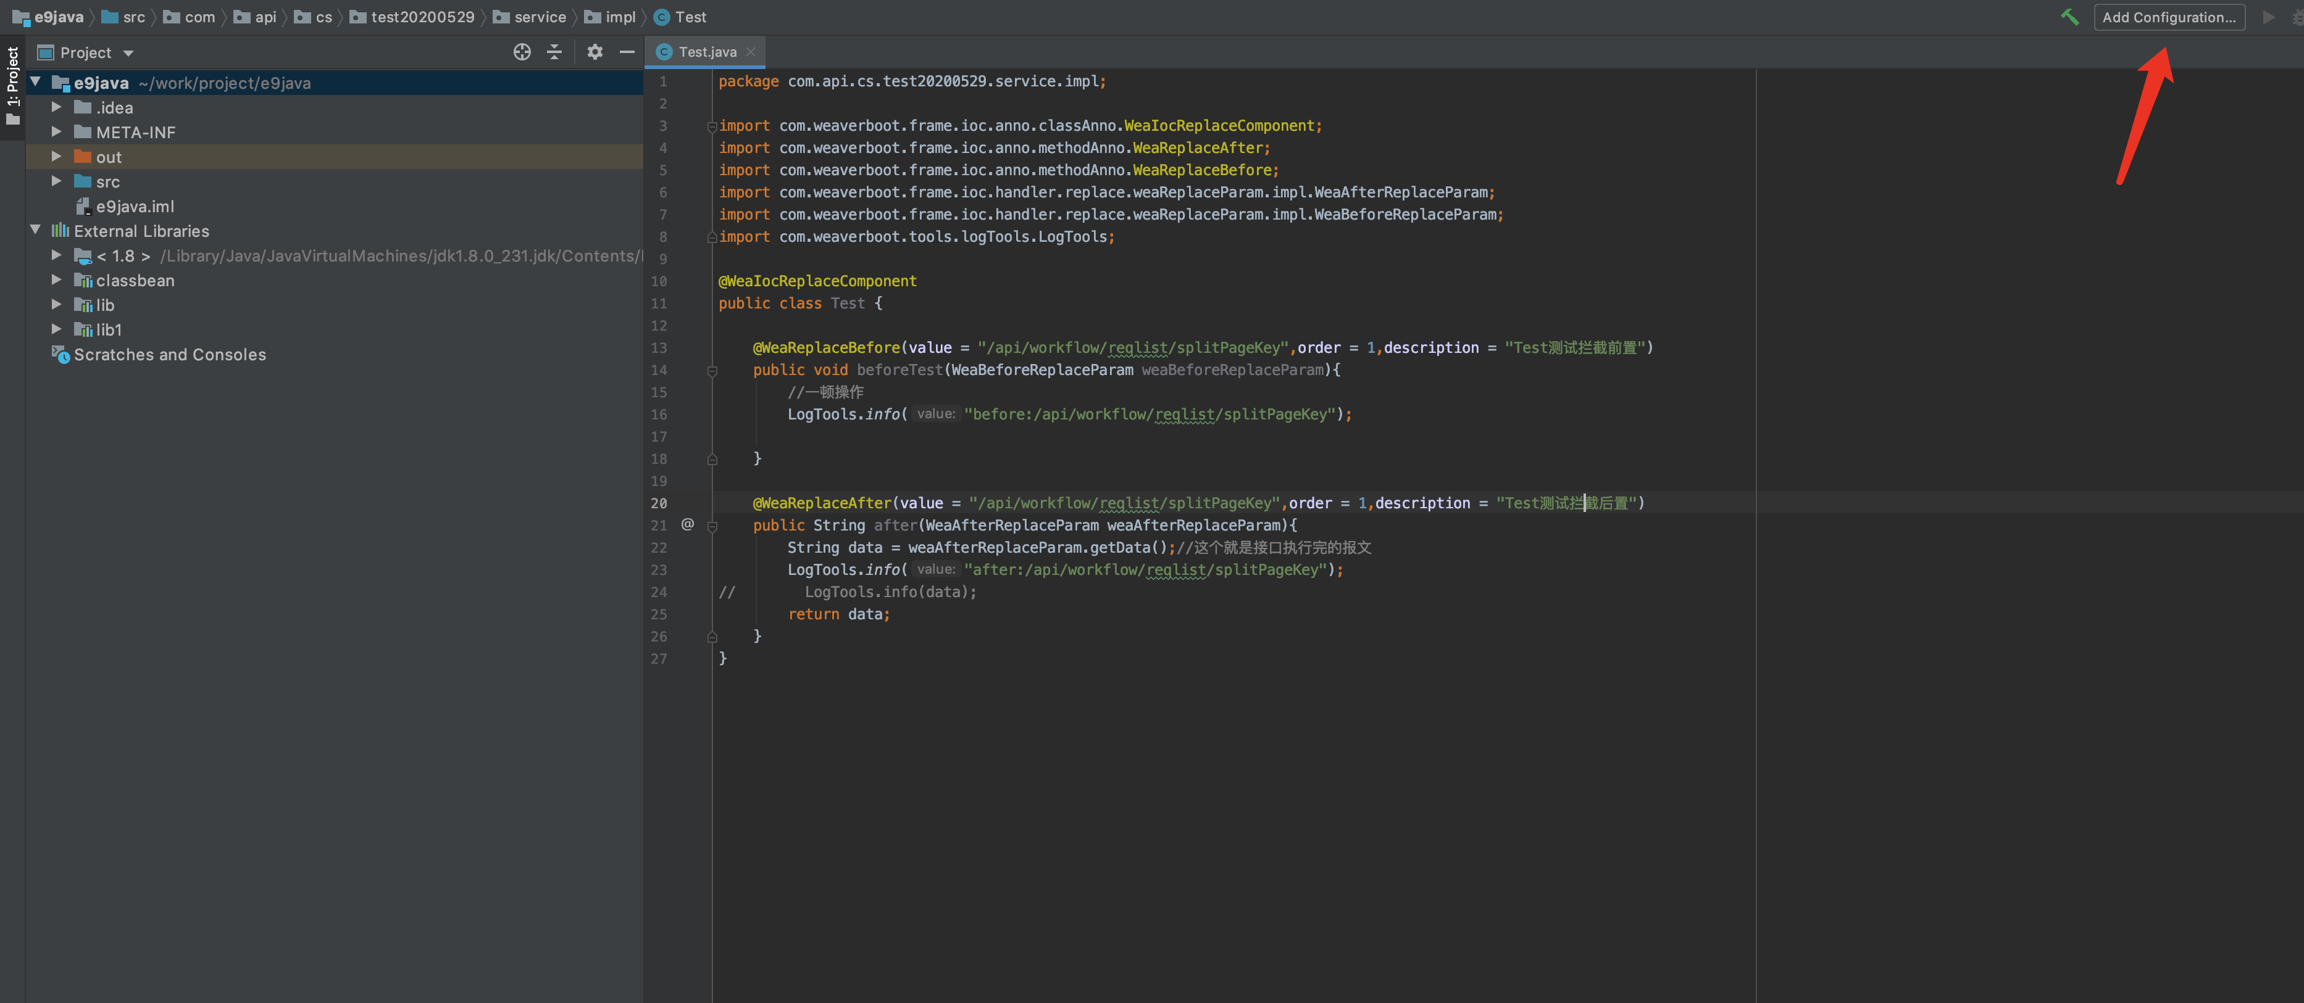
ADD +->Resin->Remote Service, input ec server address URL and remote resin debug port
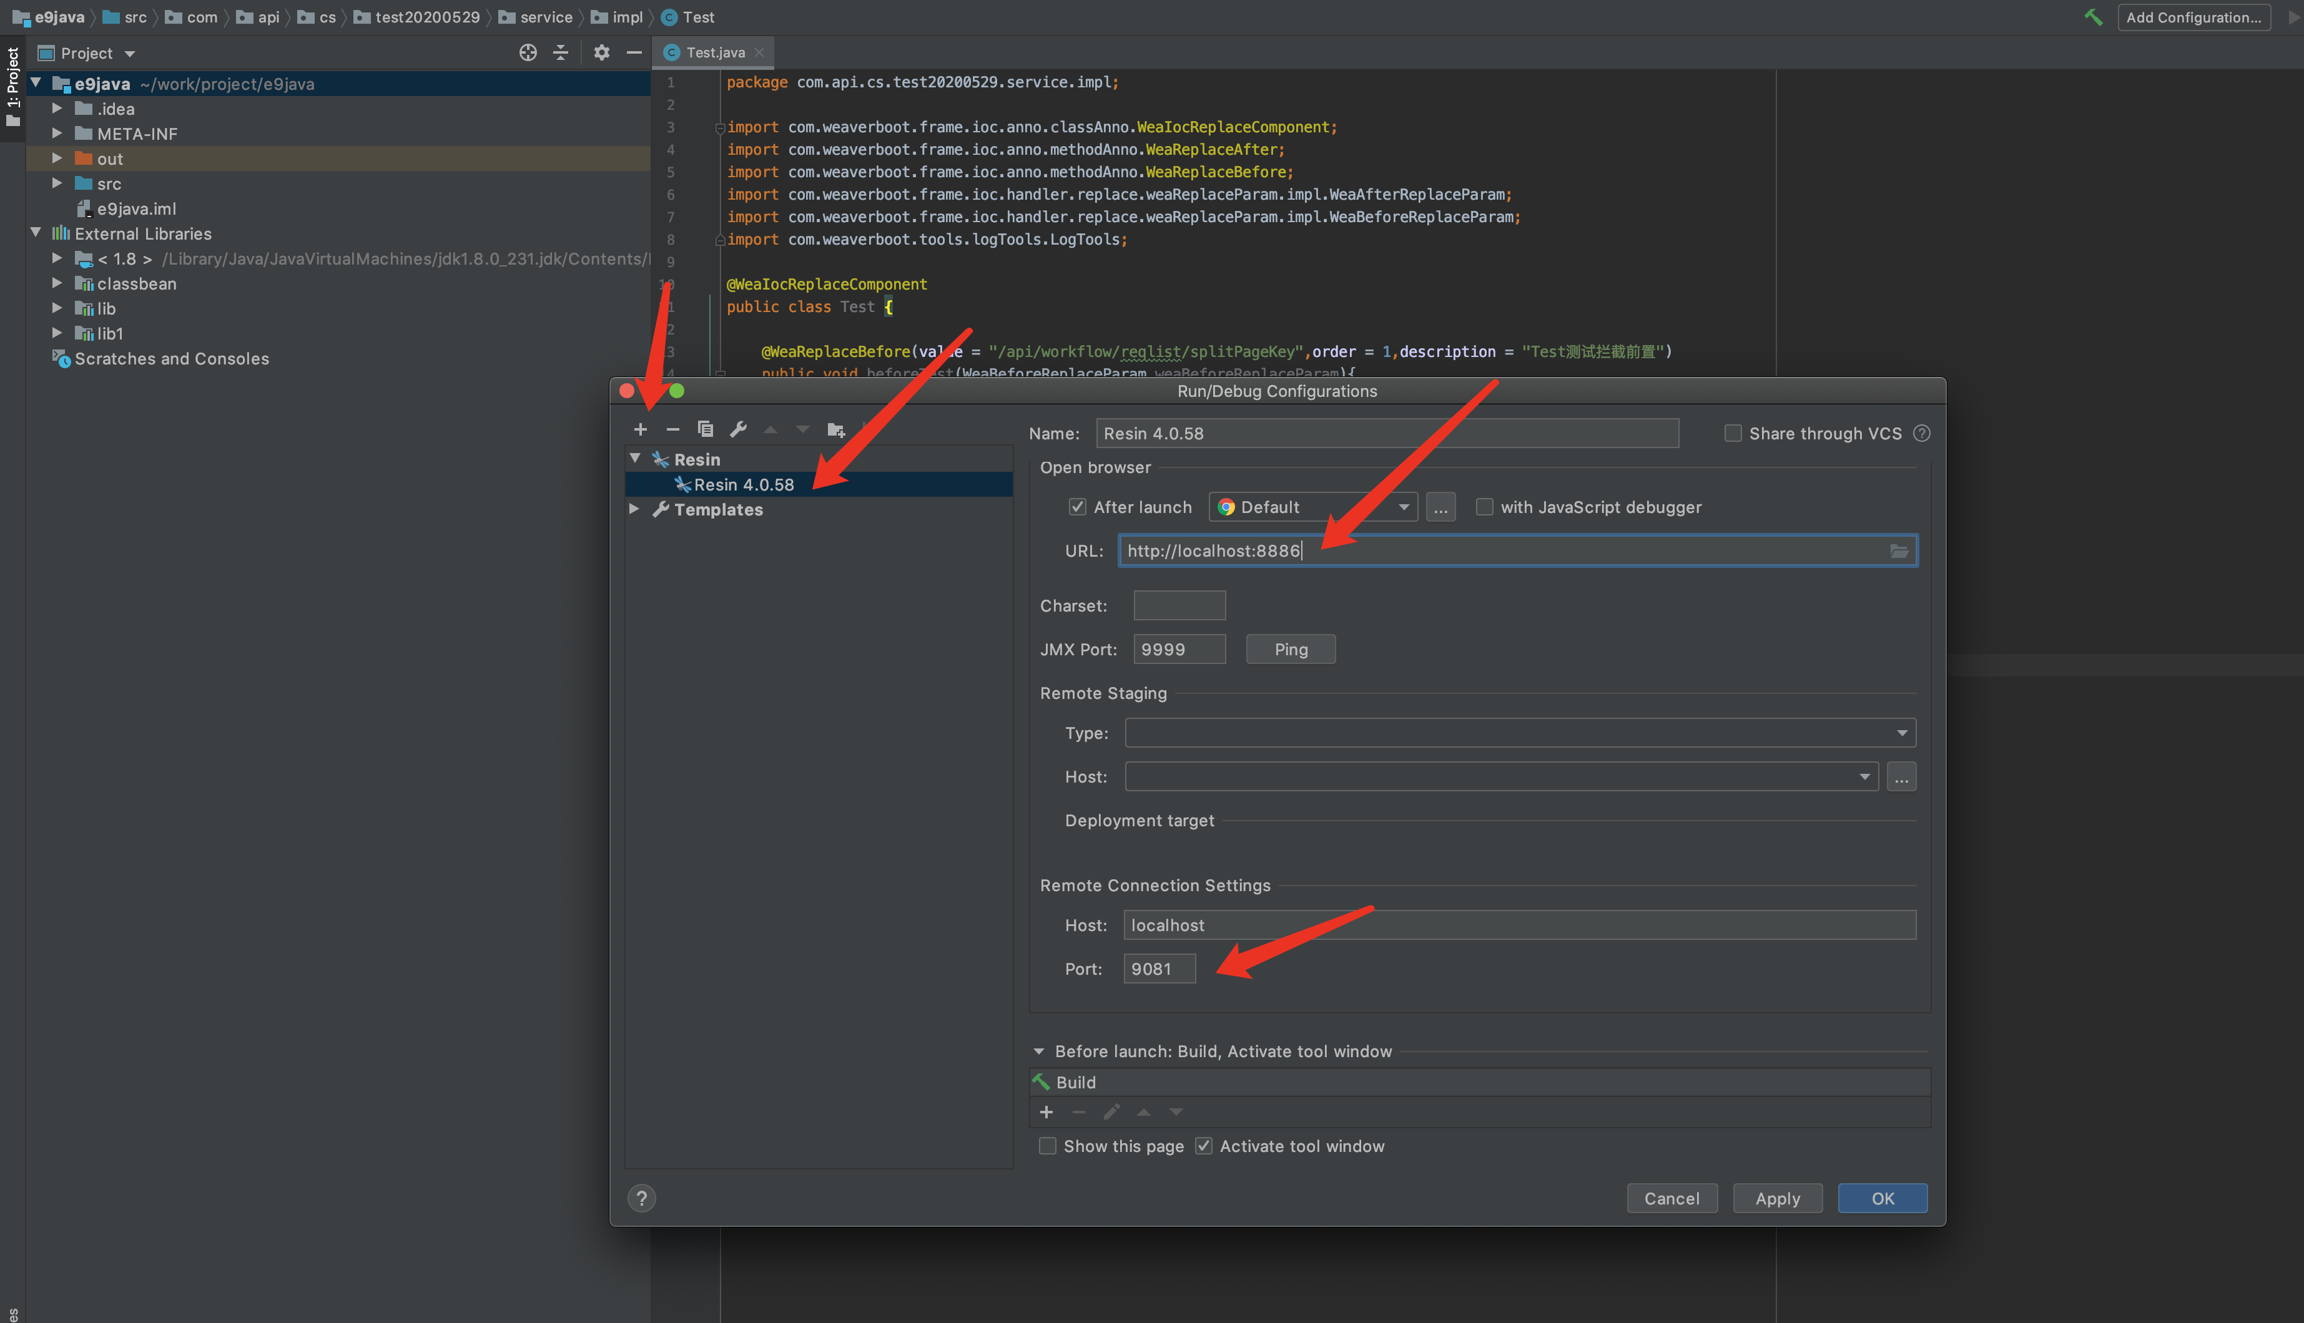
Select configure and select resin home
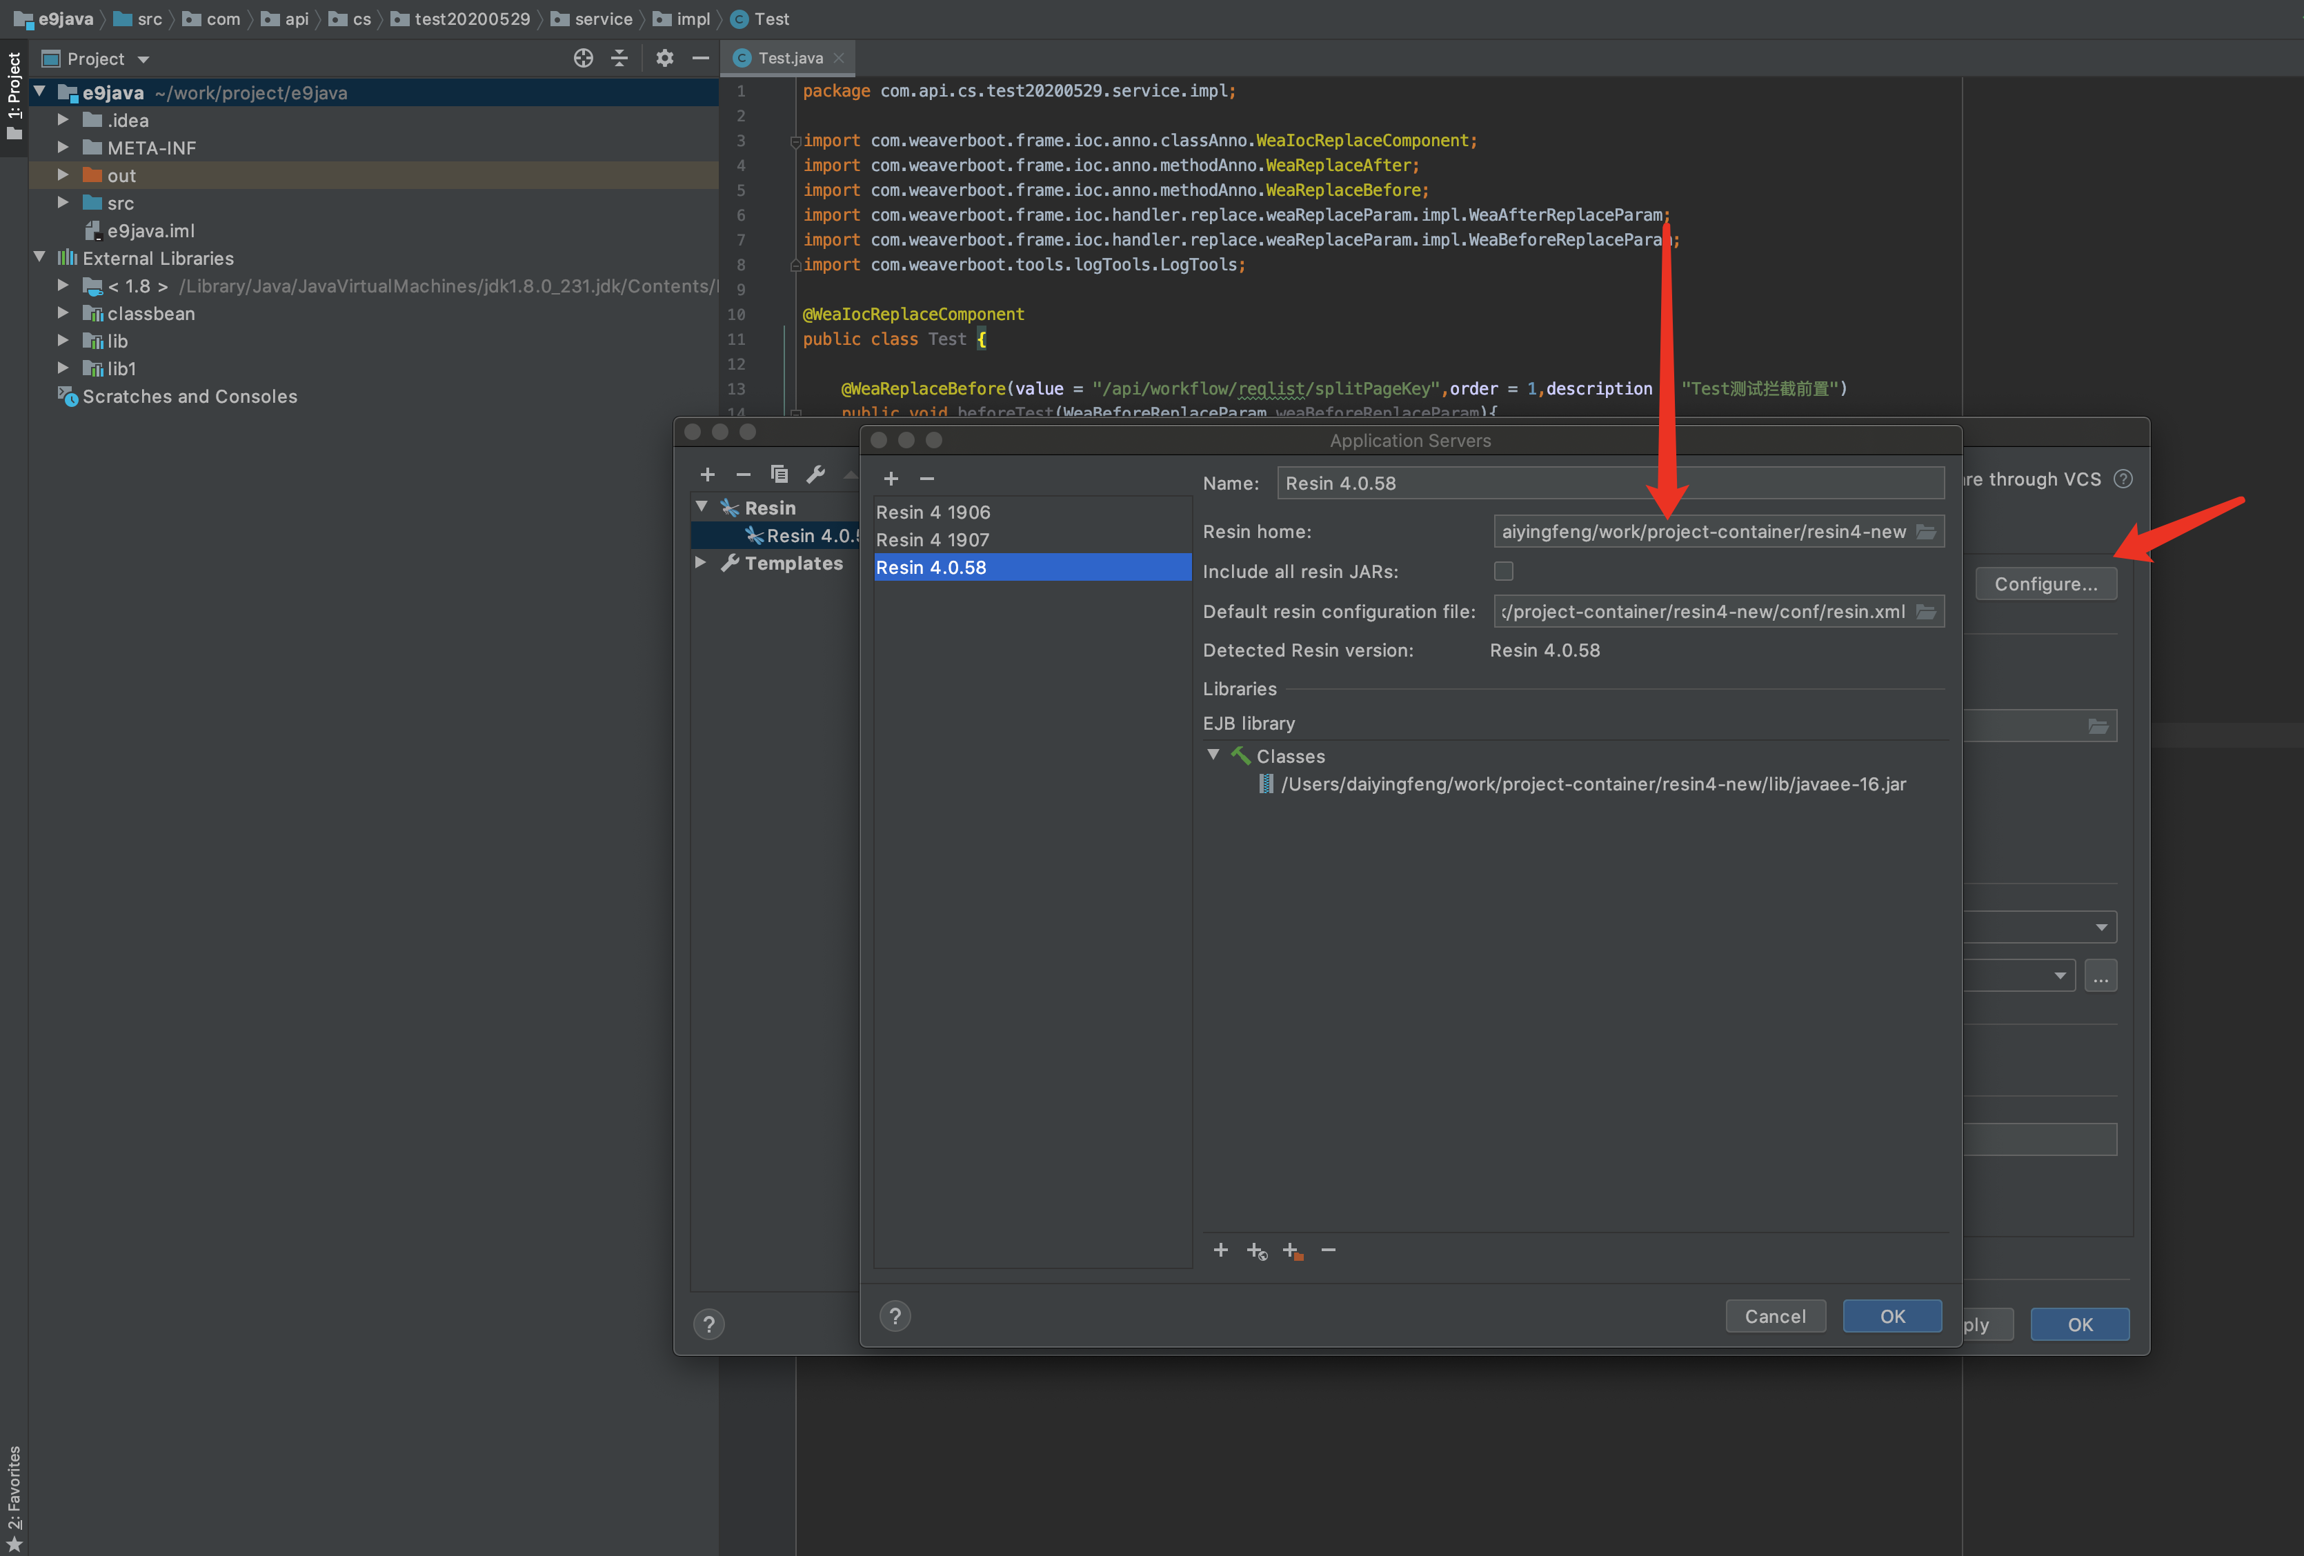
Add jar package
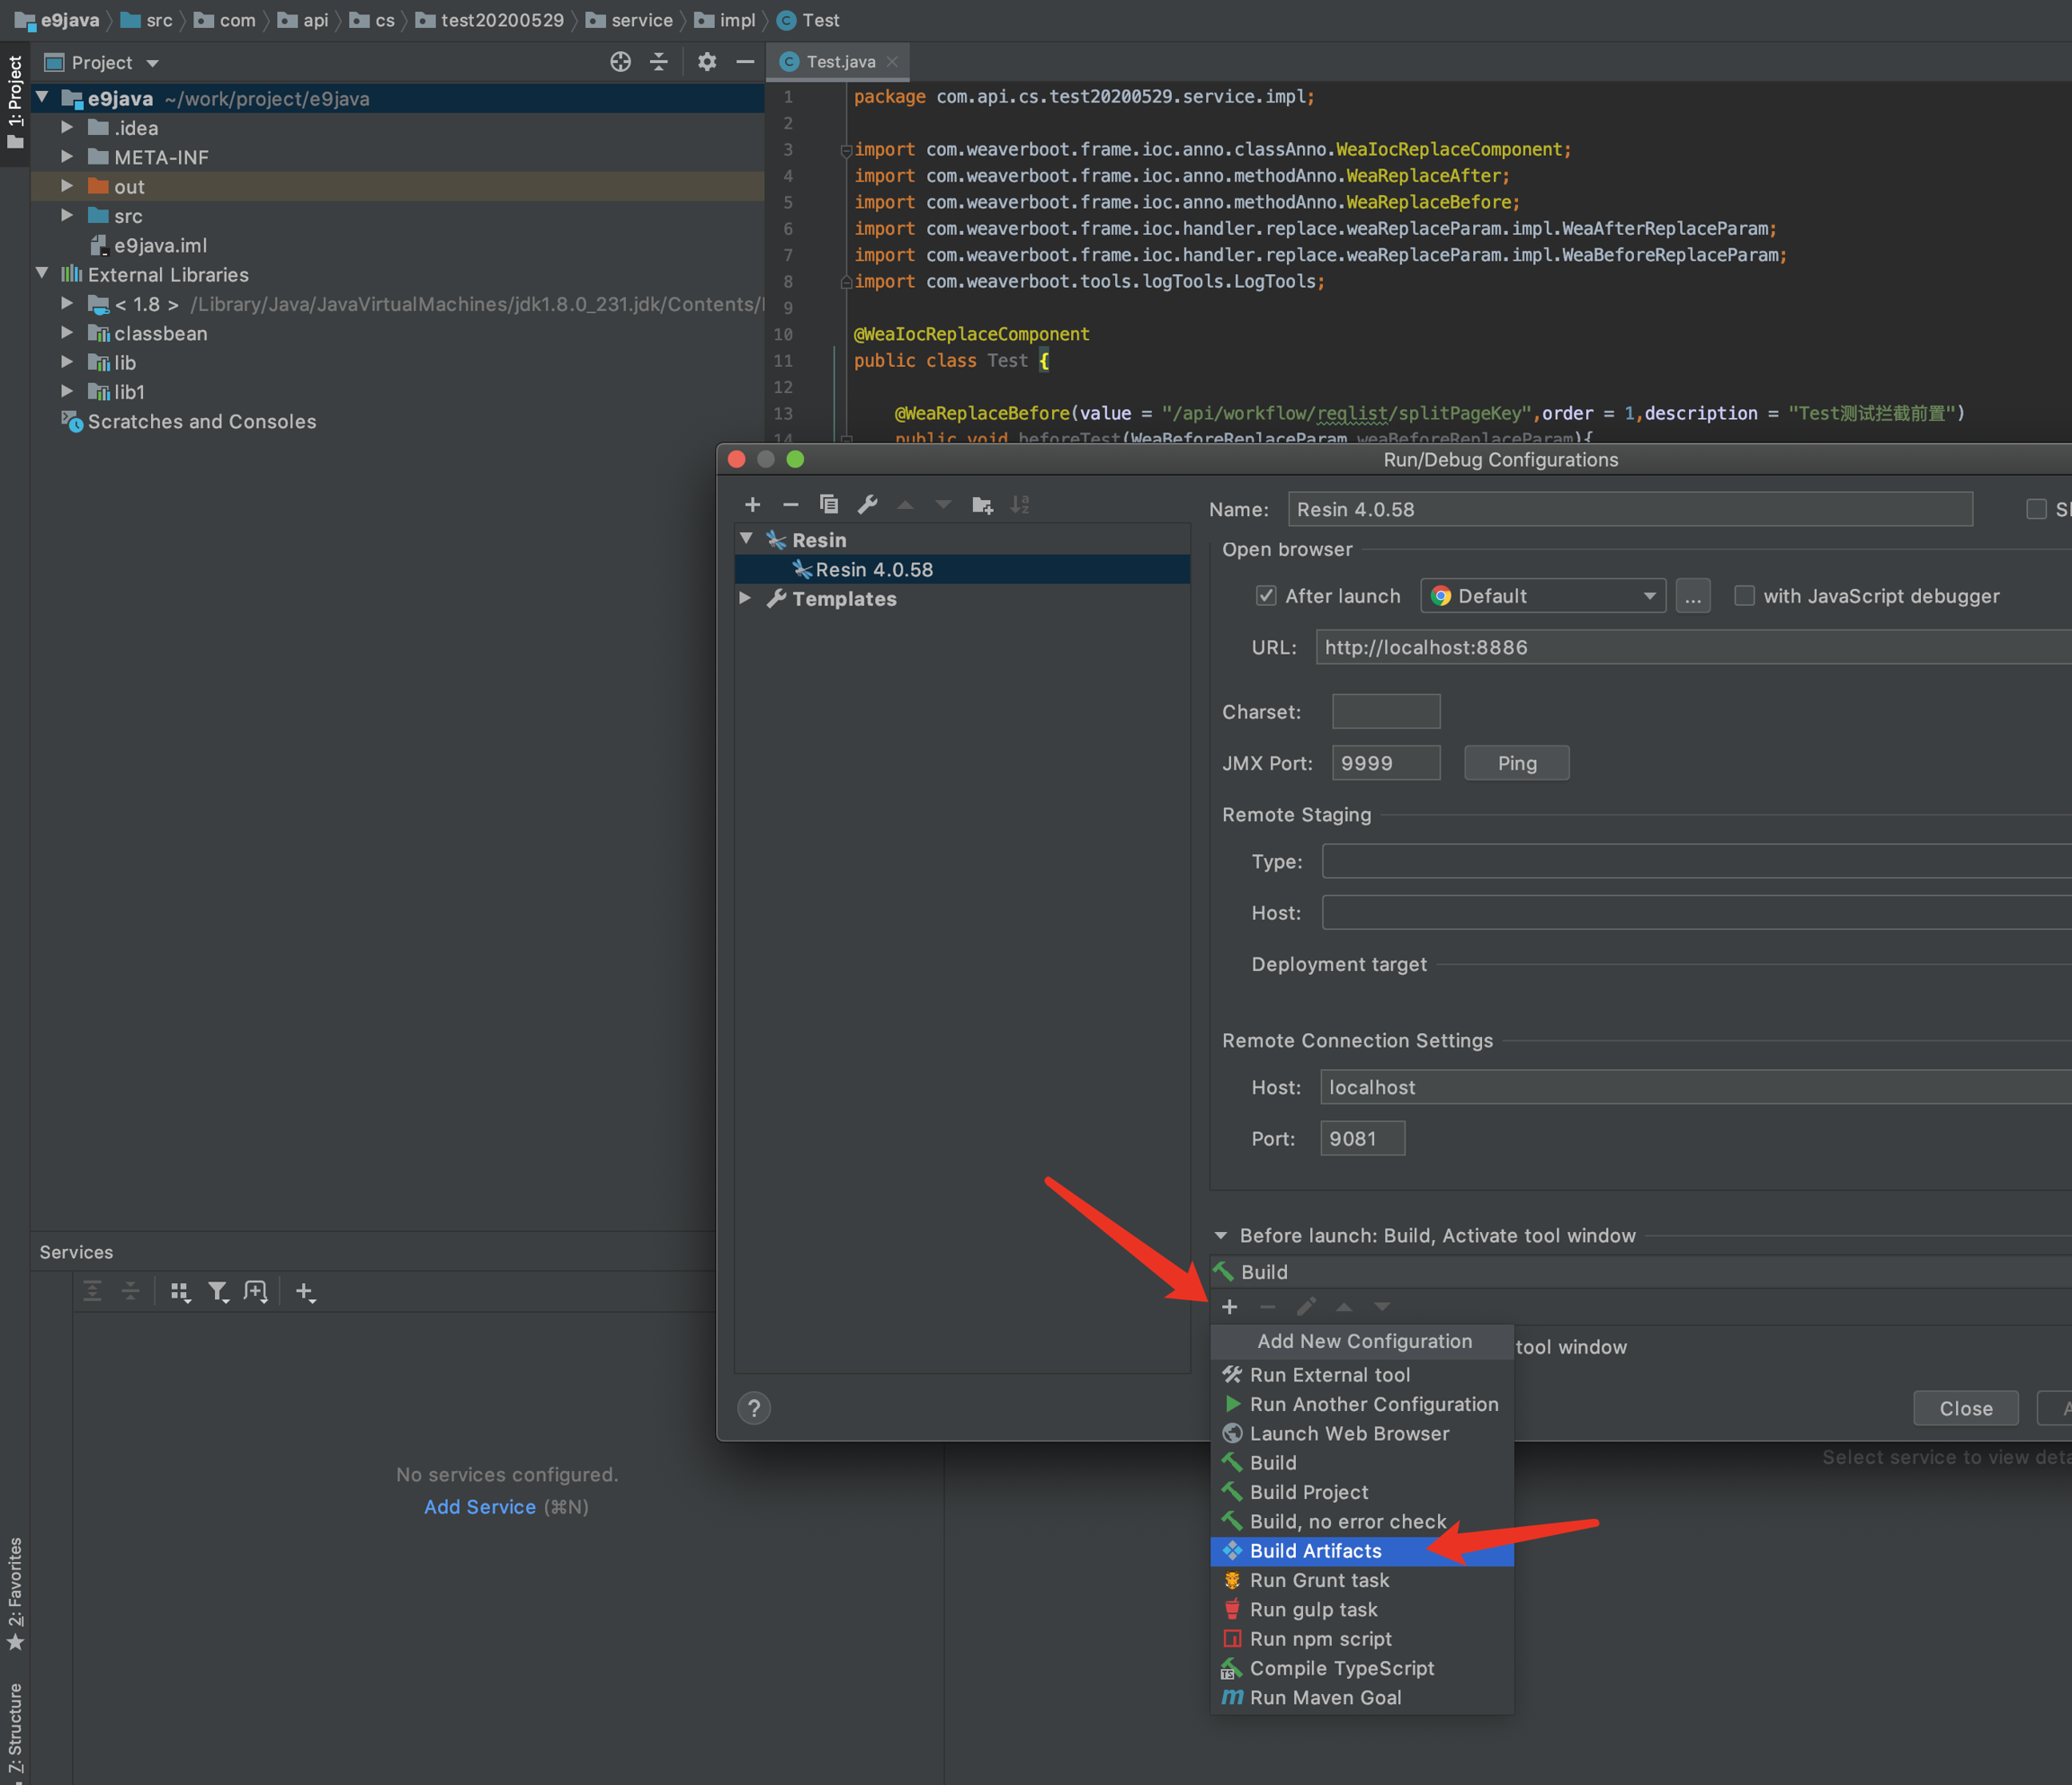
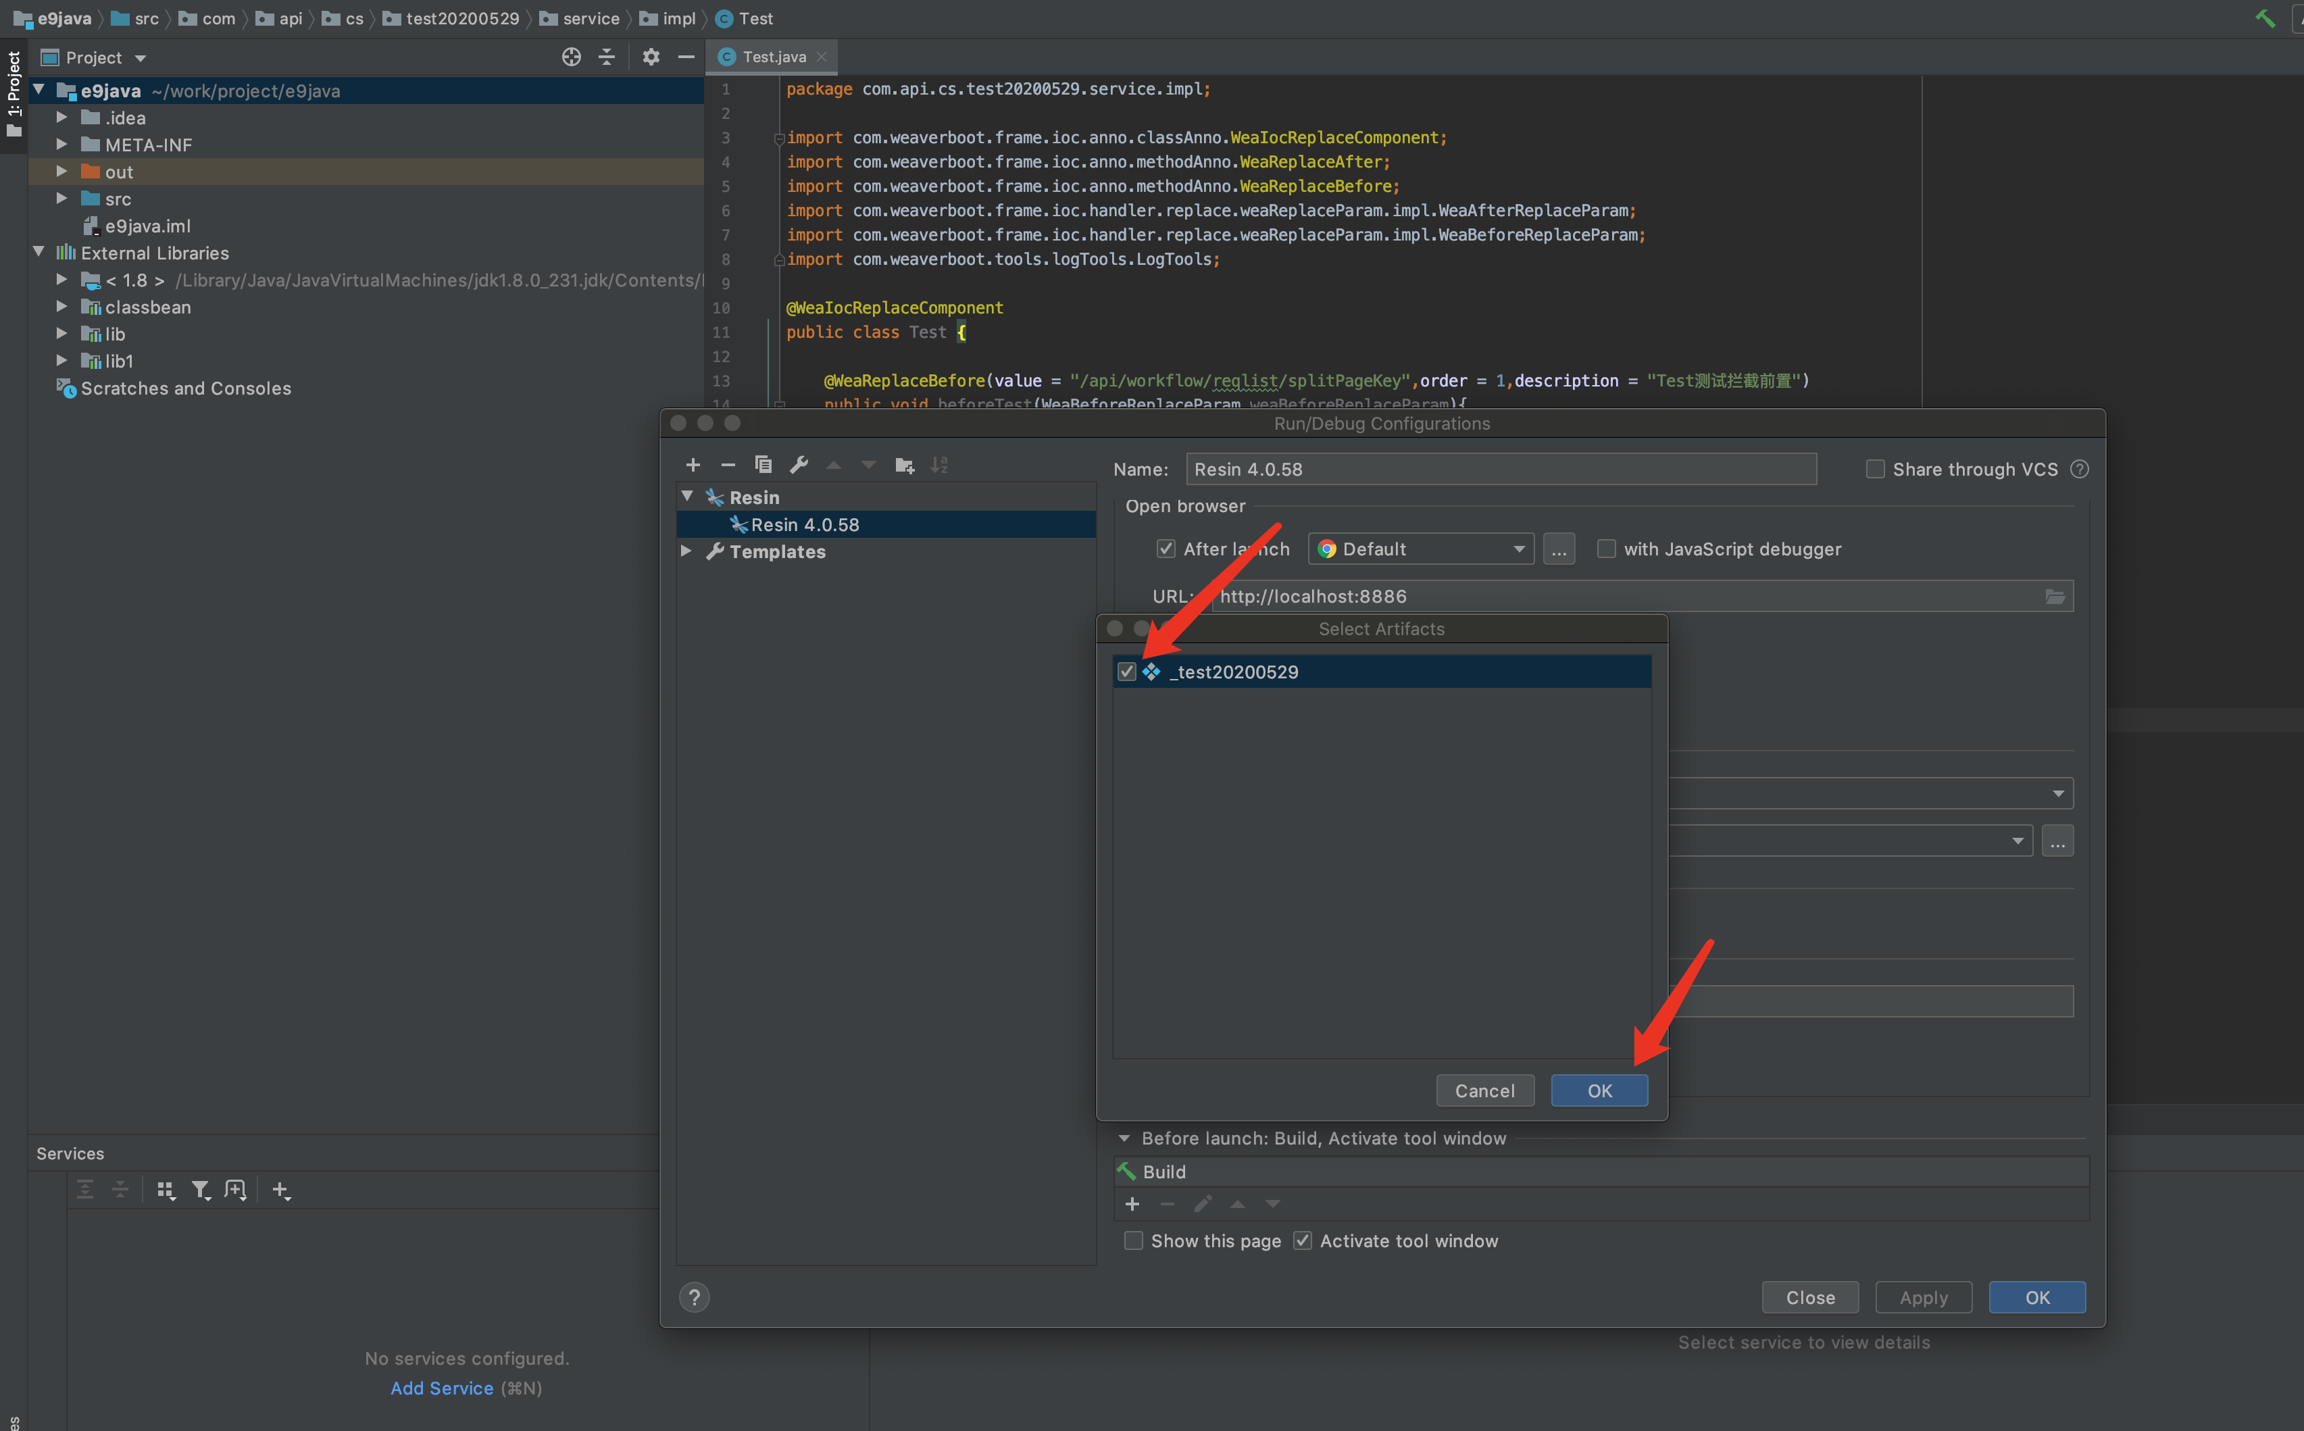
Select pre-defined Artifacts, and click apply to save
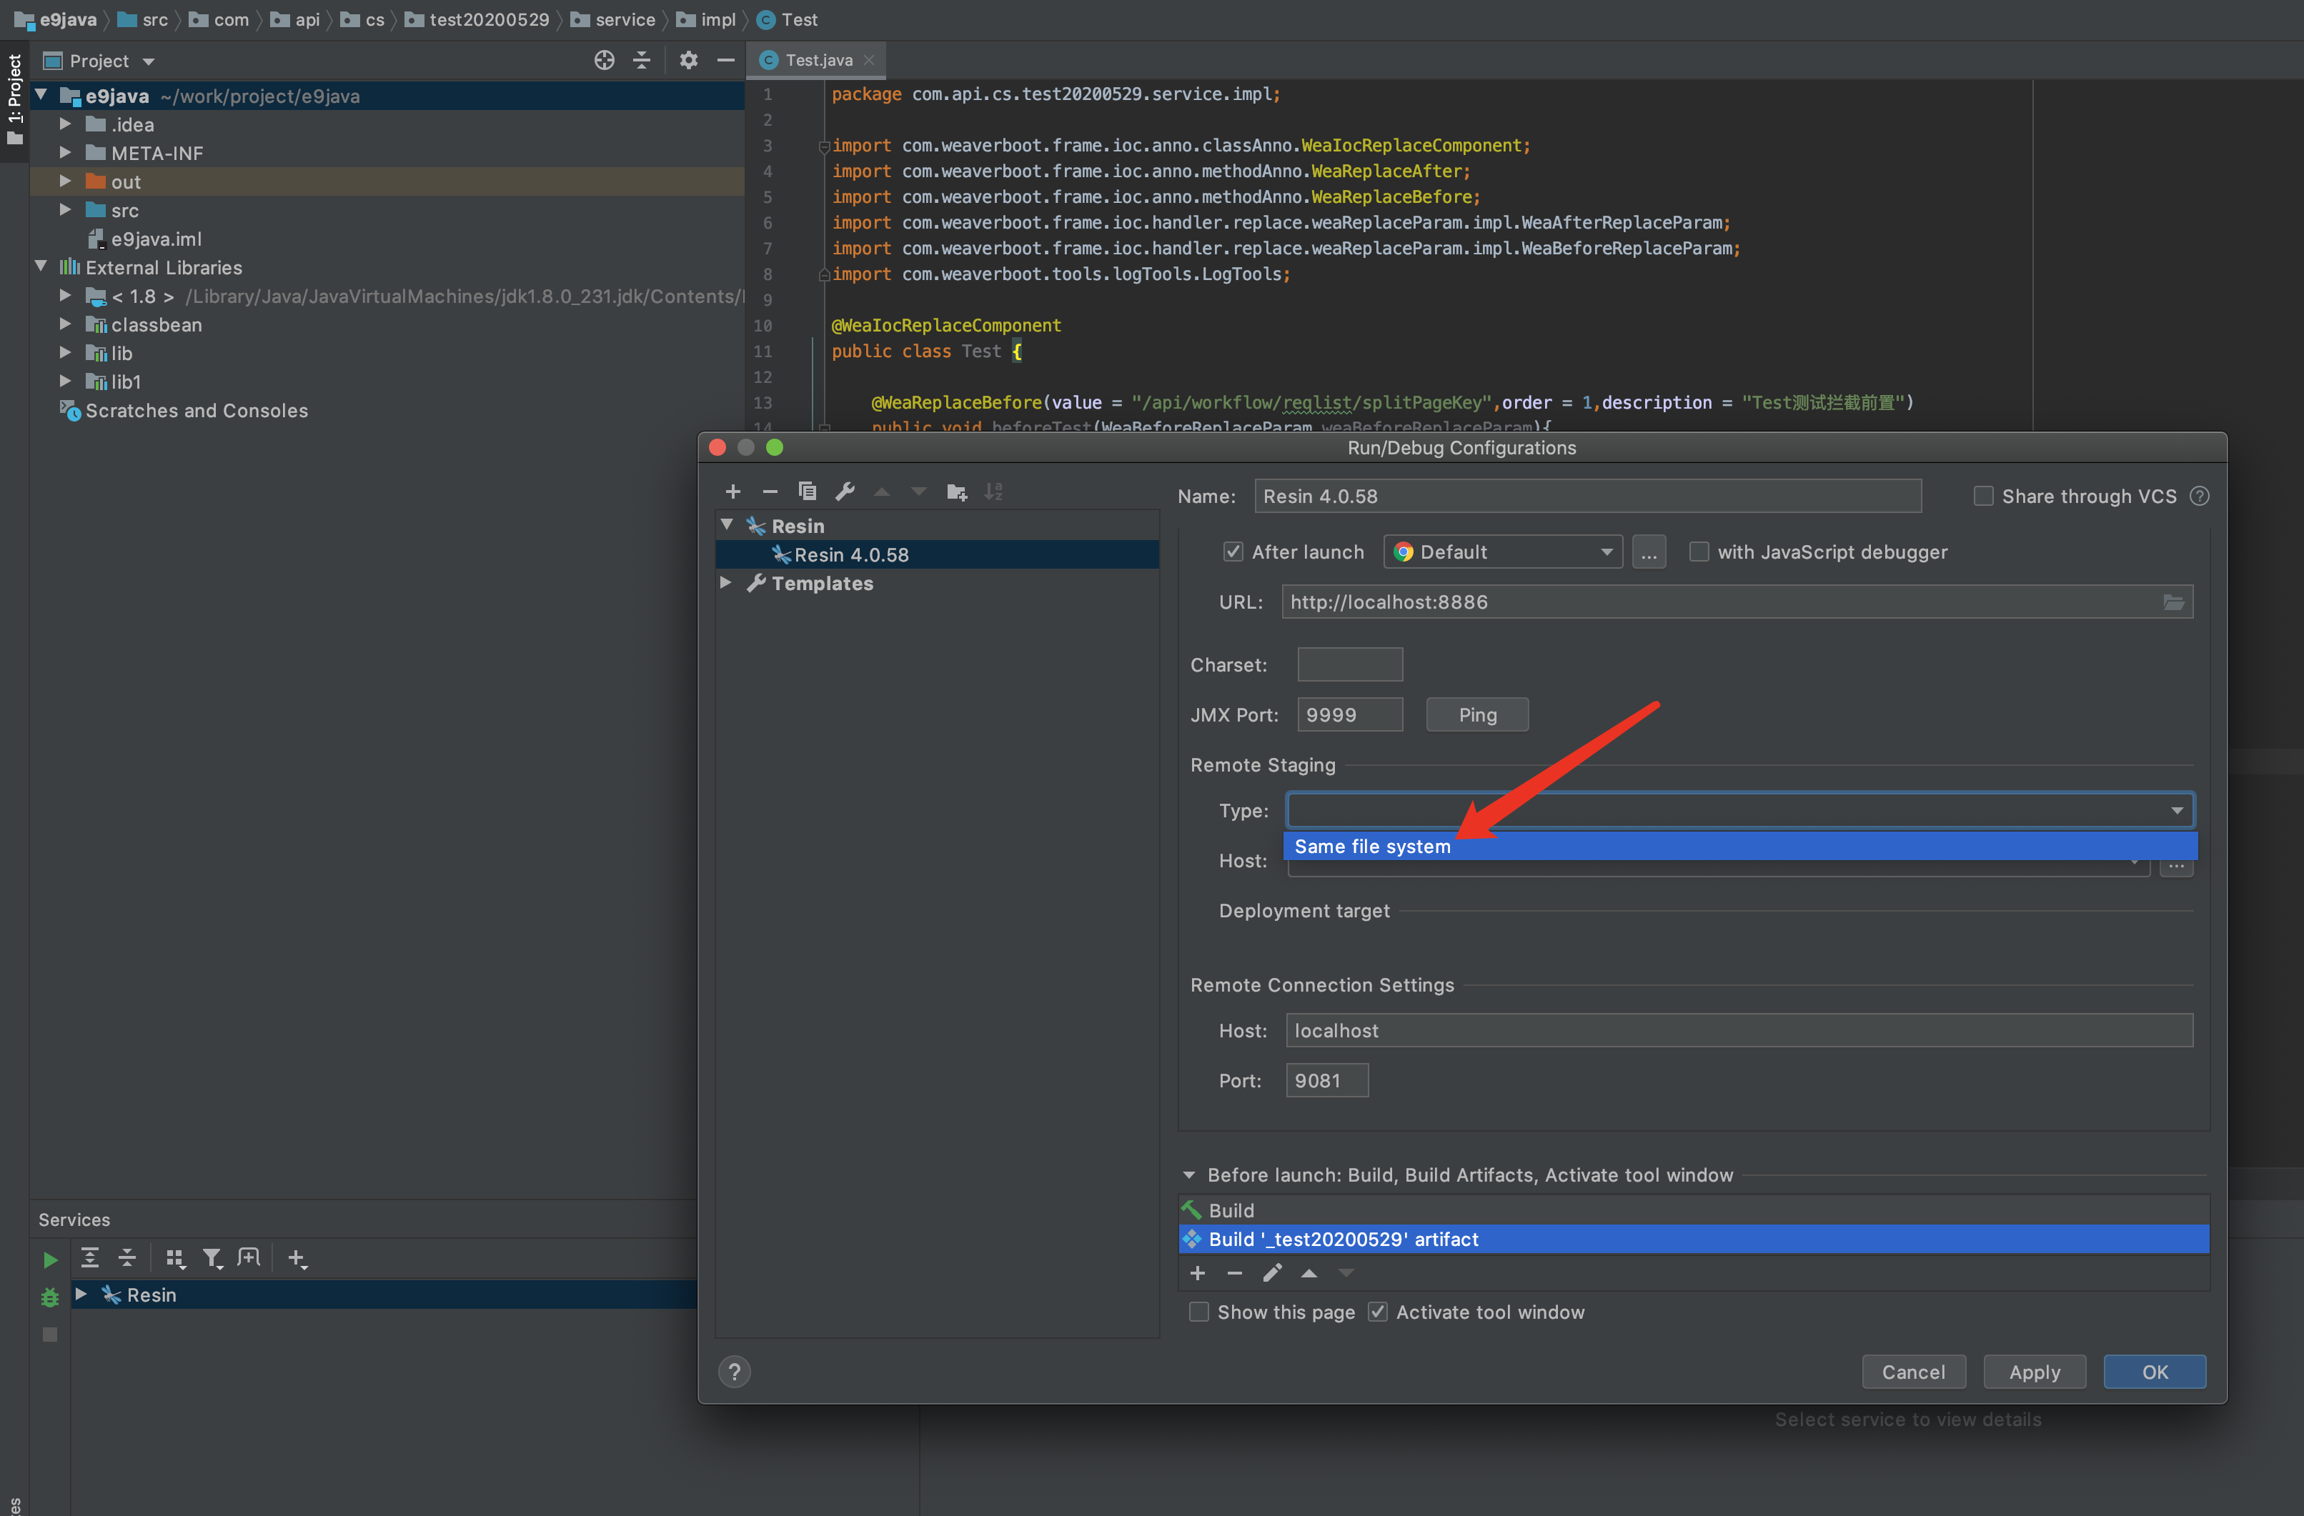
If in the same system, please select
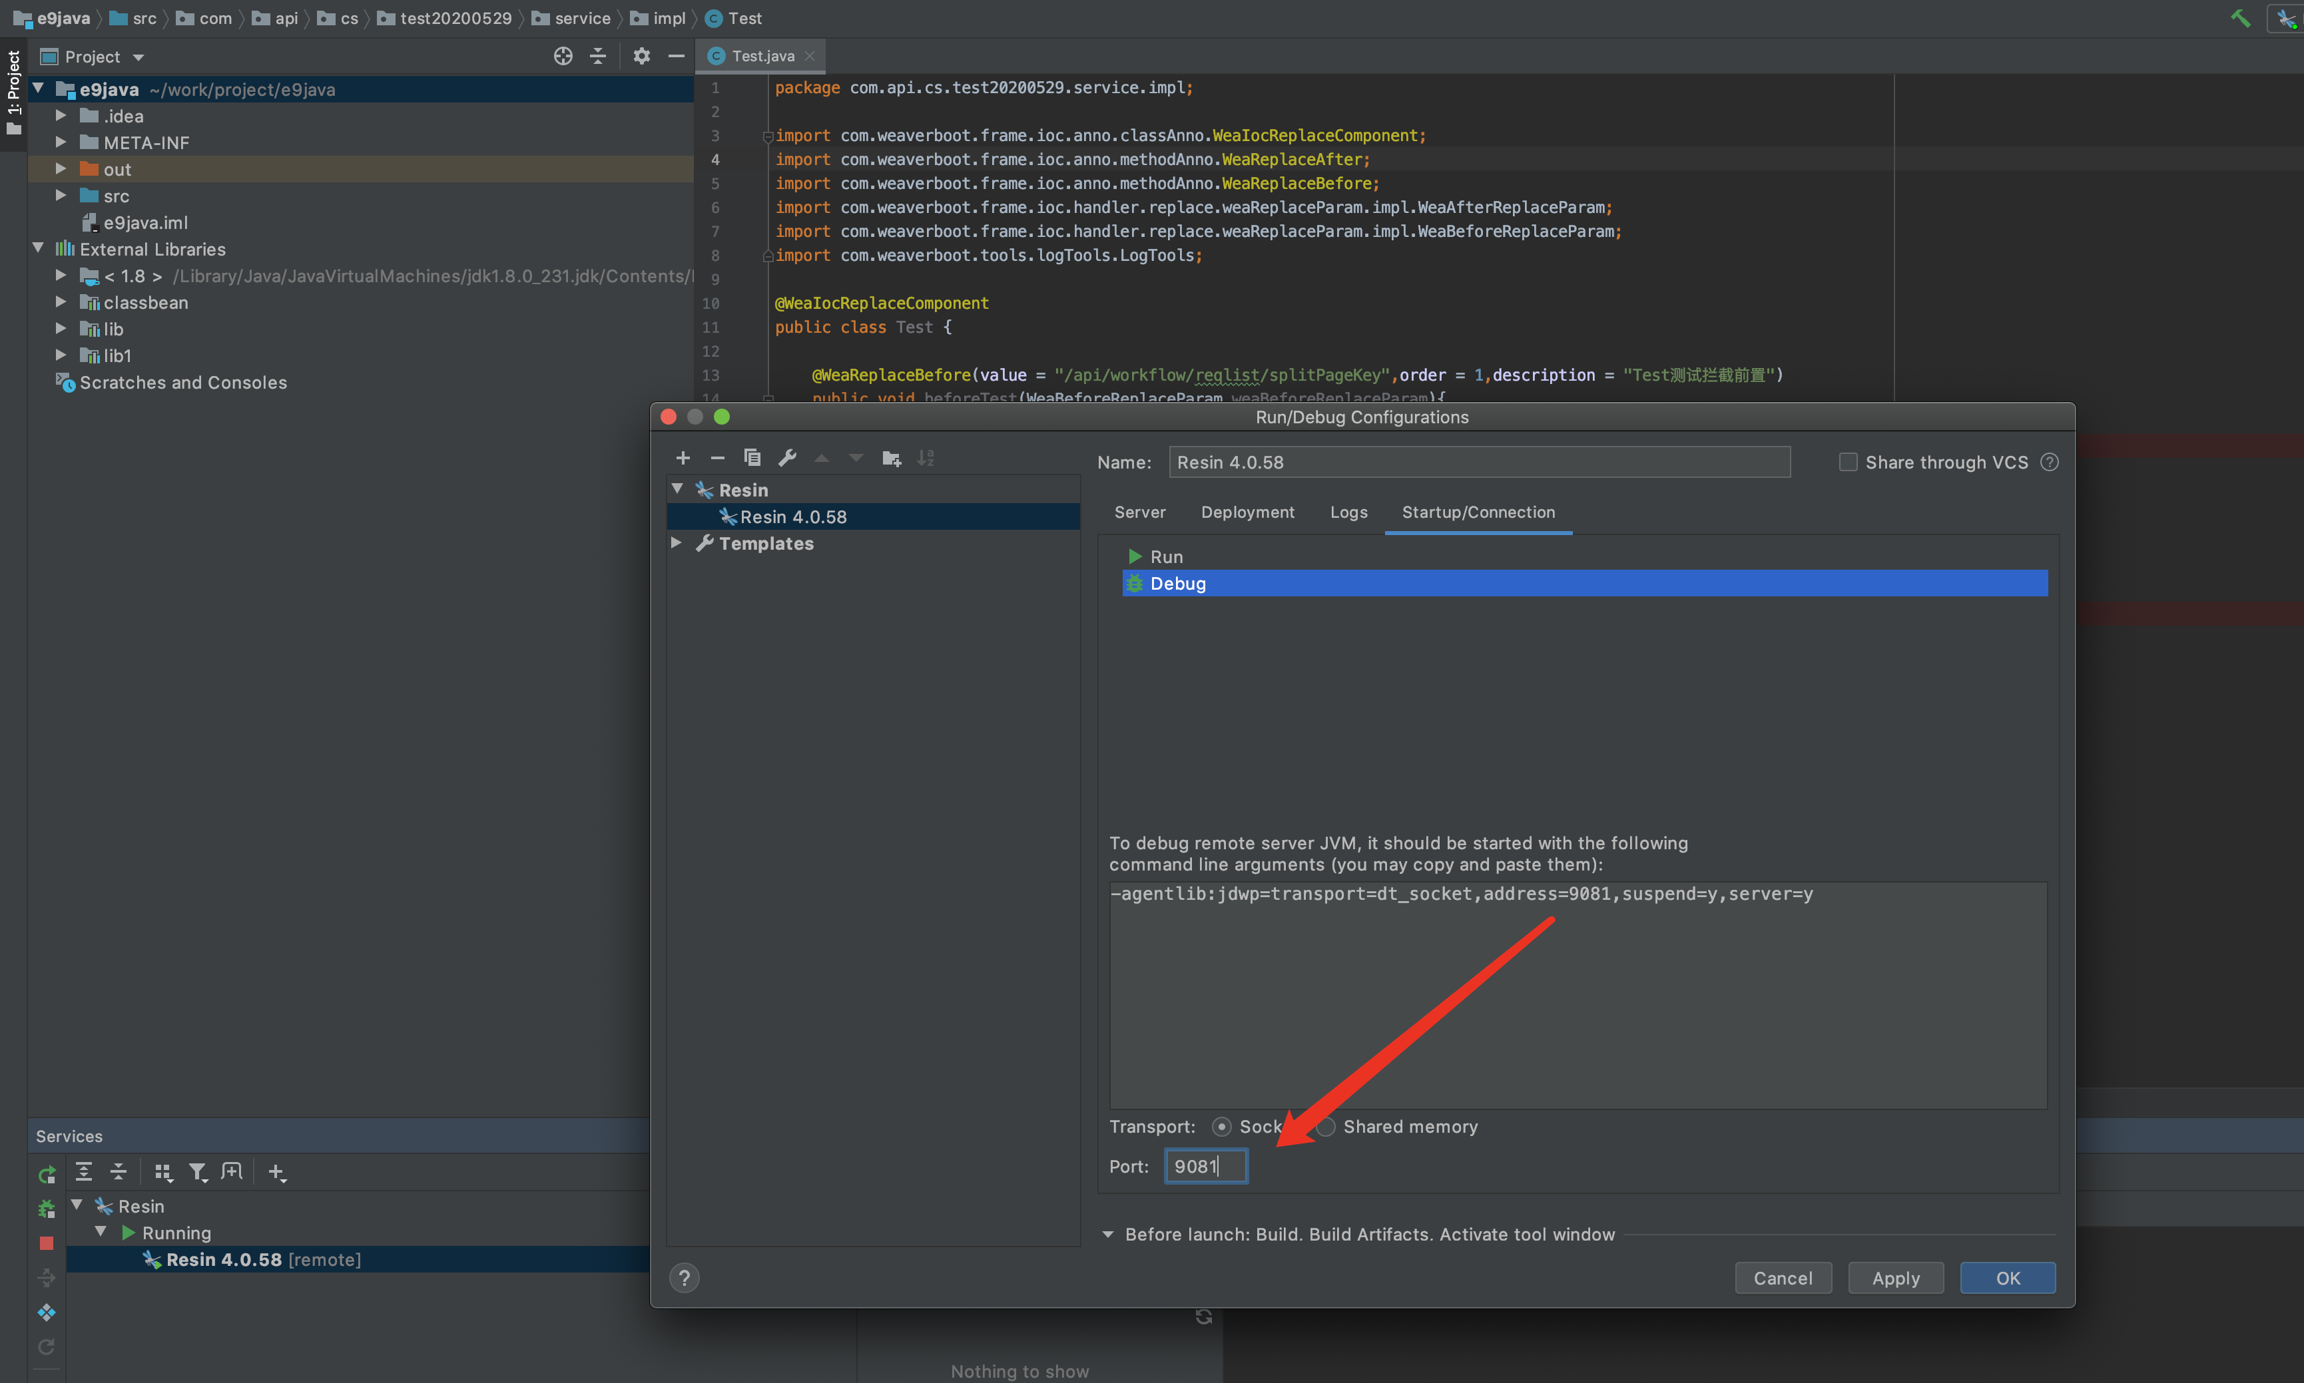
Switch Startup/Connection, modify Debug->port as resin remote debug port
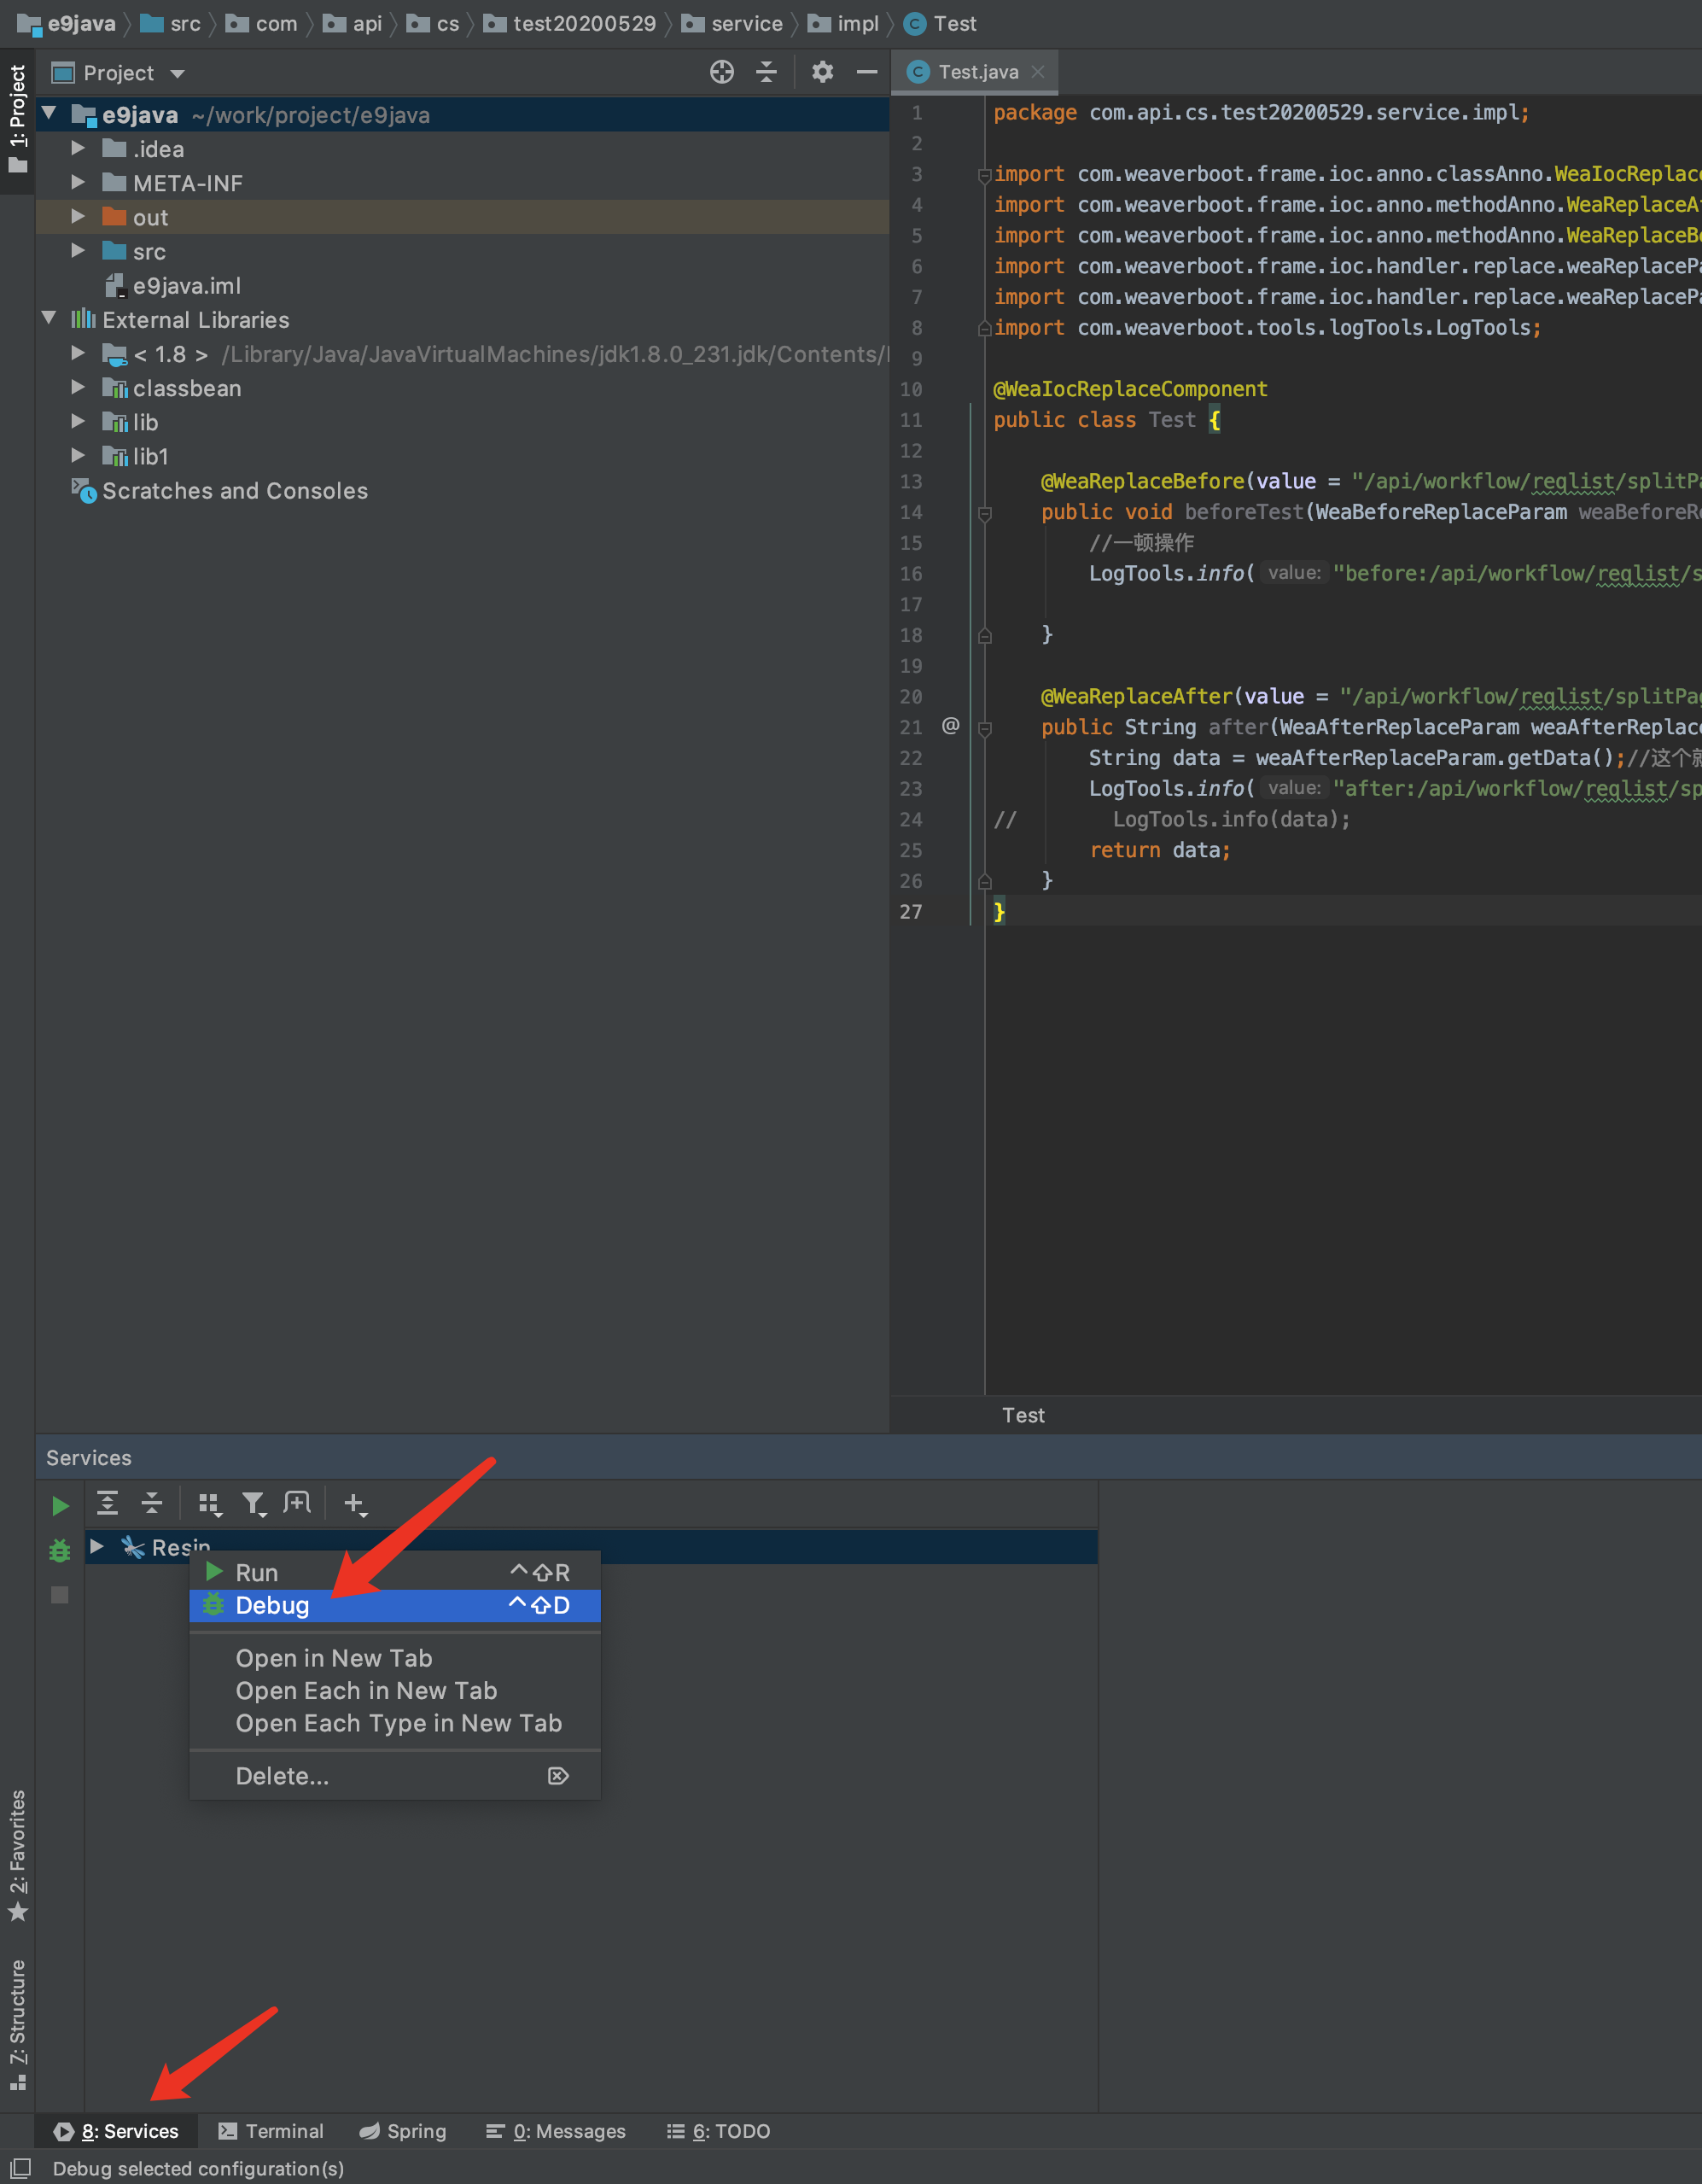
start debug in service
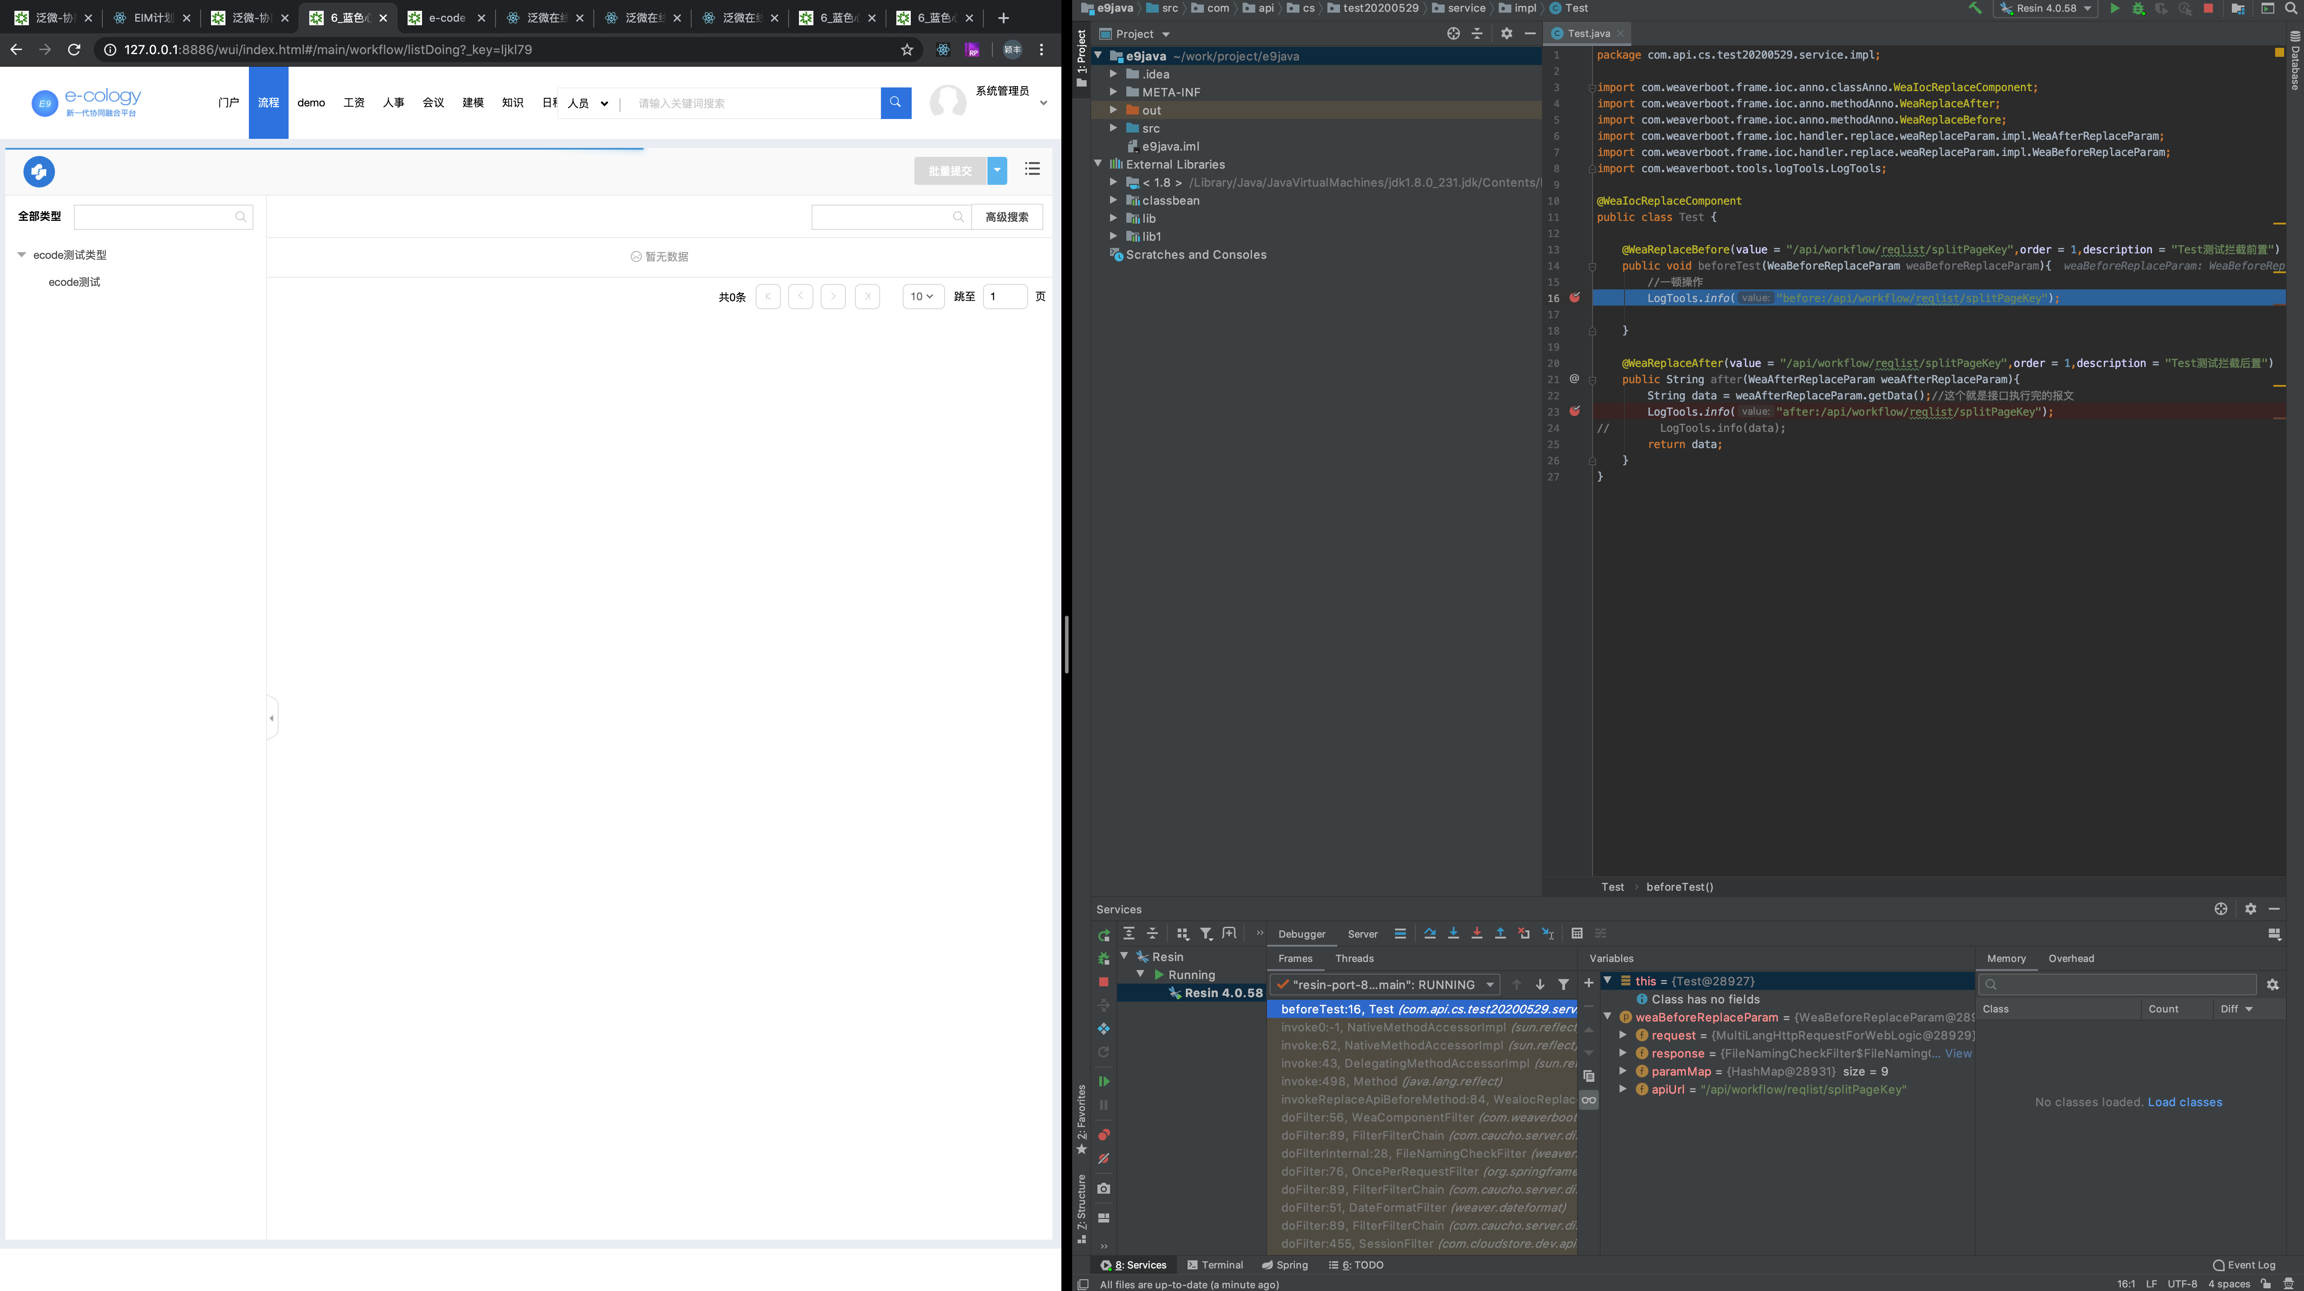
Go to sepecial page to refresh, if breakpoint stop successfully, then debug configure is successfully
Last updated